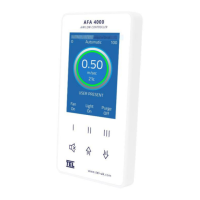
AFA4000/E VAV Airflow Controller / p.107
7.6 Auto Sash Controller – stand-alone
This section refers to when the Auto Sash Controller is used without the AF4000/E/AS Airflow
Monitor.
Before starting up the Auto Sash Controller, ensure that all Auto Sash Control System
components have been correctly installed and connected.
Note: Check that the fume hood sash and associated motor drives, pulleys, operating cables,
racks and chains move freely over their entire operating ranges.
Note: Check that all cables are secured away from moving components and are not
overstressed or damaged.
Note: Check the security of all electrical connections.
7.6.1 Starting up the Auto Sash Control Unit
1. Switch on the Auto Sash Control Unit.
When powering up, the Auto Sash Control Unit performs a self-test of its functions, LEDs and
the audible alarm. This self-test takes approximately 3 seconds.
During the self-test period, all inputs and outputs are de-activated.
2. At the end of the self-test, the Auto Sash Control Unit will do one of two things:
If the Auto Sash Control Unit has previously been calibrated:
• The Auto Sash Controller enters the Normal Operating Mode and displays its current
status or alarm condition.
If the Auto Sash Control Unit has not been calibrated:
• When the Tilt Switch input is open, the display shows 'Sash Drive Inhibited'.
• When the Tilt Switch input is closed, the display shows ‘Auto Sash Not Configured'.
7.6.2 Calibrating the Auto Sash Control Unit for Tiptronic operation using the
Auto Sash keypad
The Auto Sash Control Unit must have each of its required stationary positions defined for
Tiptronic functionality:
1. Press and hold the Enter button for approximately 5 seconds or until the main menu
appears.