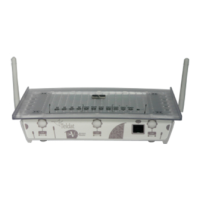
3.1.1.1 LEDs
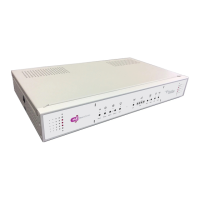
The LEDs are located on the front panel of the router as shown in the following image:
Fig. 3: Teldat H2 RAIL: Front panel
The meaning of each LED depends on the modules installed. Each LED belongs to one of four possible modules.
See the table below for the meaning of each LED:
WWAN module
Off -> system stopped.
Red -> interface is unavailable because it's not installed, not enabled (shutdown)
or there was an auto-test failure.
Amber -> idle.
• Rapid flashing. The device has not registered with the network or there is insuffi-
cient quality for it to do so.
• Slow blinking. GSM connection (GPRS).
• Steady. WCDMA (UMTS / HSDPA) connection.
Green -> connected. Flashing: Data is being transferred.
WLAN module Red -> interface down.
Green -> interface up.
Blinking (green/red) -> activity/maintenance.
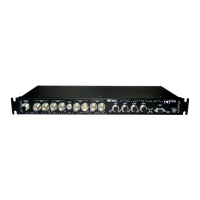
3.1.2 Rear panel
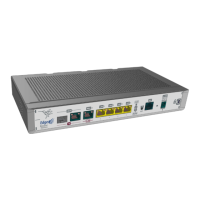
The following image shows the rear panel of the Teldat H2 RAIL where you can see the other connectors.
Fig. 4: Rear panel
The rear panel elements are as follows:
Table 3: Rear panel elements
Item Description
SIM card 1..4 SIM trays (1 to 4). For more information on how to install the SIM cards and assign them to each
module, see SIM card installation on page 14
3.2 Mounting options
The Teldat H2 RAIL is designed for installation in a 19-inch rack.
Note
The device should be handled and installed by qualified service personnel, otherwise it could be dam-
aged or malfunction.
Teldat S.A.
3 Components and power supply
Teldat H2 RAIL 5