32 33
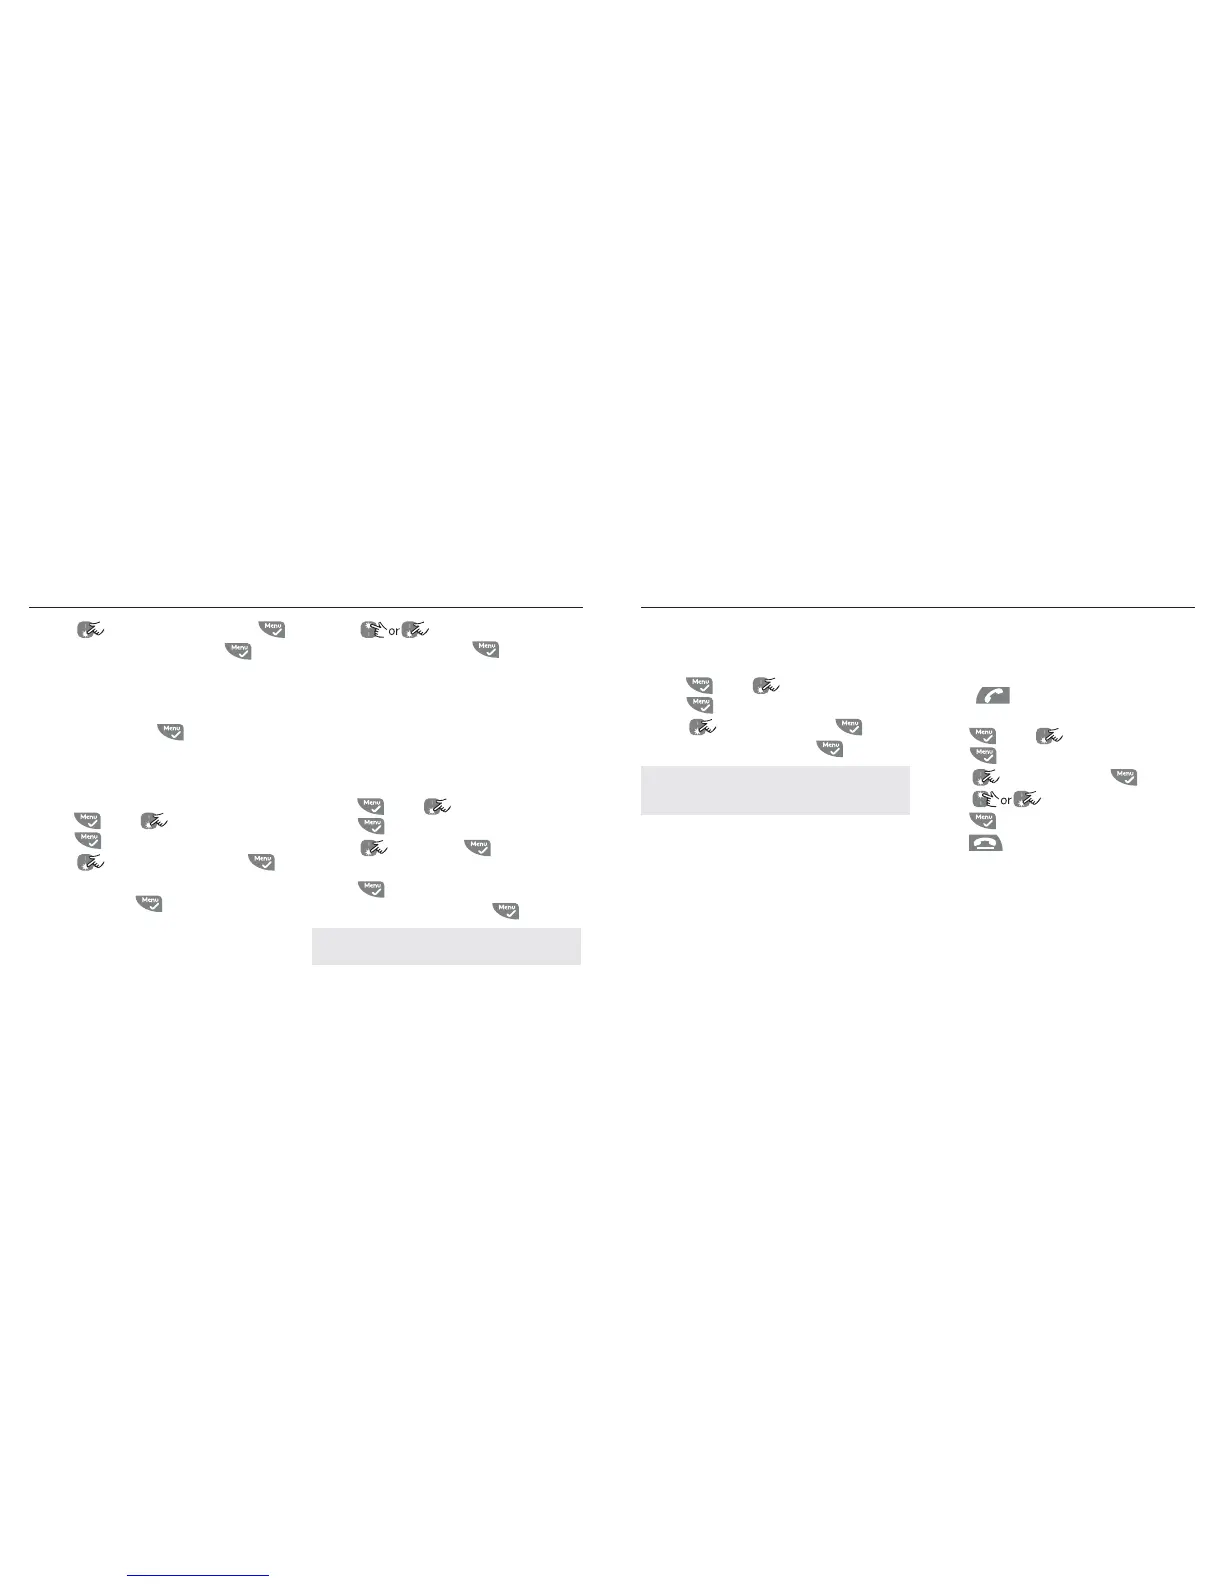
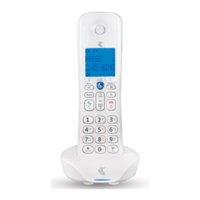
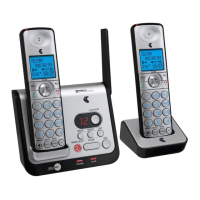
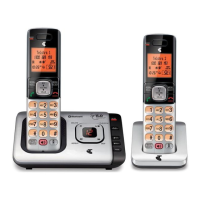
Using the phone Using the phone
2. Scroll to
REGISTRATION
and press .
3.
SELECT BASE
is displayed. Press . The
available bases are displayed with the
current base number flashing.
4. Enter the number of the base you want
1,2,3 or 4 and press
. When the base
is found you hear a beep. If not found, the
display shows
UNREGISTERED
.
To unregister a handset
1. Press , scroll to
ADVANCED SET
and
press .
2. Scroll to
UNREGISTER
and press .
3. Enter the 4 digit master PIN (Default is
0000) and press . Display shows the
registered handset numbers.
4. Scroll
to select the handset you
want to delete and press .
UNREGISTERED
is displayed on the handset screen.
To set the PIN
The 4-digit master PIN is used when
registering or unregistering a handset and
when changing some settings on your Telstra
Colombo. The default setting is 0000. You can
change this PIN for more security.
1. Press
, scroll to
ADVANCED SET
and
press .
2. Scroll to PIN. Press .
3. Enter the current 4 digit master PIN and
press . (Default setting 0000).
4. Enter the new PIN and press .
NOTE Make a note of your PIN. If you forget your PIN
you will need to reset your product.
To reset your Telstra Colombo
This will reset your Telstra Colombo to its
default settings.
1. Press
, scroll to
ADVANCED SET
and
press .
2. Scroll
to
RESET UNIT
. Press .
3.
CONFIRM?
is displayed. Press .
NOTE Entries stored in the phonebook and new
answering machine messages are retained when the
phone is reset.
To turn intrusion on
When an external call is taking place, another
handset registered to the base can join in,
making the call a 3-way conference, just by
pressing
. To enable this, Intrusion must
be switched On.
1. Press
, scroll to
ADVANCED SET
and
press .
2. Scroll to
INTRUSION
. Press .
3. Scroll to
ON
or
OFF
.
4. Press to confirm.
5. Press to return to standby.