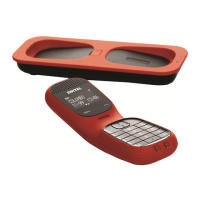
48 49
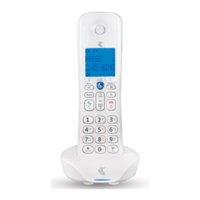
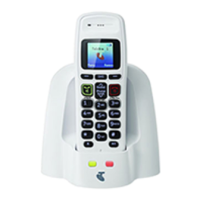
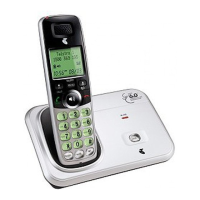
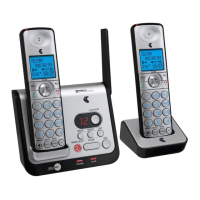
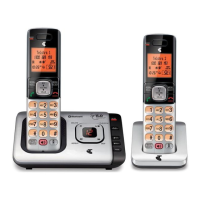
The answering machine The answering machine
Outgoing messages
This is the message your callers hear on
the answering machine. There are two pre-
recorded outgoing messages, or you can
record your own.
Answer & Record
The caller can leave a message. The pre-
recorded message is ‘Hello, your call cannot
be taken at the moment, so please leave your
message after the tone.’
Answer Only
The caller can listen to your announcement
but cannot leave a message. The pre-recorded
message is ‘Hello, your call cannot be taken at
the moment, and you cannot leave a message,
so please call later’.
To set answer mode
Set your machine to Answer & Record or
Answer Only.
1. Press scroll to
ANSW
MACHINE
and press .
2. Scroll
to
ANSWER MODE
and press .
The current answer mode is displayed.
3. Scroll to select
ANSWER & REC
or
ANSWER ONLY
and press .
4. Scroll to display the message
type you want:
PERSONALISED
to set your
own recorded message or
PREDEFINED
for
the pre-recorded message.
5. Press to confirm.
If you select personalised you can record, play
or delete your own outgoing message.
1. Press scroll to
ANSW
MACHINE
and press .
2. Scroll
to
ANSWER MODE
and press .
3. Scroll
to select
ANSWER & REC
or
ANSWER ONLY
and press . Scroll
key to select
PERSONALISED
then
press .
4.
PLAY
is displayed. Press . Current
message is played back.
To record an outgoing message
1. Press scroll to
ANSW
MACHINE
and press .
2. Scroll to
ANSWER MODE
and press .
3. Scroll to select
ANSWER & REC
or
ANSWER ONLY
and press . Scroll
key to select
PERSONALISED
then
Press .
4.
PLAY
is displayed. Scroll to
RECORD
MESS.
To delete a personalised outgoing
message
1. Press scroll to
ANSW
MACHINE
and press .
2. Scroll to
ANSWER MODE
and press .
3. Scroll
to select
ANSWER & REC
or
ANSWER ONLY
and press . Scroll
key to select
PERSONALISED
then
Press .
4.
PLAY
is displayed. Scroll to
DELETE
.