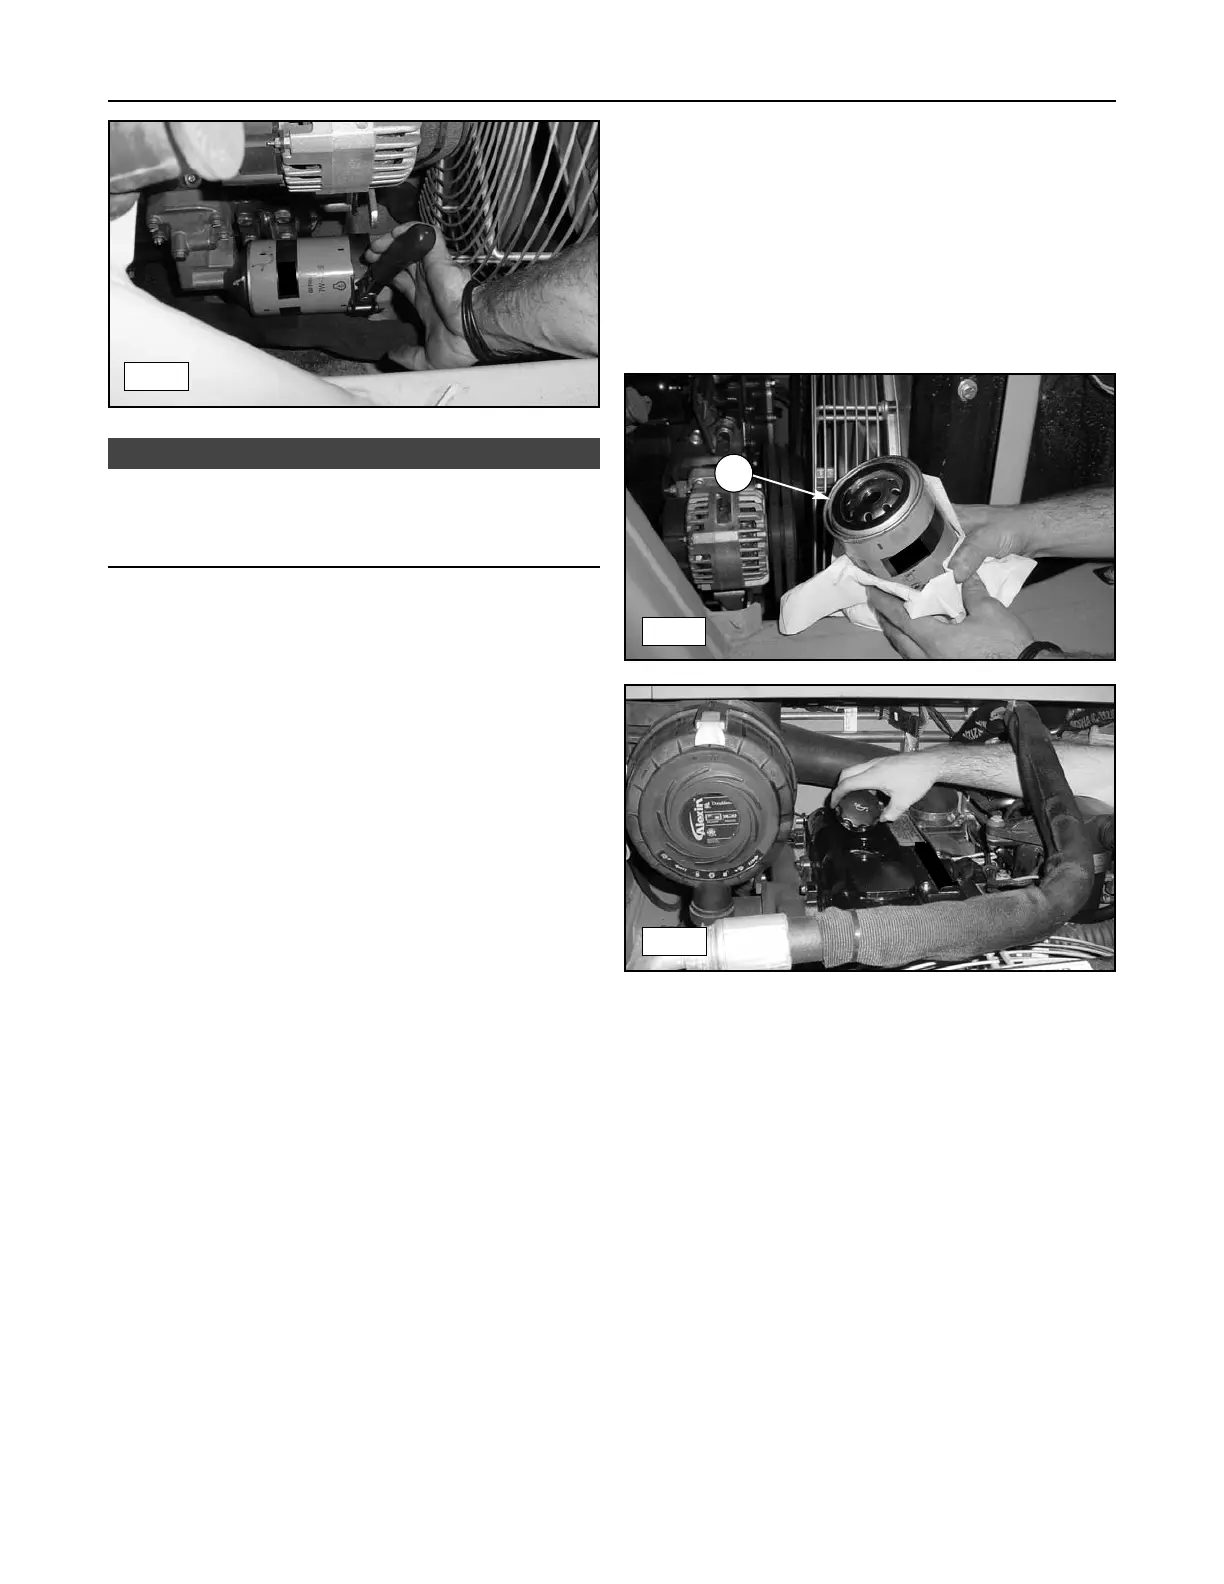
If the old filter gasket (A) is not removed from the filter head
and the new filter is installed on top of it, an oil leak will result
when the engine is started. If this leak goes unnoticed, the
engine can run itself out of oil causing engine failure.
6. Once the filter has been removed, check to make
sure the rubber gasket has come off of the filter
head with the old filter. If it is not on the old filter,
check the filter head. If it is still on the filter head,
remove it prior to installing the new filter. (fig. 11-
23)
7. Prepare new filter for installation by rubbing fresh
oil on the exposed surface of the filter gasket.
8. Thread the new filter onto the filter head. Tighten
the filter by hand as instructed by the label located
on the filter or filter box.
9. Re-install the oil drain plug into the pan and tighten
to 50 +/- 10 lb ft (68 +/- 13 Nm)
10. Remove the oil filler cap and fill the engine
crankcase with Terex 10W-30 Heavy Duty Engine
Oil (capacity: 8.5 U.S. quarts or 8.44 liters including
filter). (fig. 11-24)
11. Install the oil filler cap and hand tighten.
12. Perform a visual inspection to make sure the drain
plug, filter and oil filler cap are in place and tight.
13. Start the engine and watch the oil pressure indica-
tor light located on the display panel. It should
illuminate when the key is turned to the on position
and go out shortly after the engine is started. If it
stays on, turn the engine off immediately and look
for any problems. If it goes out as expected, oil
pressure has been achieved.
14. Once the engine is running, perform a visual
inspection to make sure there are no leaks or other
visible problems.
15. If everything looks like it should, shut the engine
down and exit the machine.
16. Reinstall the access hole cover.
17. Perform the oil level check procedure on p. 11-13.
11-12
Compact Track Loader
11. Maintenance
11-22
A
11-23
11-24
NOTICE
 Loading...