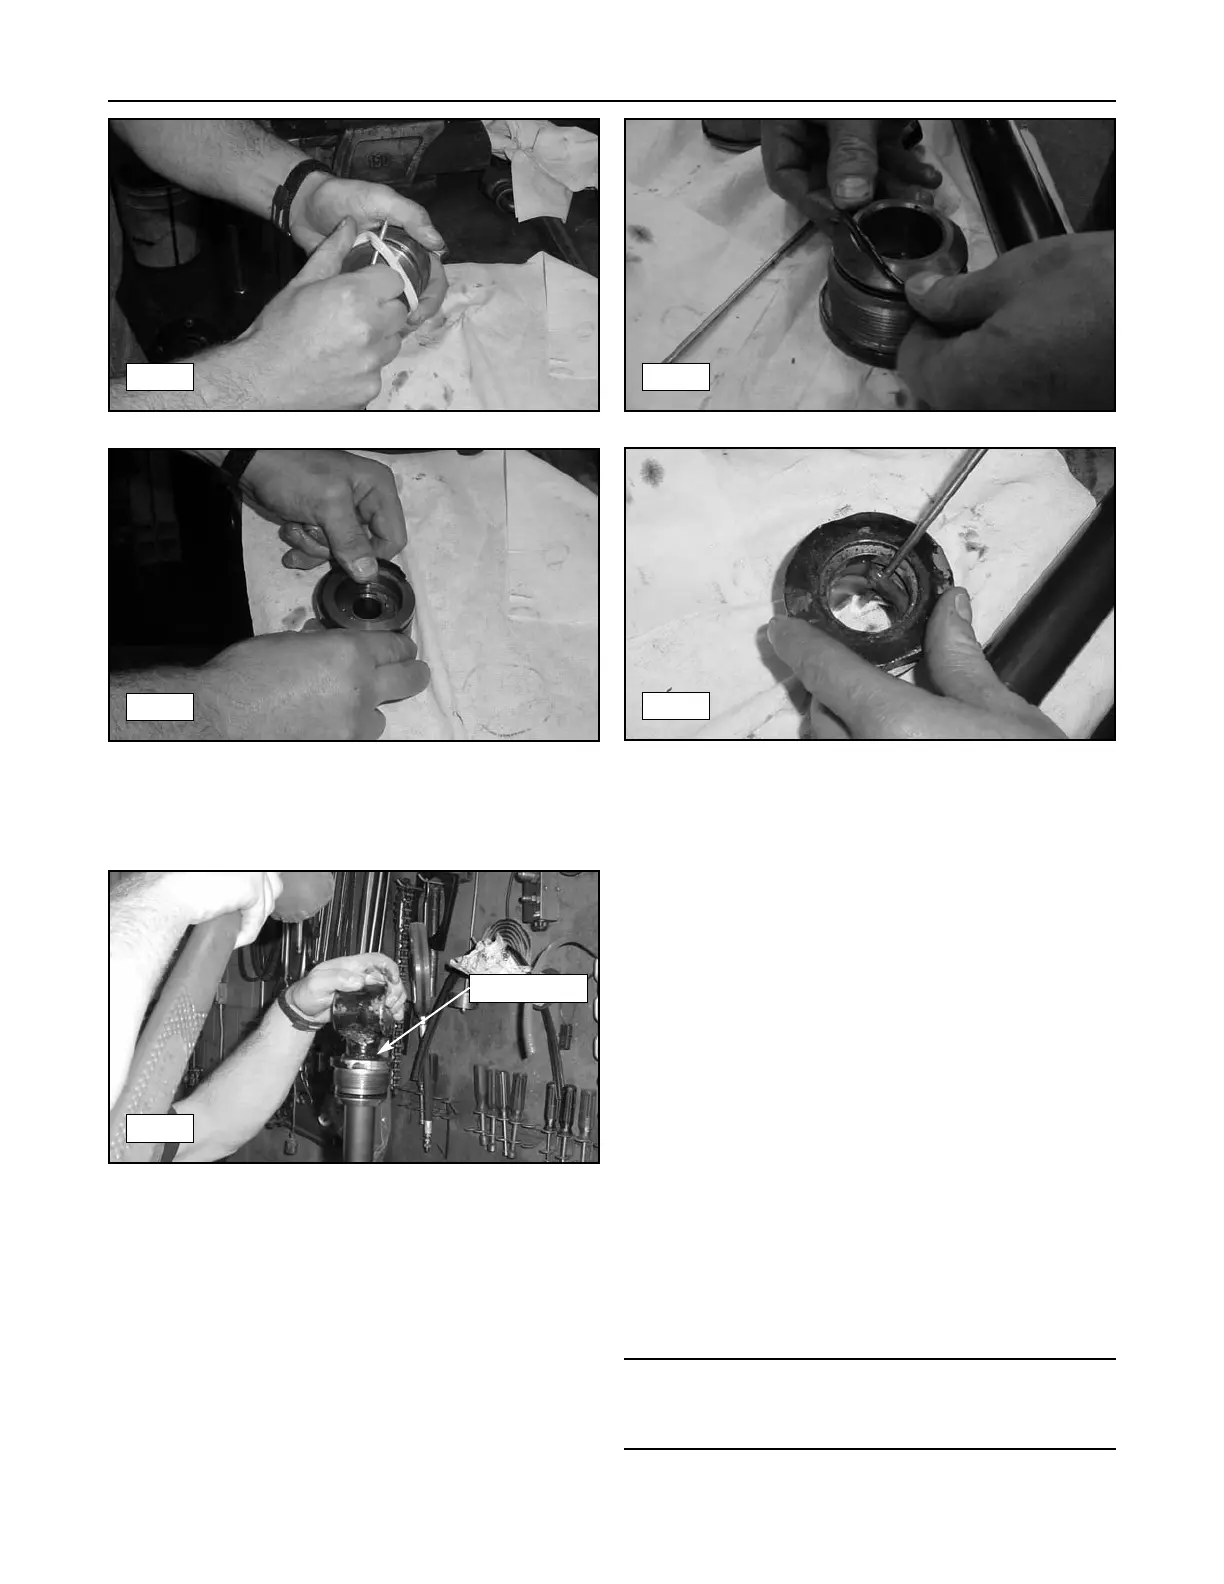
11. Remove the seals and piston ring taking care not
to scratch the piston. Also, pay close attention to
seal and ring orientation and position to aid when
installing new parts. (fig. 15-8, 15-9)
12. Gently tap the end gland off of the cylinder rod.
(fig. 15-10)
13. Remove the tandem seals from the end gland pay-
ing close attention to the order of removal to aid
during installation of the new seals. (fig. 15-11)
14. Remove the inner seal from the end glad. Pay
attention to the seal orientation upon removal to
aid during installation of the new seal. (fig. 15-12)
15. Remove the end gland outer seal from the end
gland. (fig. 15-10)
16. Thoroughly clean all parts to prevent contamina-
tion of hydraulic oil when reinstalled.
Hydraulic Cylinder Assembly
1. Install new seals and components in place of the
originals paying close attention to orientation and
location to ensure proper operation.
2. Lubricate the piston, ring, and seals with fresh
hydraulic oil prior to assembly to avoid damage.
3. Reassemble components by reversing the disas-
sembly process.
4. Perform steps 10-13 of the hydraulic fluid change
procedure on page 11-14.
Note: During reassembly, use an impact wrench to tighten
the piston retaining lock nut. Make sure the nut is tight and
that there is no independent movement between the piston
and rod before reassembling.
15-3
Compact Track Loader
15. Hydraulic Cylinder & Loader Valve
15-8
15-9
15-10
15-11
15-12
Outer Seal



 To Next Page