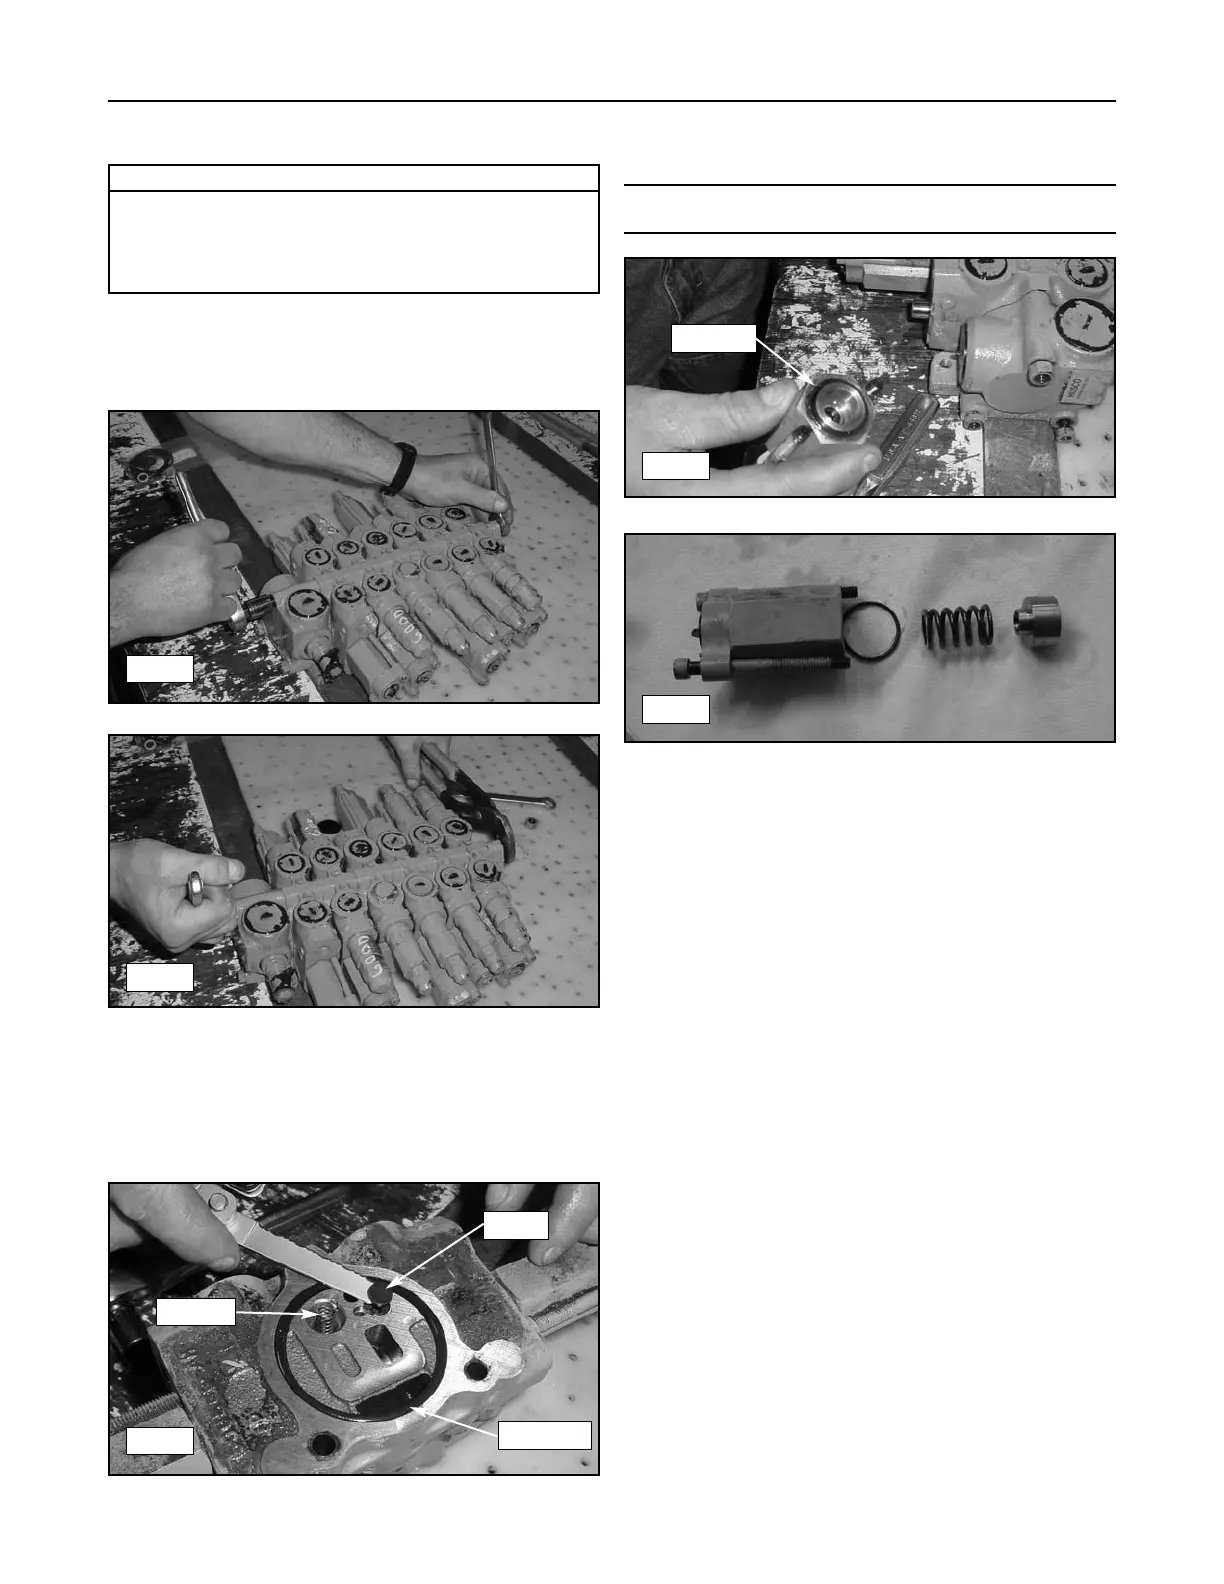
Loader Valve Disassembly
1. With machine off and cool and with hydraulic actu-
ators relaxed, disconnect and cap all lines from
the loader valve. Plug all ports on the valve.
2. Remove the loader valve and place it on a bench
in a clean work area.
3. Remove the nuts holding the valve stack together.
(fig. 15-13, 15-14)
4. Remove each valve section and inspect the seals
for damage, replace if necessary. (fig. 15-15)
Note: Make sure not to lose springs or disks when removing
sections. These parts are not available individually.
5. Remove the inlet port assemblies and inspect the
seals for damage, replace if necessary.
(fig. 15-16, 15-17)
6. Thoroughly clean all components to avoid
hydraulic system contamination during installation.
Loader Valve Assembly
1. Install new seals and components in place of the
originals paying close attention to orientation and
location to ensure proper operation.
2. Reassemble components by reversing the disas-
sembly process.
3. Perform steps 10-13 of the hydraulic fluid change
procedure on page 11-14.
15-4
Compact Track Loader
15. Hydraulic Cylinder & Loader Valve
Required Tools
Socket Wrench
Combination Wrench
Screwdriver (blade type)
Pliers
15-13
15-14
15-15
Disk
O-ring
Spring
15-16
O-ring
15-17
 Loading...