4. Initial operation
43
4.6 System check: Control unit and logger
4.6.1 Connecting probes
Probes are only recognised by the Control unit and the logger if they were already
connected prior to switch-on.
Insert the probe into one of the four sockets available in the logger.
4.6.2 Switching on Control unit
Press to switch on Control unit.
-
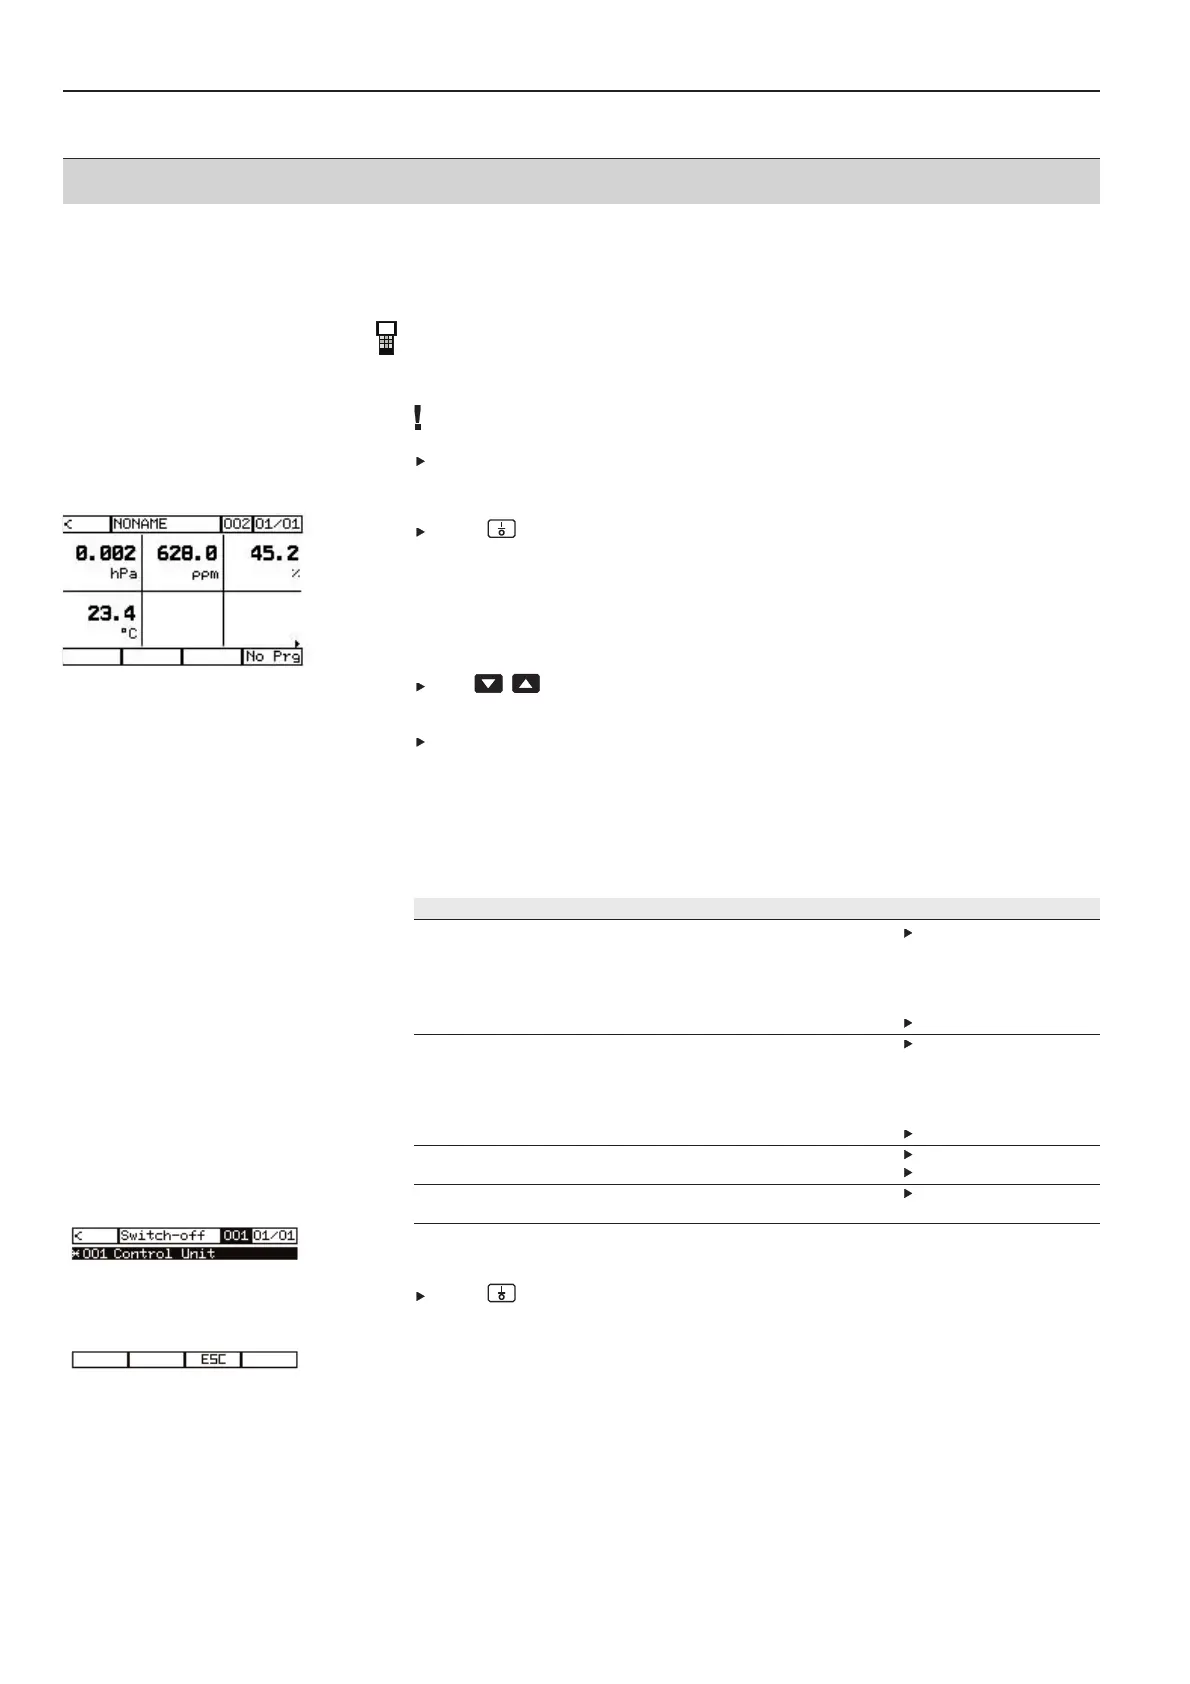
After a brief initialisation phase, the Control unit measurement menu switches
automatically to the measurement view in the logger.
The readings from the connected probes are shown in the order of the probe socket
allocation.
With more than six readings:
Use to scroll between the displays.
-
The current display page is shown in the top display line on the right.
Attach a terminal plug to the last instrument (logger).
The following must be available after the Control unit is switched on:
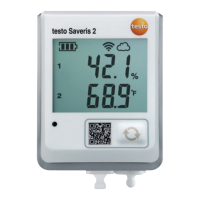
1
Status LED on logger lights up green.
2
Control unit display lights up.
3
The readings from the probes connected to the logger are shown in the display.
Troubleshooting
Fault Cause Remedy
LED on logger does not light up. No power in logger. Check if the instruments are
connected correctly to each
other:
· Databus cable/ power cable
· Contact strips
Rechargeable battery pack is empty. Recharge rechargeable battery.
Control unit cannot be switched on. No power to Control unit. Check if the instruments are
connected correctly to each
other:
· Databus cable/power cable
· Contact strips
Rechargeable battery pack is empty. Recharge rechargeable battery.
Probes are not recognised. Probes are not connected correctly. Connect probes correctly.
Probes are defective. Change probes.
Loggers are not recognised No databus connection Check bus connection.
(terminal plug)
4.6.3 Switching off Control Unit and logger
Press to switch off Control unit.