5. Setting up measurement system
48
5.2 Setting up databus controller and logger
·
The bus connection for
one
logger is set up.
·
COMSOFT is opened.
·
All connected instruments are opened
5.2.1 Changing the bus address
Every instrument has a default bus address with which it can be clearly identified. The
bus address is made up of a two-digit number which is assigned as follows:
·
Logger: 20 to 29 as standard.
All bus ID addresses must be different.
If the bus address is the same, it will have to be changed.
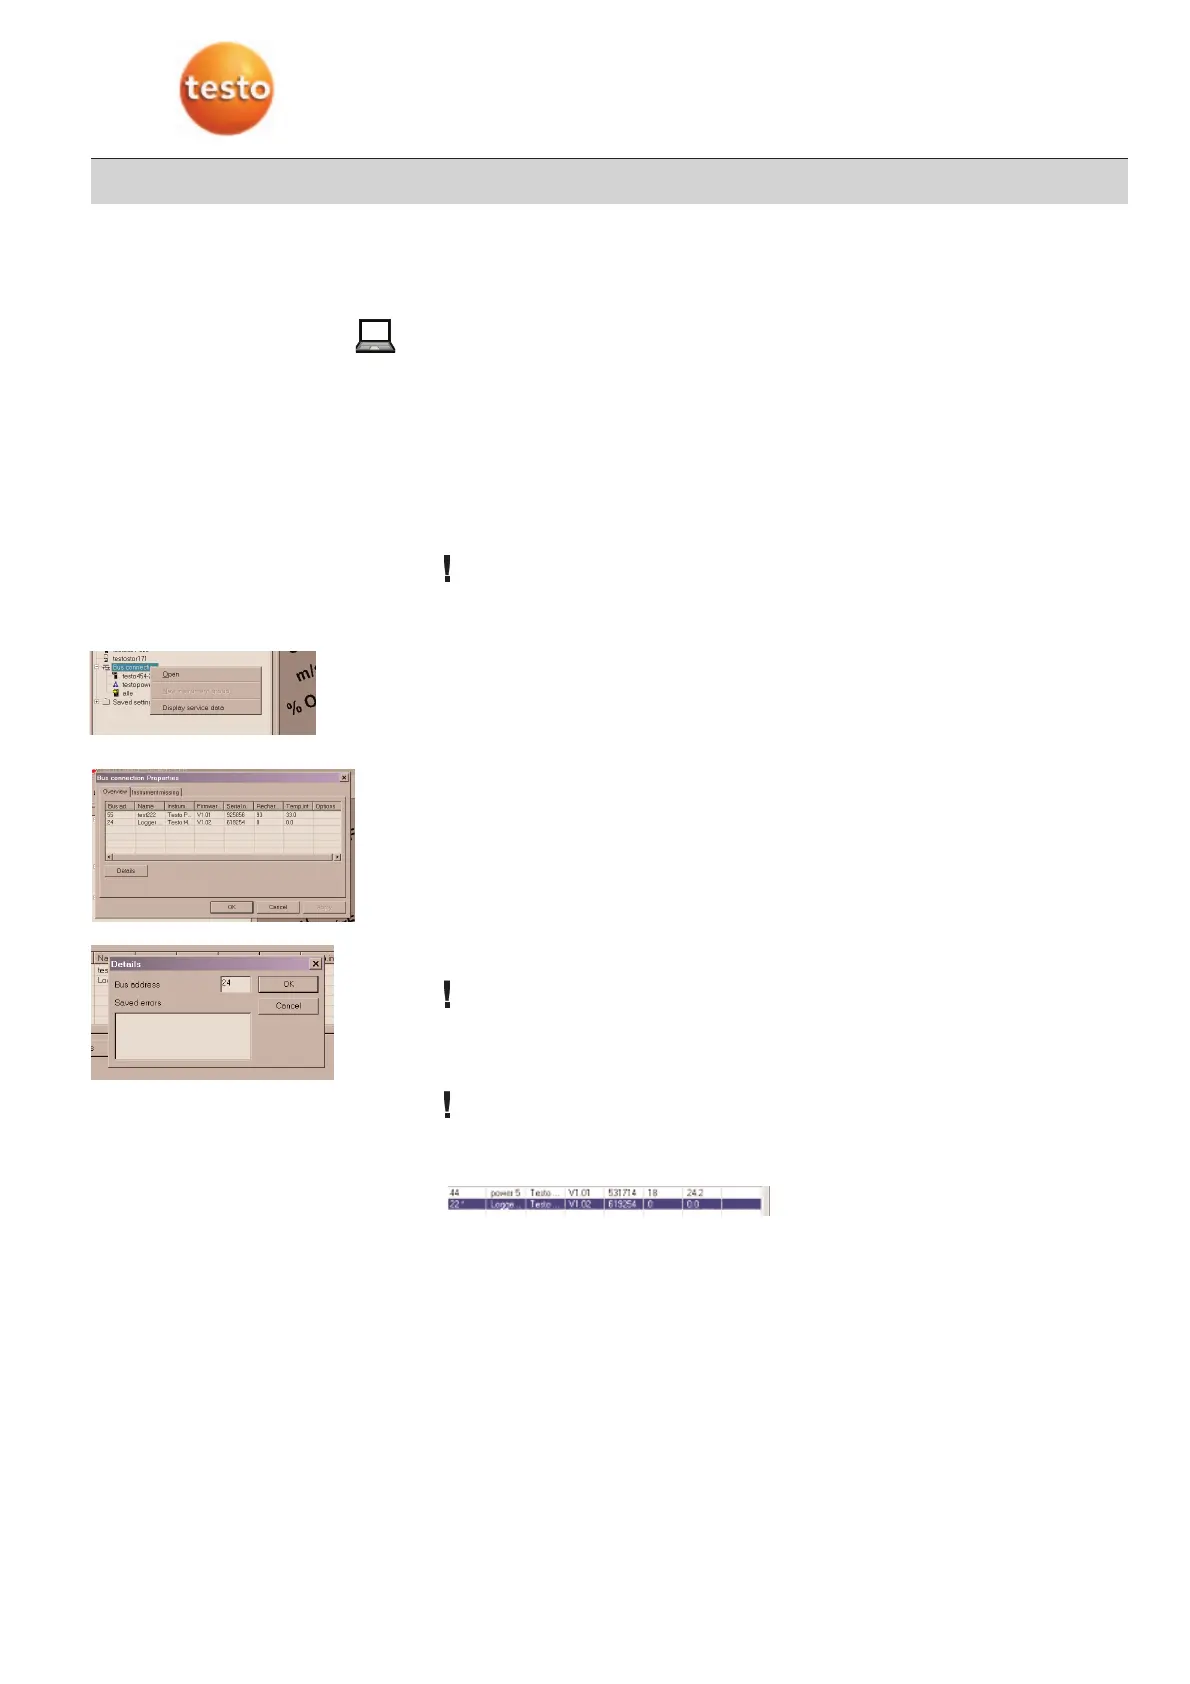
1
Mark the bus connection icon.
2
Open the context menu with the right mouse button.
3
Select “Display service data”
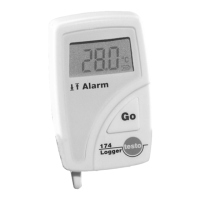
-
The “Bus connection properties” window opens. All subscribers which are connected
to Comsoft via the Testo databus are listed.
4
Test bus connection
·
If several loggers are connected, check each logger and change the bus address if
necessary.
5
Select instrument.
6
Select “Details” buttons.
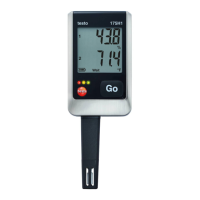
7
Mark address, enter new bus address
If high figures are selected, it can take a while before the logger is recognised.
8
Confirm with OK
-
Two pieces of information appear.
The new address is only valid once the instrument is rebooted.
9
Confirm both pieces of information with OK.
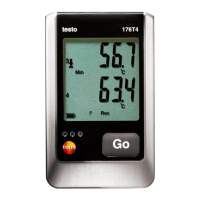
-
The address now appears with a star
10
Close the bus connection, switch off instrument.
11
Switch on instrument and set up new bus connection.
-
The bus address is now valid.