CUTMASTER A40
Manual 0-4978 5-7 SERVICE
Art # A-07989
1
2
3
4
5
6mm
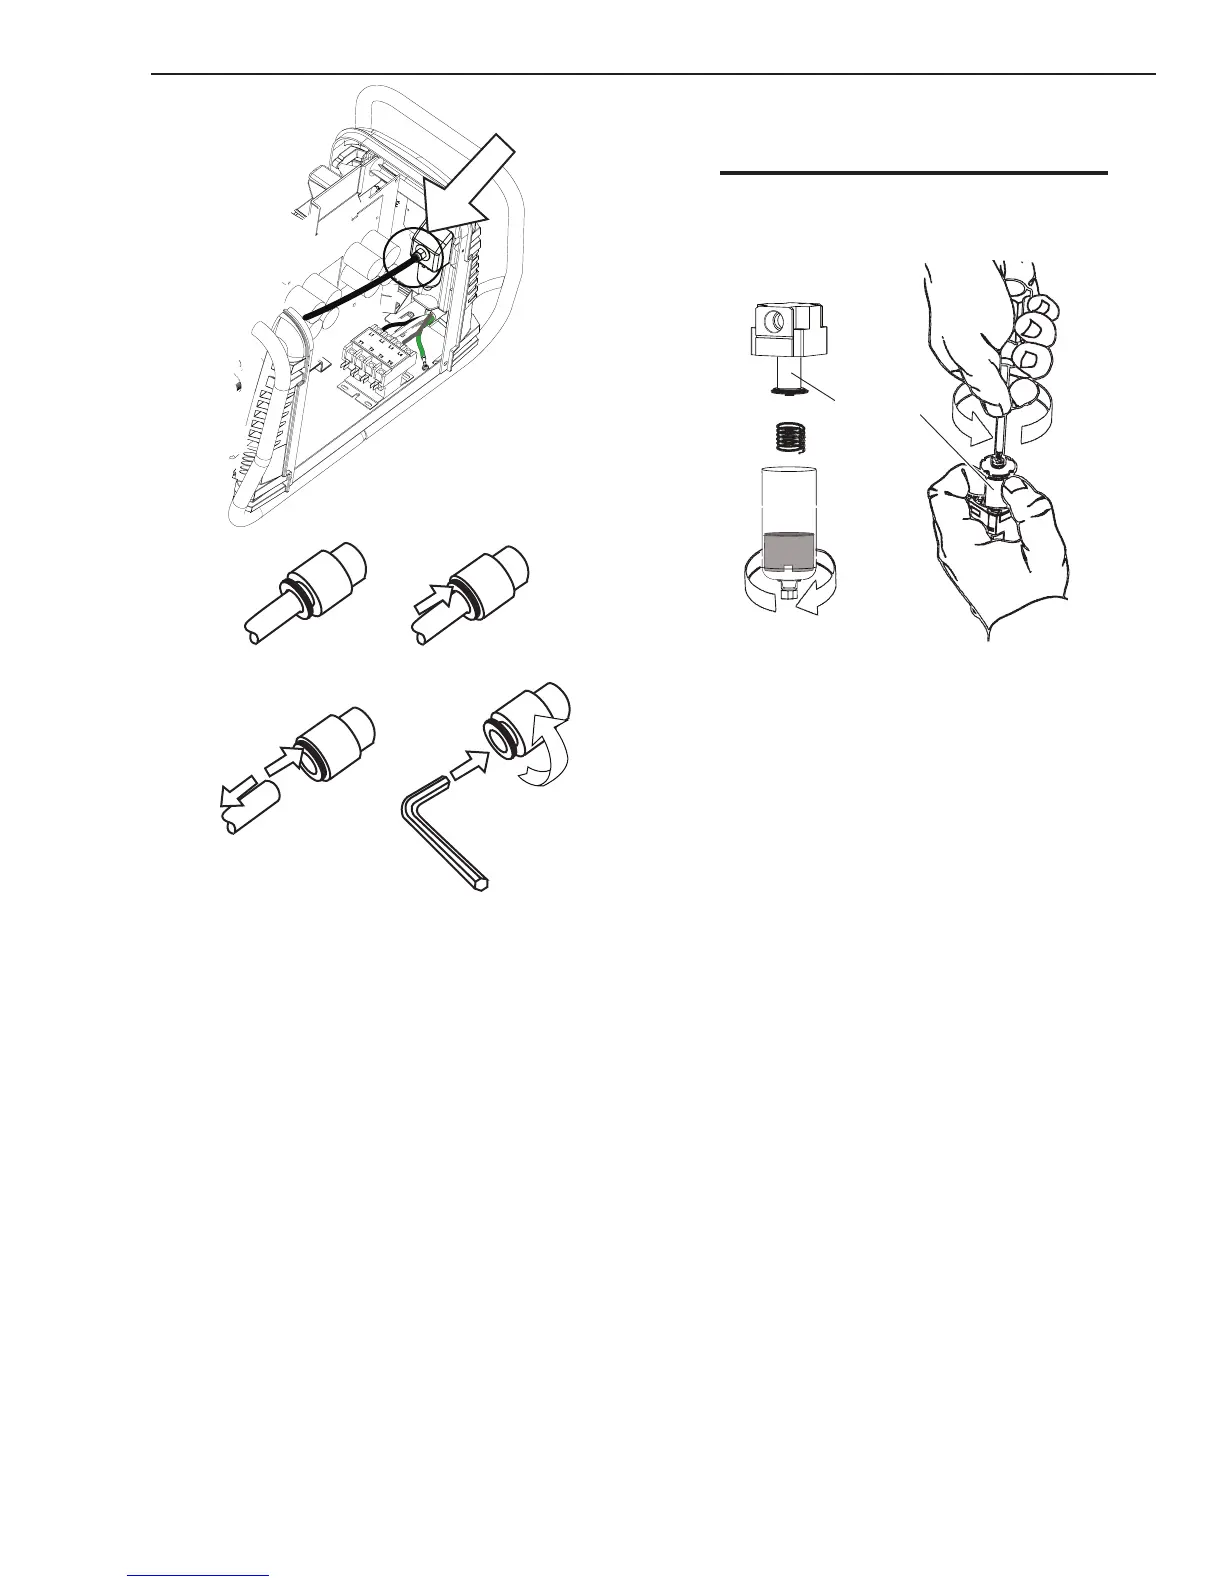
5. Remove the tting from the lter element
assembly by inserting a 6 mm hex wrench
into the internal hex tting and turning it
counter clock-wise (left). Numbers 4 and 5
in the previous illustration.
6. Disconnect the input line from the lter
element assembly.
7. Remove the lter element assembly
through the rear opening.
NOTE
If replacing or cleaning just the filter element
refer to the following illustration for disas-
sembly.
Art # A-07990
Filter Element
8. Install the new or cleaned assembly by
reversing these procedures.
9. Turn ON the air supply and check for leaks
before reinstalling the cover.