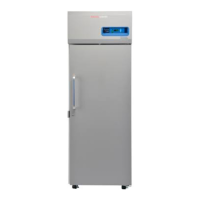
Ultra Low Temperature Freezers Installation | 11
a valid proximity card below the display area. Once the door is
open, remove the 9V battery.
Note: The terminals are polarized, therefore orient the 9 V
battery properly according to plus and minus shown behind
USB cover.
Closing the Door
Note: The latch does not automatically engage upon closing
the door. Users need to manually rotate the latch into the
open position first.
1. Grasp the latch handle (preferably with the user’s left
hand) and pull it toward yourself, rotating the latch into
the open position.
2. Bring the freezer door to closed position and gently push
the handle away from you, to ensure that the latch fully
engages with the cabinet strike.
3. Continue applying gentle pressure to the latch handle
until the latch securely closes.
4. Insert the key and rotate counterclockwise to lock.
5. Replace the padlock as required.
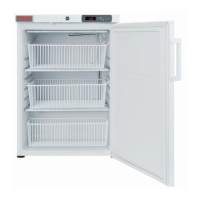
Pressure Equalization Port
When the door of an upright ultra-low temperature freezer is
opened, room temperature air enters the storage
compartment. Upon closing the door, the enclosed air is
rapidly cooled, causing a significant drop in pressure below
atmospheric levels, creating a substantial vacuum. Re-
entering the cabinet may be challenging until internal
pressures return to atmospheric levels. Without a pressure
equalization mechanism, it may take several hours before the
door can be easily reopened.
All upright models include a port designed to provide vacuum
relief after door openings. This pressure equalization port is
located in the door behind the user interface panel on the
front of the freezer. While the port is self-defrosting, the
accumulation of excessive frost on the inner door could
potentially restrict airflow. Therefore, it is recommended to
regularly inspect the inner door and remove any loose frost
using a stiff nylon brush.
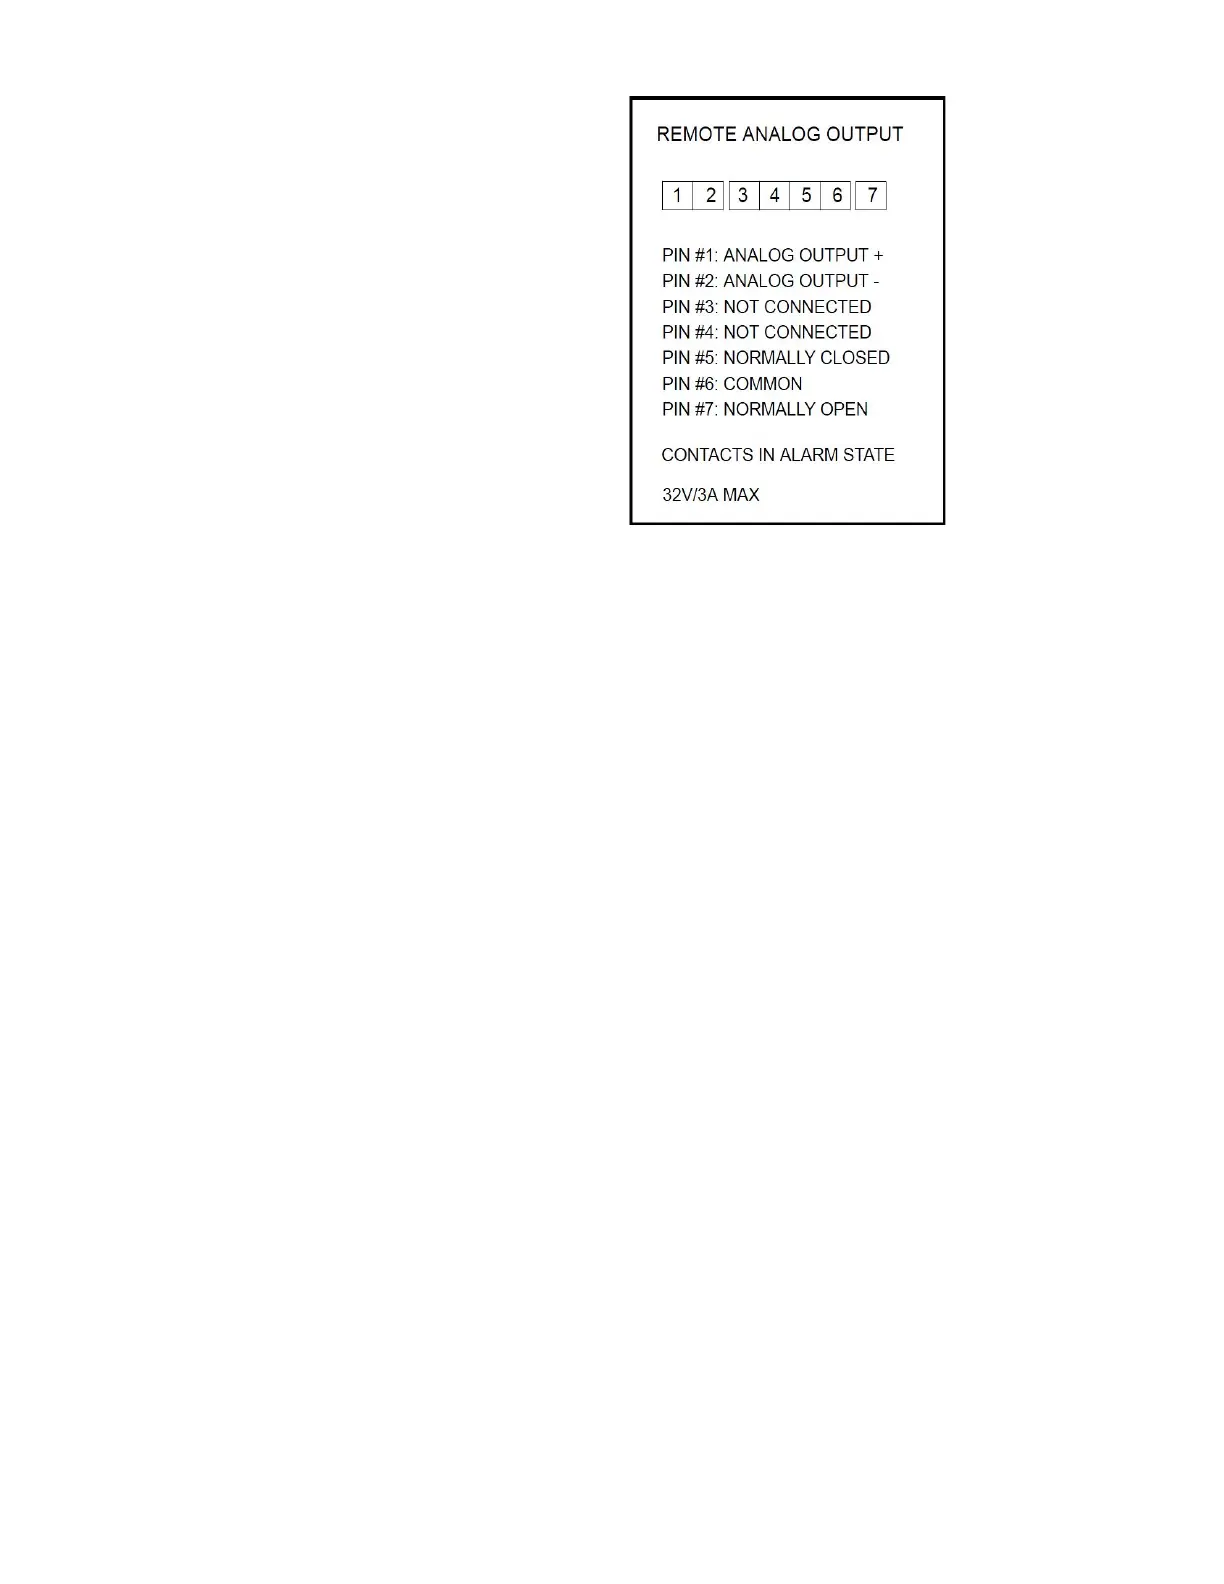
Installing the Remote
Warning Connector
The remote warning contacts are positioned behind the
freezer, above and to the right of the power inlet. Once the
wiring from the remote warning is installed to the connector,
proceed to attach the connector to the freezer micro-board.
The pin configuration is shown in Figure 3:
Figure 3. Remote warning Pin Configuration
The contacts of the relay will trip in the event of a warning.
This includes a power failure, high temperature warning, low
temperature warning and door open warning.
 Loading...