Installing the product
16
4
Check the fuse panel’s input and output contact points by using an electrical tester.
5
Place the fuses back into their locations on the fuse panel, connecting each fuse leg with the wire to
the output contact point and taking care not to change the fuse position.
When you install the fuses on the fuse panel, the fuse legs for the BATTERY wire and the ACC wire
must be connected to the output terminals respectively. If the fuse leg with the wire is connected to an
input terminal, the product or vehicle may be damaged or electrical fire may result.
6
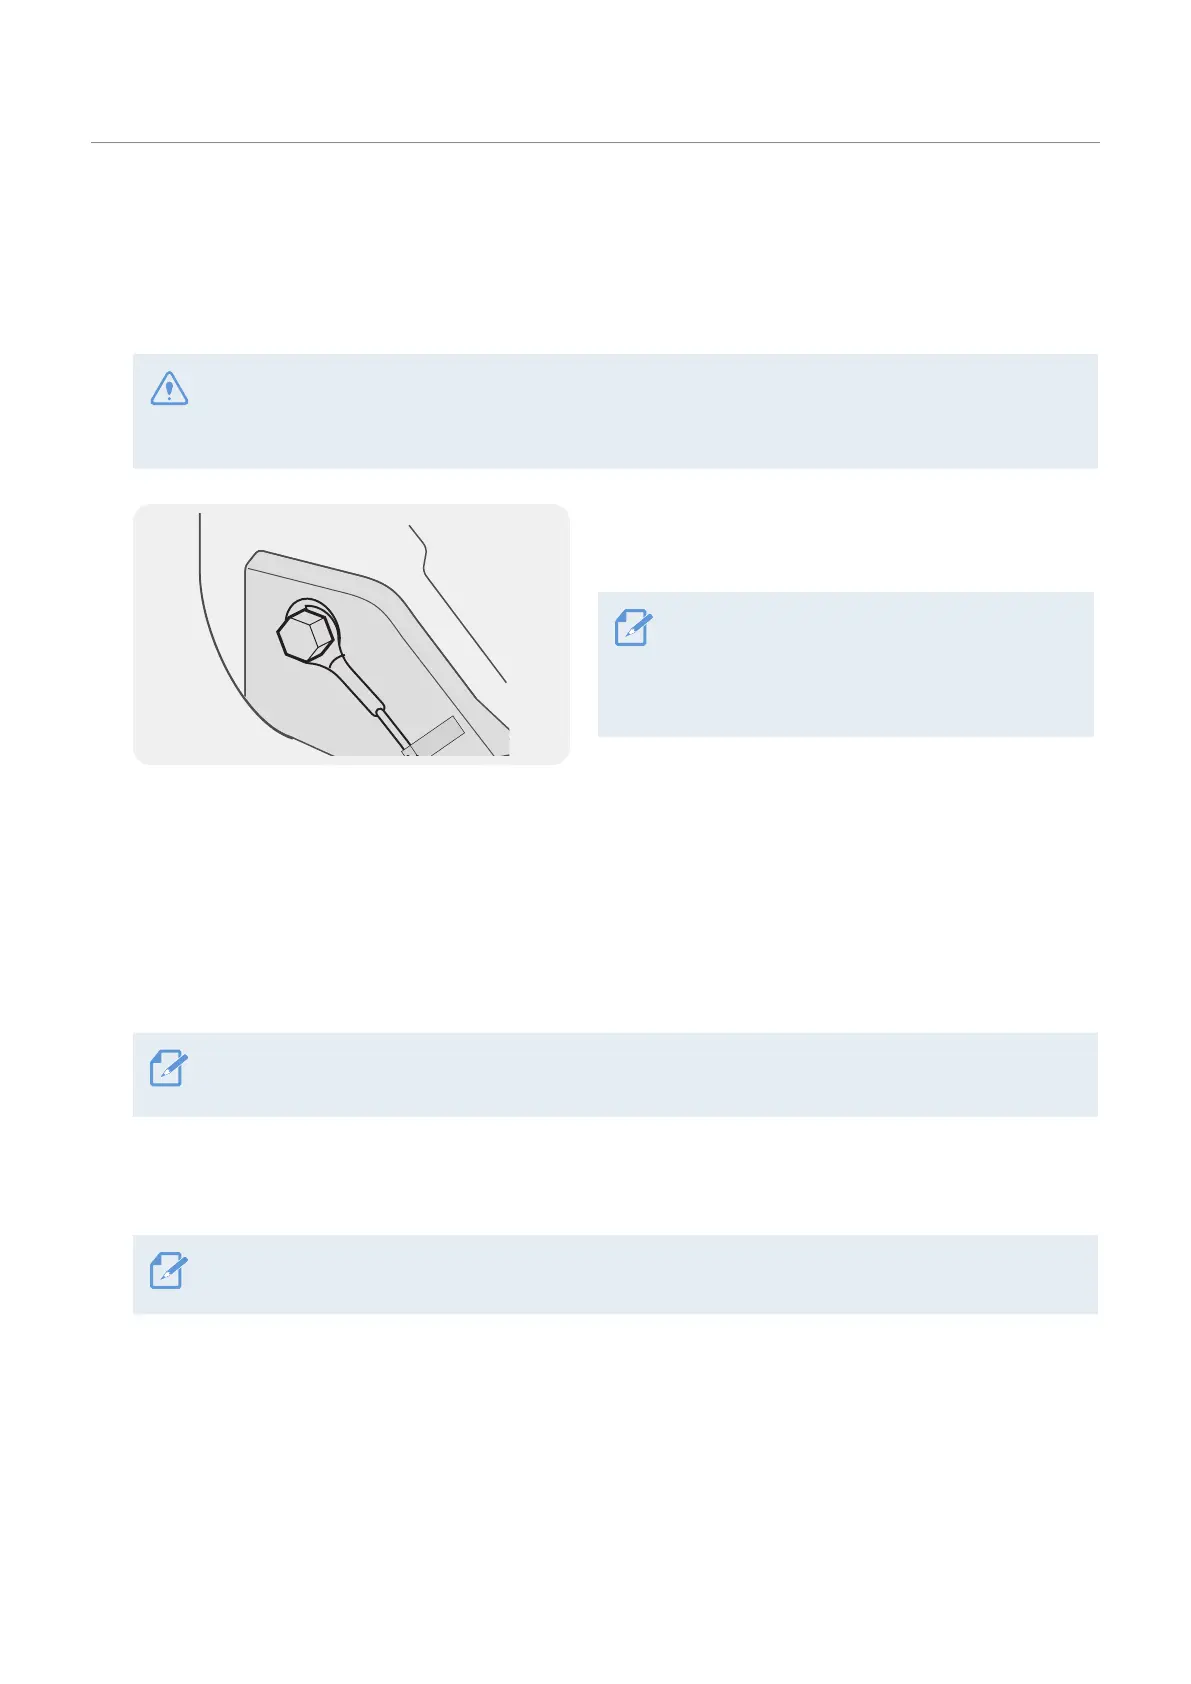
Connect the ground wire (the GND wire) to a bolt
attached to a metallic part of the vehicle’s body.
Normally, the metallic bolt that you can
connect the ground wire to (the GND wire) is
fitted nearby fuse box or the driver seat’s door
interior.
7
Connect the continuous power cable to the product’s DC-IN power connector and start the engine to
make sure the product operates normally.
Once the product is powered on, the LED indicator and the voice guidance are turned on.
8
Install the THINKWARE DASH CAM LINK on your smartphone via the Google Play Store or the Apple
App Store.
For more information about connecting and using the THINKWARE DASH CAM LINK, refer to "4. Using
the mobile viewer" on page 24.
9
Adjust the camera angle so that the hood of the vehicle covers 1/4 - 1/8 of the screen while viewing
the live view on the LCD screen.
For more information about adjusting angle, refer to "Connecting the car charger" on page 14.