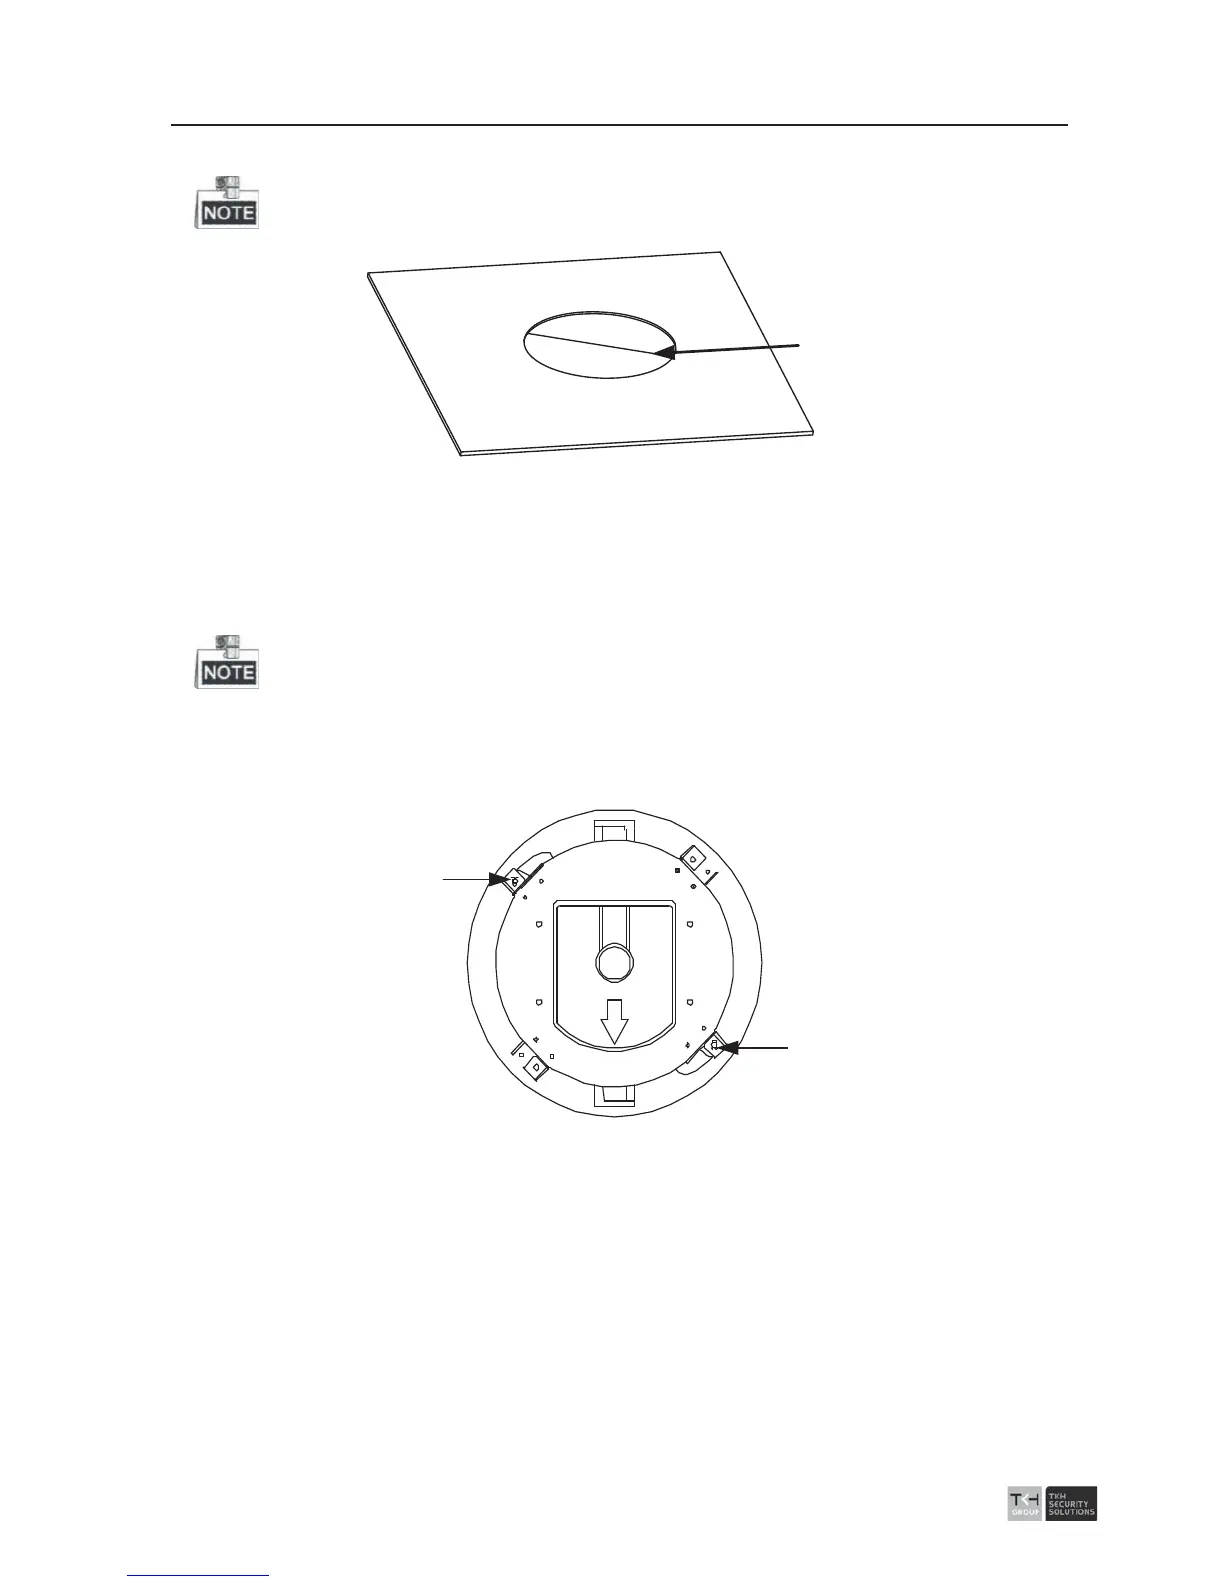
4. Drill a hole on the ceiling according to the drill template (supplied).
±2mm of the diameter of the circle is tolerable.
Ɍ224
Figure
2-33 Draw and Cut a Hole on the Ceiling
5. Connect the cables.
The video cable, control wire and network cable have been connected to the
corresponding interfaces. Connect the power cable and the red LED indicator turns on
when the power is on.
Please turn the power off after checking the speed dome.
6. Install the speed dome to the ceiling.
1). Loosen the two lock screws on both sides of the back box and make the locks in
internal position, as shown in the following figure:
Lock
Lock
Figure
2-34 Locks and Lock Screws
2). Push the speed dome into the mounting hole in the ceiling.
3). Tighten the lock screws with the screwdriver and the locks will automatically
rotate outwards to secure the in-ceiling bracket to the ceiling.