19
5. SYSTEM CONFIGURATION
●
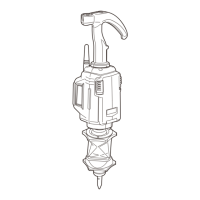
Connecting the 360° Prism to the Remote Con-
troller
Attach the 360° Prism to the Remote Controller so that the
center of the Remote Controller and the sighting direction of the
prism are aligned and the laser projection port is pointing in the
same direction as the prism sighting direction.
Check the stickers to make sure the prism is the right way up.
Prism sighting direction "12.1 High Accuracy with the 360°
Prism"
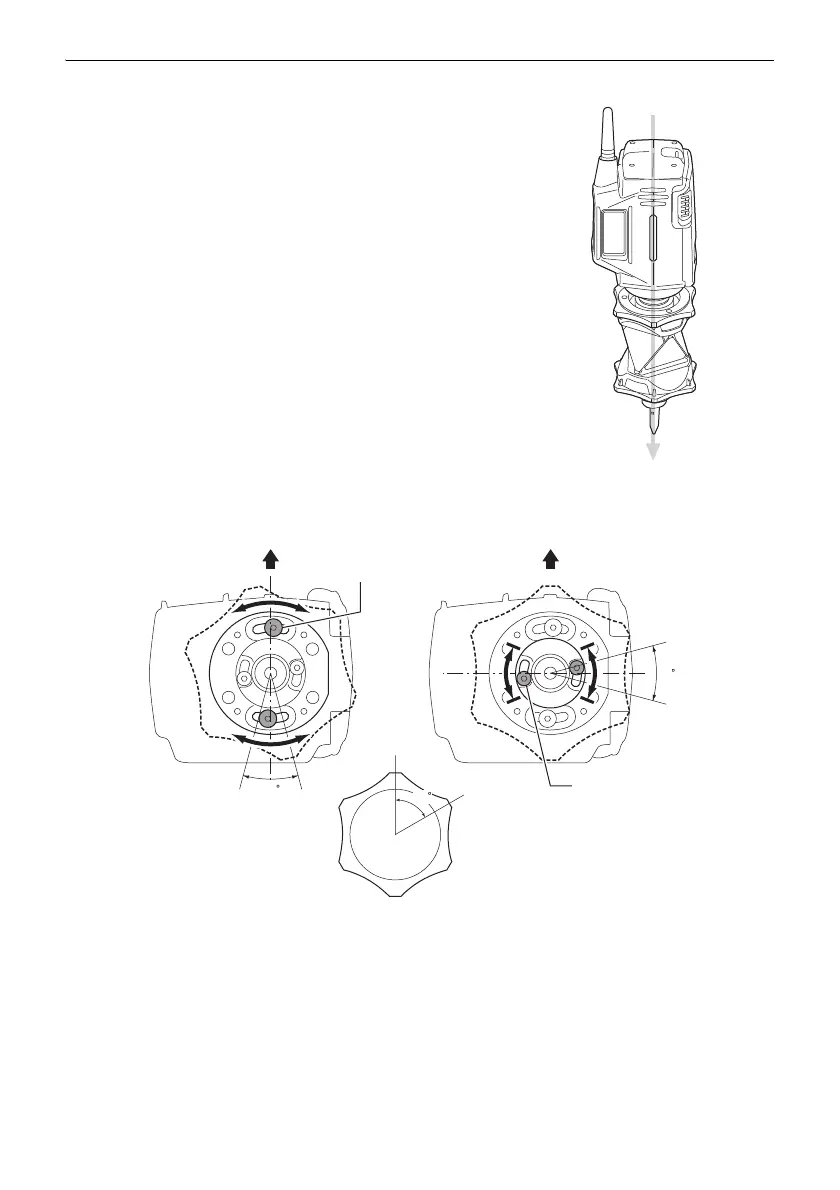
Adjust as follows when the center of the Remote Controller and
the sighting direction of the prism are not aligned. Detach the
Protector RP3 and loosen adjusting screw (1) with the
hexagonal wrench. Re-position the prism, then fix in place. If
the Remote Controller and sighting direction are still not
aligned, detach the 360° Prism and adjust adjusting screw (2).
First move adjusting screw (2) fully to the left or right position
and secure in place, then attempt re-alignment again using
adjusting screw (1). If the desired result is still not obtained try
moving adjusting screw (2) to the opposite position, then
attempt re-alignment with adjusting screw (1) again.
Adjusting screw (1)
Adjusting screw (2)
Moved to either left or
right position
Direction in which 360° Prism is attached