M
moralesmelindaAug 5, 2025
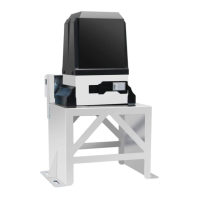
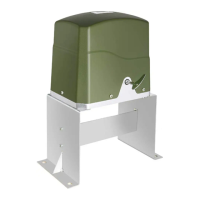
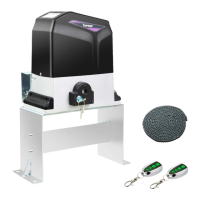
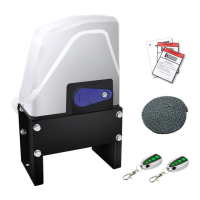
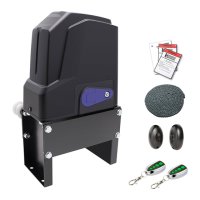
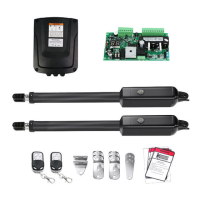
Why is my Topens CK2500 Gate Opener remote control not working?
- EEllen MorrisonAug 6, 2025
If your Topens Gate Opener's remote control isn't working, first check the remote's battery and replace it if needed. If the indicator light is off, that's likely the problem. Also, make sure you're not too far from the opener when using the remote. If the remote still doesn't work, erase the remote controls and then re-program the codes in the device, ensuring the codes are correct and that the remote is suitable for the receiver. If none of these steps work, the control board may need to be checked or replaced.