3.Disconnectthewirefromthesparkplug.Referto
PreparingforMaintenance(page16).
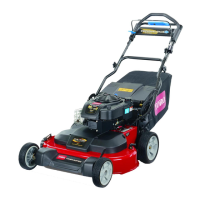
4.Tipthemachineontoitsside,withthedipstickdown,
untiltheupperhandlerestsontheground.
5.Setanoil-drainpanunderthedipstick.
6.Removethedipstickanddraintheusedoilintothe
oil-drainpan(Figure31).
Figure31
7.Afterdrainingtheusedoil,returnthemachinetothe
operatingposition.
8.Pourabout3/4ofthecrankcasecapacityofoilinthe
crankcase.
Note:Max.ll:20oz.(0.59l),type:SAE30
detergentoilwithanAPIserviceclassicationofSF,
SG,SH,SJ,SL,orhigher.
9.Waitabout3minutesfortheoiltosettleinthe
crankcase.
10.Wipethedipstickcleanwithacleancloth.
11.Insertthedipstickfullyintotheoil-lltube,then
removethedipstick.
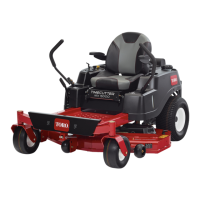
12.Readtheoillevelonthedipstick(Figure32).
Figure32
1.Theoillevelistoolow;
addoiltothecrankcase.
3.Theoilleveliscorrect.
2.Theoillevelistoohigh;
removeoilfromthe
crankcase.
•Iftheoillevelistoolow,slowlypourasmall
amountofoilintotheoil-lltube,wait3minutes,
andrepeatsteps10through12untiltheoillevelis
correctasshowninFigure32.
•Iftheoillevelistoohigh,draintheexcessoiluntil
youobtainthecorrectoillevelonthedipstick.
Important:Iftheoillevelinthecrankcaseistoo
lowortoohighandyouruntheengine,youmay
damagetheengine.
13.Installthedipsticksecurely.
14.Recycletheusedoilproperly.
ChargingtheBattery
ServiceInterval:Every25hours
Yearlyorbeforestorage
Electric-startmodelonly
WARNING
Batteryposts,terminals,andrelatedaccessories
containleadandleadcompounds,chemicals
knowntotheStateofCaliforniatocausecancerand
reproductiveharm.
Washyourhandsafterhandling
thebattery.
Chargethebatteryfor24hoursinitially,thenmonthly(every
25starts)orasneeded.Alwaysusethechargerinasheltered
area,andchargethebatteryatroomtemperature(about70°
F,or22°C)wheneverpossible.
Note:Themachineisequippedwithanalternatorcharging
system.
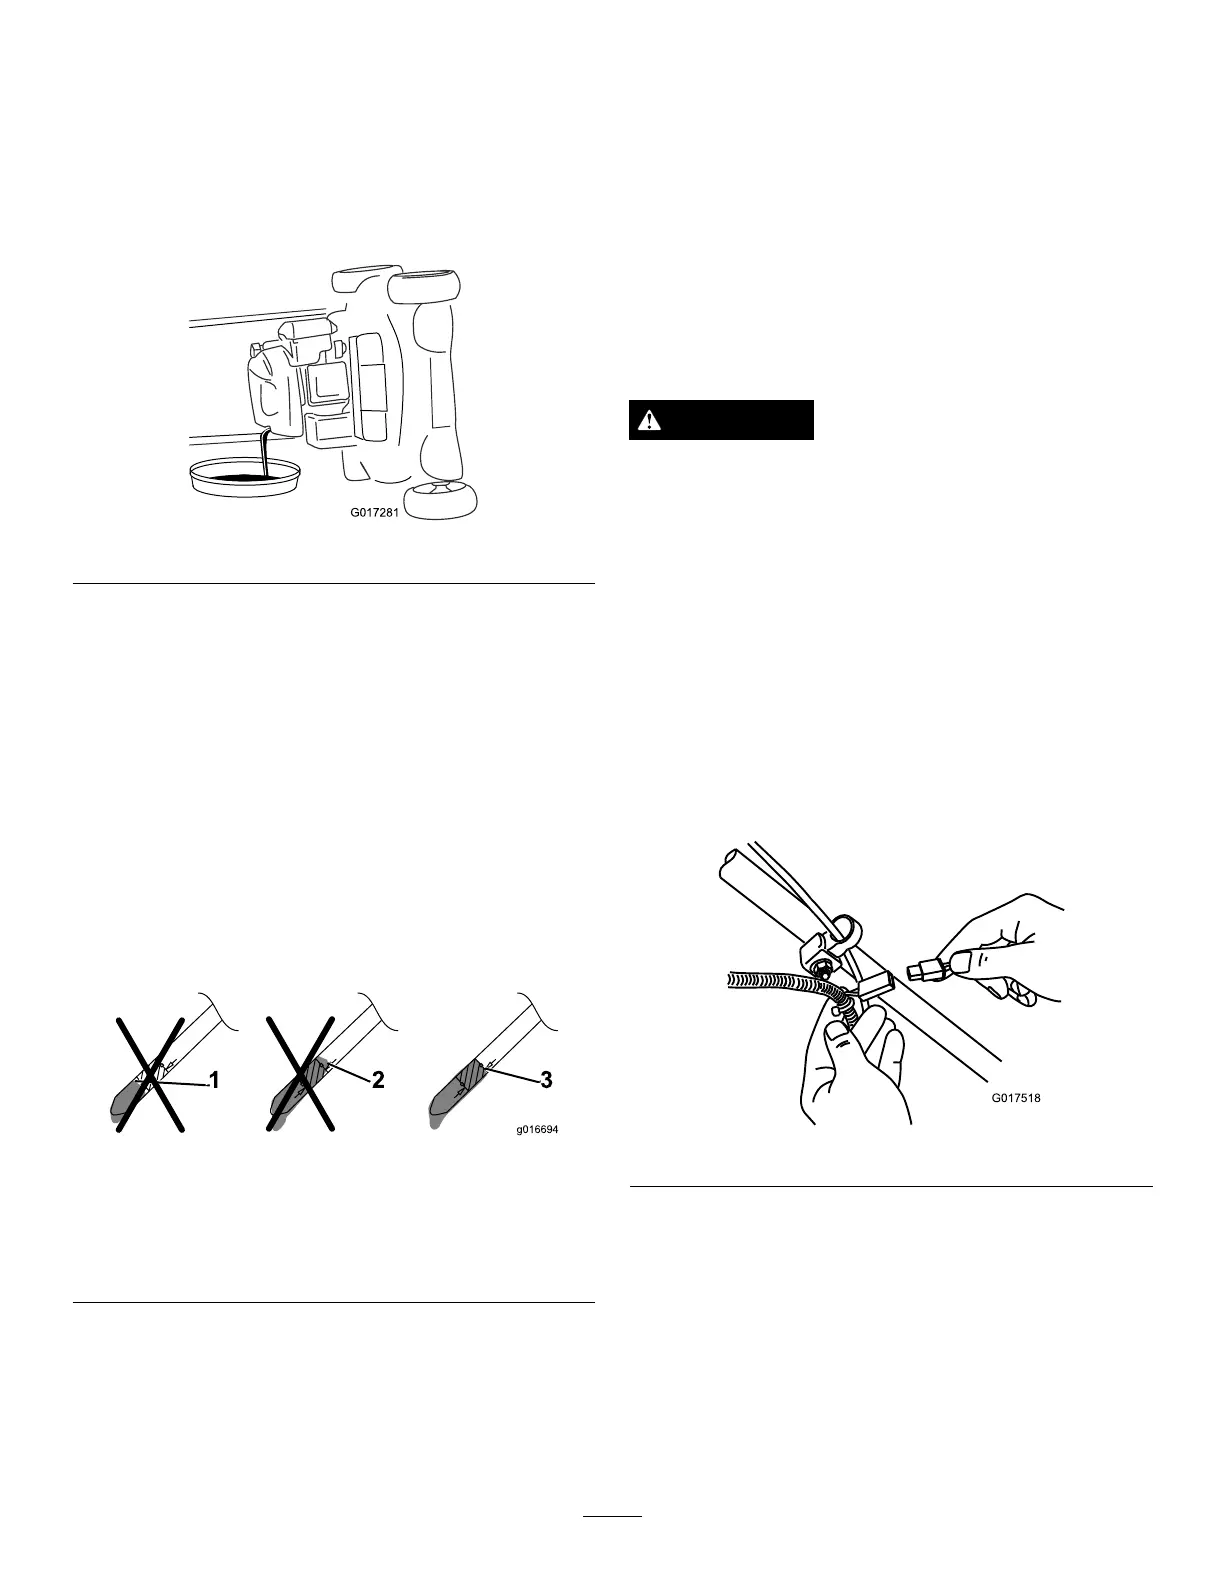
1.Connectthechargertothewireharness,whichis
locatedbelowtheignitionkey(Figure33).
Figure33
2.Plugthechargerintoawalloutlet.
Note:Yourbatterychargermayhavea2-colorLED
displaythatindicatesthefollowingstatesofcharging:
•Aredlightindicatesthatthechargerischarging
thebattery.
•Agreenlightindicatesthatthechargerisfully
chargedorisdisconnectedfromthebattery.
•Aashinglightthatalternatesbetweenredand
greenindicatesthatthebatteryisnearlyfully
17