2 BASIC OPERATION
Scan to E-mail 31
Scan to E-mail
With this scan function, you can send your scans to a specified e-mail address as an attached file.
The Scan to E-mail function requires the network administrator to set the equipment configuration.
These functions below are available only when the hard disk is installed in the equipment.
- Saving scans as XPS files
- Previewing scans
- Scanning With Dual Functions (Dual Agents)
Scanning to e-mail
1
Place the original(s).
For help, refer to the Quick Start Guide.
3
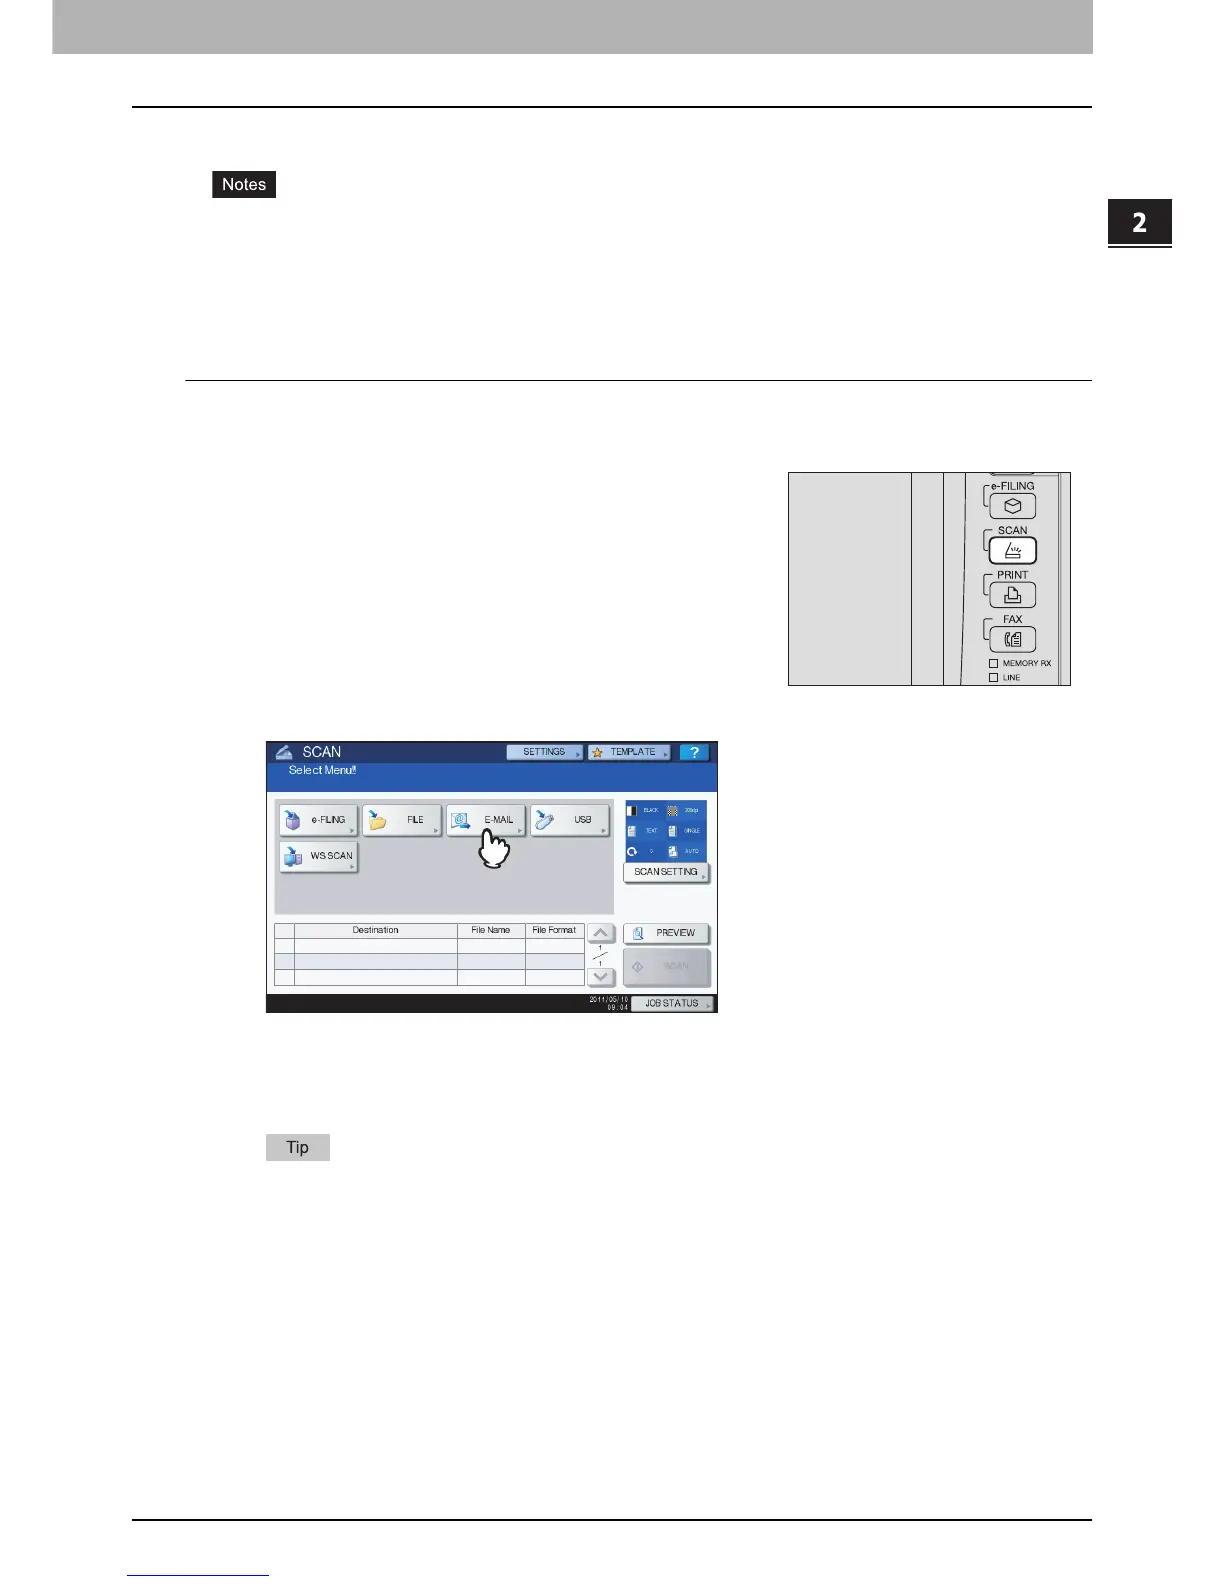
Press [E-MAIL].
If the User Authentication for Scan to E-mail setting is enabled by the administrator on TopAccess,
the AUTHENTICATION screen is displayed. In this case, proceed to step 4.
If the User Authentication for the Scan to E-mail setting is disabled by the administrator, proceed to
step 5.
For the models below, press [PREVIEW] in this step and then select the scan function in order to
preview your scans at the end of the operation.
- e-STUDIO6570C Series
- e-STUDIO6550C Series
- e-STUDIO4540C Series
- e-STUDIO2550C Series (only when the hard disk is installed)
- e-STUDIO5055C Series
- e-STUDIO507 Series
- e-STUDIO857 Series
For instructions on how to do so, see the following section:
P.62 “Previewing Scans”
2
On the control panel, press the [SCAN] button to
enter the SCAN menu.
 Loading...


