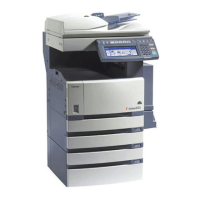
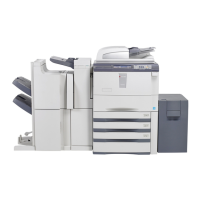
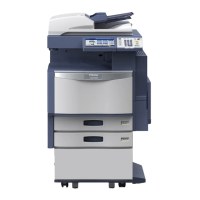
Do you have a question about the Toshiba e-Studio477s and is the answer not in the manual?
Information that, if ignored, may result in a risk of personal injury.
Precautions to prevent personal injury or equipment damage during operation.
Safety warnings and precautions to follow during machine operation.
Emergency procedures for inhalation, skin contact, or ingestion of toner.
Covers error messages, maintenance, cleaning, and consumable replacement.
Procedure to verify that all necessary items are present.
Details the numbered buttons and lamps on the operator panel and their functions.
Explains the touch panel layout, functions, and message indications.
Specifies the required environmental conditions for safe and optimal installation.
Provides step-by-step instructions for unpacking and setting up the machine.
Guides on how to install an optional paper feed unit.
Details how to connect network and USB cables.
Explains how to perform a basic copy test after installation.
Defines the acceptable temperature, humidity, and wet bulb temperature ranges.
Provides diagrams and dimensions for required clearance around the machine.
Lists warnings and cautions regarding safe placement and installation of the machine.
Instructions for removing protective elements before setup.
Step to remove the orange stopper from the fuser unit.
Steps to adjust paper guides for correct paper size.
Steps to remove protective tape from the rear of the unit.
Instructions to close the top cover.
Instructions for preparing paper stacks for loading.
Procedure to open the document holder.
Steps to close the front cover.
Guidance on paper orientation during loading.
Instructions to remove protective tape from the ADF.
Final step to secure the document holder.
Steps to set paper size on the indicator.
Final step to secure the document holder.
Instructions for loading paper into the drawer.
Final step to close the paper drawer.
Step to lift the document holder.
Steps to open the front cover.
Specific steps for removing tape and stopper on certain models.
Instructions for preparing the toner cartridge.
Steps to open the top cover.
Steps to unpack the additional paper feed unit and remove protective materials.
Instructions for attaching anti-tip feet for stability.
Securing the anti-tip feet to the floor with screws.
Steps to lock the casters of the additional drawer unit for stability.
Procedure to safely disconnect power before installation.
Instructions for placing the machine onto the installed drawer unit.
Finalizing the attachment of anti-tip foot covers.
Steps to attach the drawer and spacer to the caster unit.
Steps to attach the rear anti-tip foot cover.
Securing the additional drawer unit with joint-option and screws.
Guides on configuring optional devices like drawers and finishers.
Opening the printer settings window.
Accessing printer driver properties for configuration.
Instructions to set installed options via the printer driver's Device Settings.
Steps for manual configuration when automatic detection fails.
Important safety warnings regarding power connection and supply.
Step-by-step guide to powering the machine on.
Procedure for safely powering the machine off.
| Functions | Print, Copy, Scan, Fax |
|---|---|
| Print Speed (Black) | 47 ppm |
| Print Resolution | Up to 1200 x 1200 dpi |
| Scan Resolution | Up to 600 x 600 dpi |
| Duplex Printing | Yes |
| Connectivity | USB, Ethernet |
| Copy Speed (Black) | 47 ppm |
| Type | Laser |


