User’s Manual 1-7
Getting Started
Turning on the power
This section describes how to turn on the power - the Power indicator will
then indicate the status. Please refer to the Power indicators section in
Chapter 6, Power and Power-Up Modes for more information.
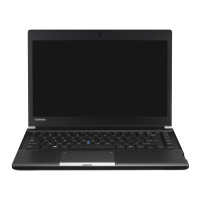
1. Open the computer’s LCD display panel.
2. Slide the computer's Power on & Application Button Lock Switch to the
right.
3. Slide and hold the computer's power button.
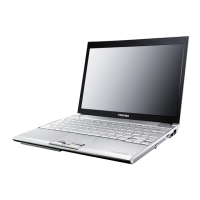
Figure 1-5 Turning on the power
Starting up for the first time
When you first turn on the power, the initial screen that will be displayed will
be the Microsoft Windows XP Startup Screen. To properly install the
operating system you should follow the on-screen directions for each
screen, taking note that you are able to click the Back button to return to
the previous screen if required.
■ After you turn on the power for the first time, do not turn it off until you
have set up the operating system. Please refer to the section Starting
up for the first time for more information.
■ If a USB floppy diskette drive is connected, please make sure that it is
empty - if a floppy diskette is in the drive, press the eject button and
remove it.
■ Volume cannot be adjusted during Windows Setup.
Power button
Power on & Application
Button Lock Switch
When it is displayed, be sure to read the Windows End User License
Agreement carefully.
 Loading...