- 63
DRIVE INSTALLATION DRAWINGS (cont’d)
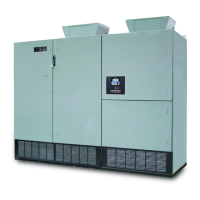
Frame 4 4160V module installation
WARNINGS
Disconnect power and wait 15
minutes to ensure capacitors are
discharged before performing
inspection or maintenance.
Improper handling of the fiber
optic cables and connectors may
cause drive failure due to
problems transmitting signals.
Take care not to disturb fiber
optic cables when handling
power module.
Front Barrier
Bus Link
Assembly
Control Wiring
Cover
Set Wheel
Brakes
Secure Truck
to Cubicle
Control Signal Cable &
120VAC Supply Cable
Power Module Removal
1. Align truck GCI6724G054
with front of cubicle.
2. Secure truck to cubicle by
inserting two studs into
holes in base.
3. Set wheel brakes on truck.
4. Roll power module onto
truck until front latch
engages.
5. Refer to additional
instruction label for moving
power module on and off of
truck.
POWER MODULE DISCONNECTION POWER MODULE REMOVAL
Power Module Reinstallation
1. Reverse the procedure
followed during
disconnection and removal
of power module.
2. Ensure that control signal
cable and 120VAC supply
cable are properly
reconnected.
3. Reinstall all hardware
previously removed.
4. Torque bus link
connections (5/16-18 hdwr)
to 10-15 ft-lbs.
Engage
Latch
Power Module Truck
GCI6724G054
Power Module Disconnection
1. Remove front barrier
(six bolts).
2. Loosen ten nuts and
remove bus link assembly
by sliding sideways and
off.
3. Remove control wiring
cover (two bolts)
4. Disconnect control signal
cable and 120VAC supply
cable from module.
 Loading...