RT-SVX34V-EN
11
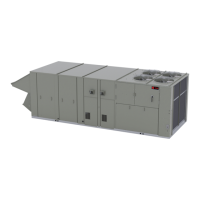
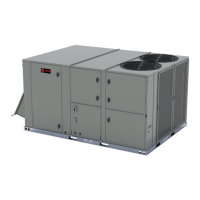
Unit Dimensions and Weights
Recommended Clearances
Adequate clearance around and above each Voyager 3
unit is required to ensure proper operation and to allow
sufficient access for servicing.
If the unit installation is higher than the typical curb
elevation, a field constructed catwalk around the unit is
recommended to provide safe, easy access for
maintenance and servicing. Table 1, p. 19 lists the
recommended clearances for single and multiple unit
installation. These clearances are necessary to assure
adequate serviceability, cataloged capacities, and peak
operating efficiency.
If the clearances available on the job site appear to be
inadequate, review them with your Trane sales
representative.
Roof Curb and Ductwork
The curbs for the 27.5 to 50 Tons commercial rooftop units
enclose the entire unit base area. They are referred to as
“full perimeter” type curbs.
Step-by-step instructions for the curb assembly and
installation with curb dimensions and curb configuration for
“A”, “B”, and “C” cabinets ship with each Trane accessory
roof curb kit. (See the latest edition of the curb installation
guide) Follow the instructions carefully to assure proper fit
when the unit is set into place.
The S/A and R/A ductwork adjoining the roof curb must be
fabricated and installed by the installing contractor before
the unit is set into place. Trane curbs include flanges
around the openings to accommodate duct attachment.
Ductwork installation recommendations are included in the
instruction booklet that ships with each Trane accessory
roof curb kit.
Note: For sound consideration, cut only the holes in the
roof deck for the supply and return duct penetration.
Do not remove the roof decking from the inside
perimeter of the curb.
If a Trane curb accessory kit is not used:
• The ductwork can be attached directly to the S/A and
R/A openings. Be sure to use a flexible duct connector
at the unit.
• For “built-up” curbs supplied by others, gaskets must
be installed around the curb perimeter flange, Supply
Air opening, and Return Air openings.
• Insulation must be installed on the bottom of the
condenser section of the unit.
Horizontal Ductwork
When attaching the ductwork to a horizontal supply or
horizontal return unit, provide a water tight flexible
connector at the unit to prevent noise transmission from the
unit into the ductwork. Refer to figures beginning on page
for the S/A and R/A opening dimensions.
All outdoor ductwork between the unit and the structure
should be weather proofed after installation is completed.
If optional power exhaust is selected, an access door must
be field-installed on the horizontal return ductwork to
provide access to exhaust fan motors.