Installation
21BAS-SVX08D-E4
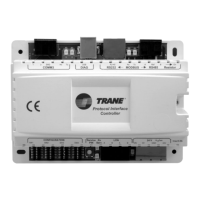
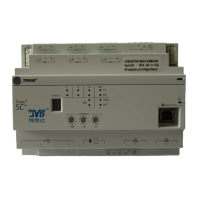
Step 7: Connect the PIC
Connect the PIC to the PC using the specified USB cable (see 'Diagnostic
cable specifications section). Both PC and PIC must be powered On.
As soon as the connection is done, an information window will appear on
the right side of the status bar. This window shows the installation process
is running. Once the installation is completed, the window will show that
the new equipment is ready to be used.
The diagnostic tool is ready to be used.
Step 8: Launch the diagnostic tool
The PIC must be connected to the PC prior to launch the diagnostic tool.
From the 'Start Menu', 'All programs', 'PIC Diag' select the PIC application
'PIC Diag Tool'.
Diagnostic cable
The PIC requires a standard USB cable:
On PC side: USB type A male connector
On PIC side: USB type B male connector