CDJ300 & CDJ600
-18--18-
A4
A3
A1
A2
B4
B3
B1
B2
A4
A3
A1
A2
B4
B3
B1
B2
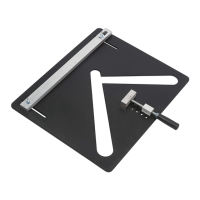
TIMBER
PREPARATION
It is important to plan
your work before starting
to save set-up time and
avoid costly mistakes.
Both sides of the jig can
be used to make joints. It
is advisable however to
clamp the workpiece to
one side of the jig. This
ensures it is clamped
securely.
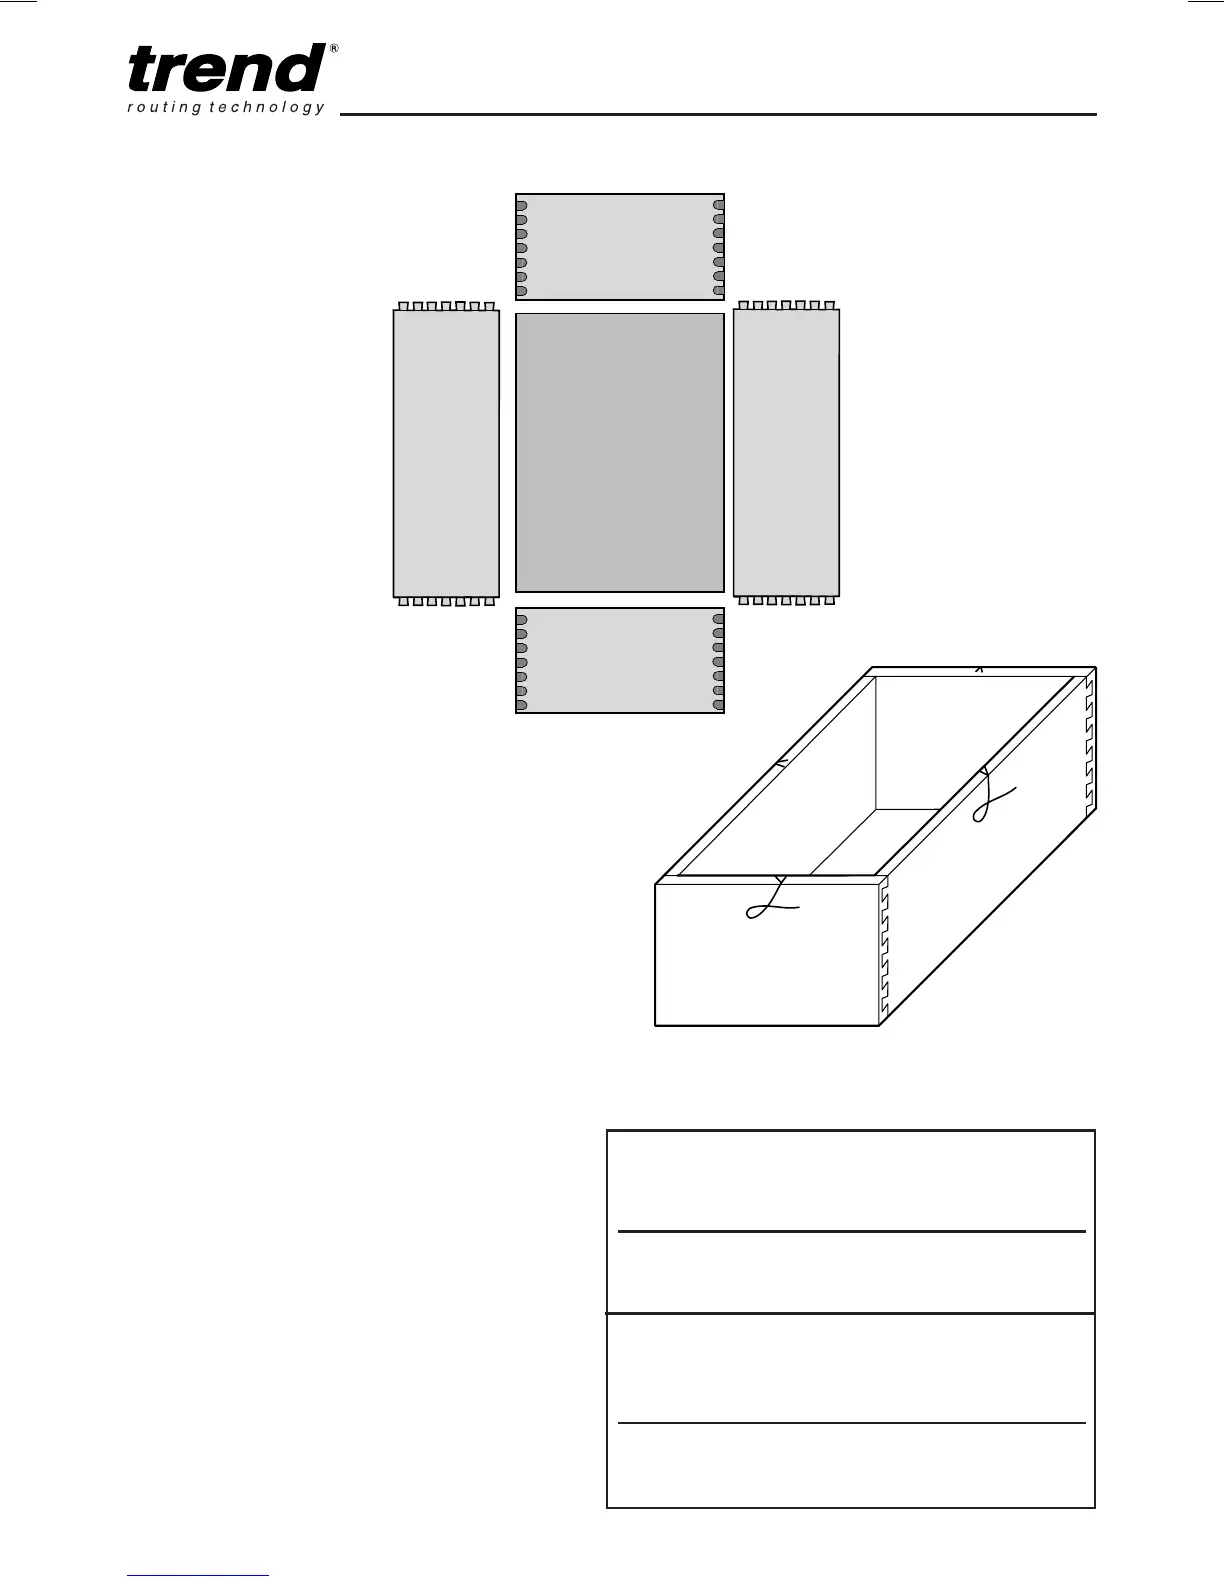
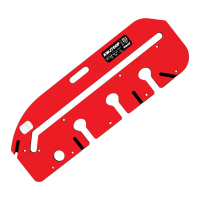
Lapped Dovetails
When lapped dovetailing
label the pieces as front,
back, and sides. Mark
faces as inside and out.
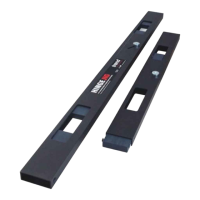
Label the dovetail pieces
as shown, A parts will
be clamped under front
clamp bar, B pieces under
top clamping bar. Even
numbers against left-hand
edge guide odd numbers
under right hand edge
guides.
Face sides must be
towards jig body.
For drawers the front is
thicker than the sides.
Before jointing the actual
workpiece make trial cuts
in pieces of waste timber,
the same thickness as
the workpieces in order to
test depth of pin sockets.
Ensure all pieces are cut
to size and checked for
squareness.
1
/2” (12.7mm) Lapped Dovetail Template
(21.5 mm pitch with 3mm offset line)
No. of whole tails
1 2 3 4 5 6 7 8 9...
21.5 43 64.5 86 107.5 129 150.5 172 193.5
Optimum width of timber in mm
ie Pitch x No. of tails = Width (when 3mm offset line used).
1
/4” (6.35mm) Lapped Dovetail Template
(11.3 mm pitch with 2mm offset line)
No. of whole tails
1 2 3 4 5 6 7 8 9
11.3 22.6 33.9 45.2 56.5 67.8 79.1 90.4 101.7
Optimum width of timber in mm
ie Pitch x No. of tails = Width (when 2mm offset line used).