-31-
CDJ300 & CDJ600
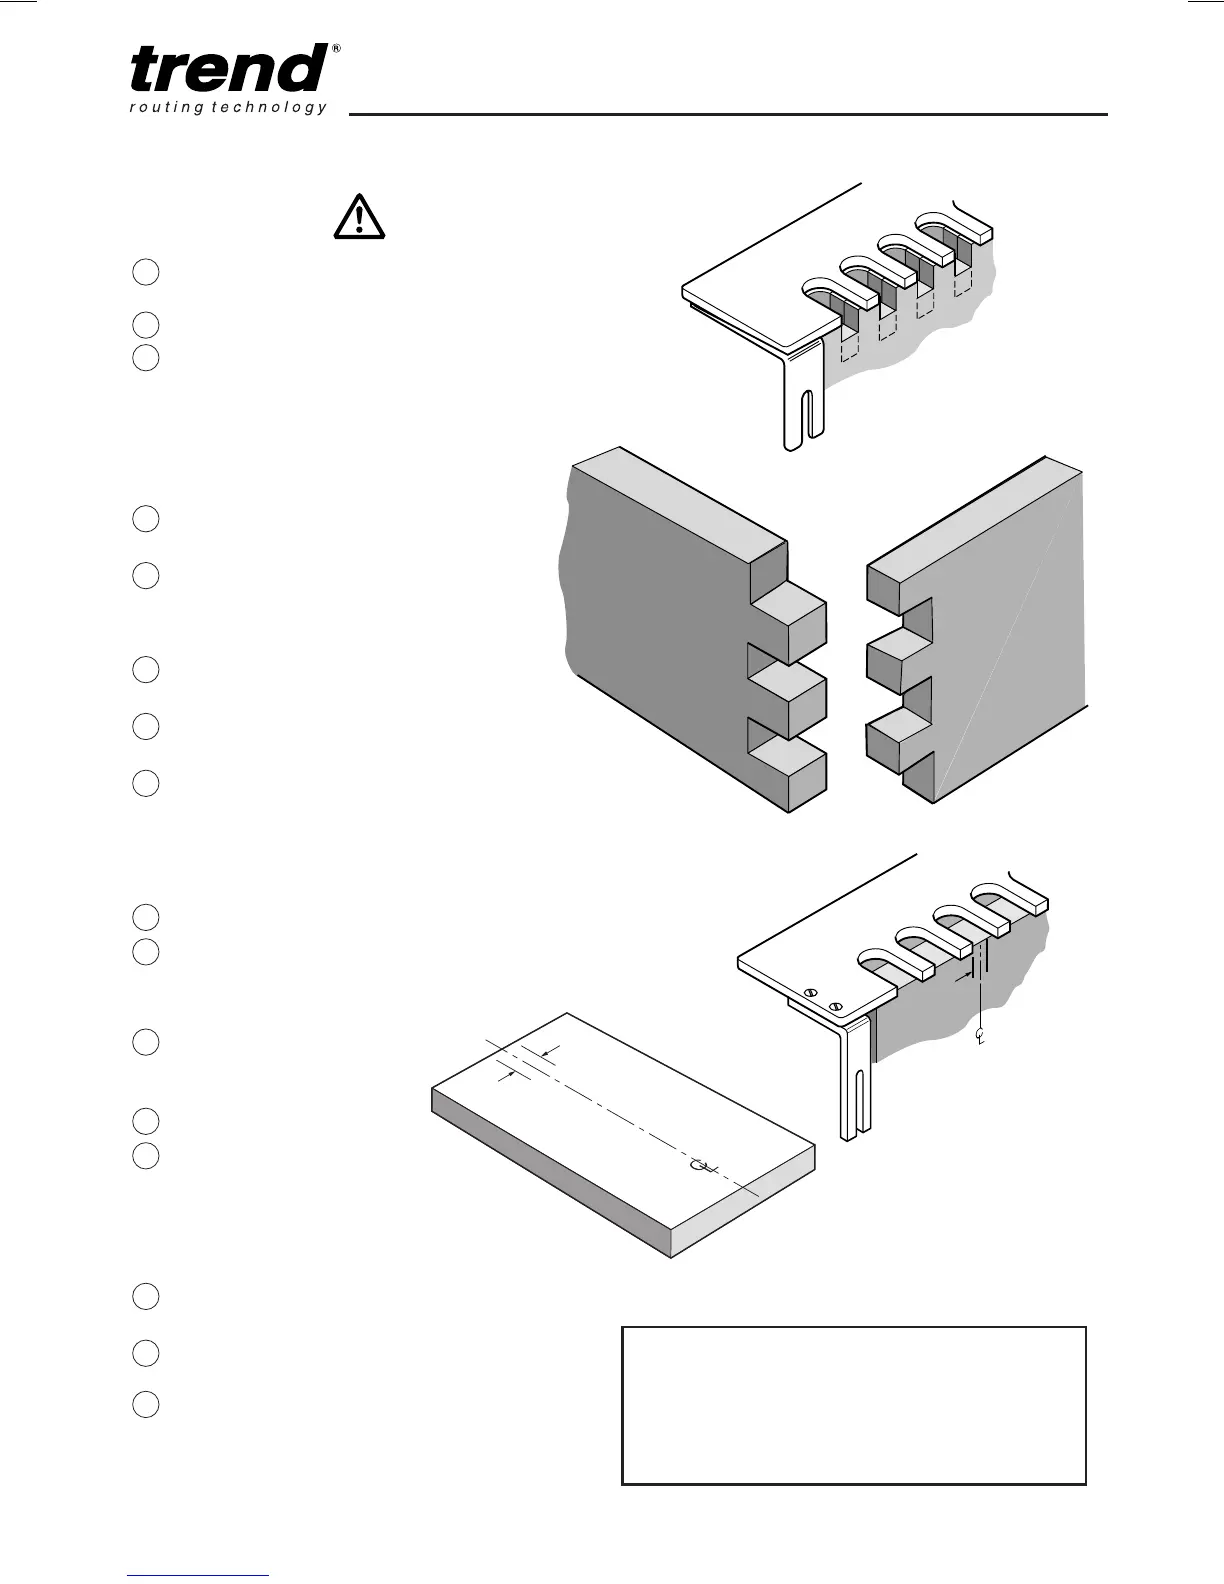
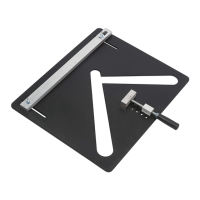
Routing the Box
Joint
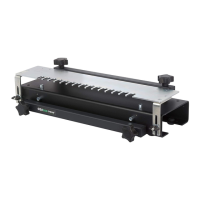
Place router onto
template comb.
Switch on.
Carefully rout from left
to right following the
guide bush in each of
the slots. Keep the
guide bush against the
left hand side of the
comb finger, on all cuts.
Switch off router and
remove from jig.
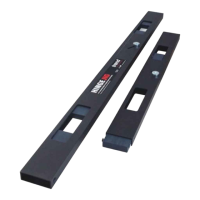
Examine each of the
slots to ensure all the
workpiece has been
cleanly routed.
Remove template comb
assembly.
Remove workpiece from
jig.
Test fit joint.
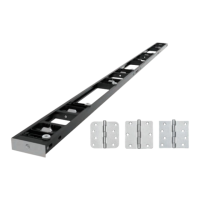
For CDJ600
As above but set up sliding
edge guide as follows:-
Fit same edge guides.
Draw a centre line on
workpiece and draw a
1.6mm offset line to left
and right of centre line.
Place one piece of
workpiece into front
clamp.
Fit template comb to jig.
For left hand side of jig
align right hand 1.6mm
line to left hand side of
a template comb finger
and vice versa for other
end of jig.
Tighten front clamp
knobs.
Slide edge guide against
edge of timber.
Tighten edge guide
locking knob.
5
8
7
6
4
3
2
1
20
19
18
17
16
15
14
13
1.6mm
offset
Box comb joint too shallow = increase depth
adjustment of
cutter
Box comb joint too deep = decrease depth
adjustment of
cutter
1.6mm
offset line
LH
1.6mm
offset line
RH