
S
Sarah AliAug 4, 2025
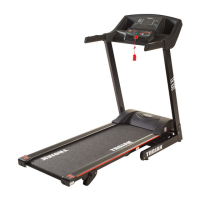
How to fix E01 error on Trojan Treadmill?
- JJonathan EvansAug 4, 2025
If your Trojan Treadmill displays the E01 error, it suggests a potential communication issue between the computer and the bottom control board. Begin by verifying that all wires connecting these components are properly and securely attached. If the error continues, replacing the entire control board may be necessary.