Page 11
1. Change Lock Name
a. Select “Name” from the list
b. Input the name
c. Press
2. Add Lock to Group
a. Select the Group to place the lock in
b. Conrm the action
3. Assign Admin
AP
to Locks
a. Click “Admin. Passcode”
b. Input your account password
c. Input the new
AP
for the lock
d. Press
4. Auto Lock
a. Press “Auto Lock” from the list
b. Toggle Auto Lock On/Off
c. Input the Set Time for Auto Lock
d. Press “OK” to Save changes
5. Toggle Unlock Alert
a. Toggle Unlock Alert at the bottom of the list
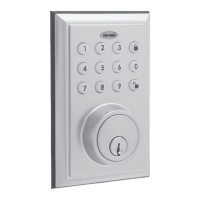
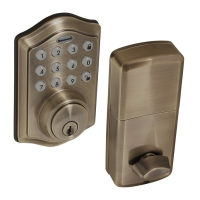
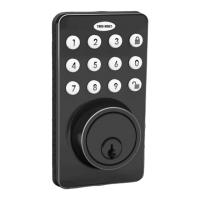
LOCK SETTINGS
Lock Settings enable aspects
of locks to be adjusted.
VERY IMPORTANT
USING THE APP
4. View Messages
a. Open the App
b. Select the icon at the top right of the Home screen
c. Select the message you would like to read
6. Upgrade the Connected Lock
a. Press “Lock Upgrade” from the list
b. Check for Updates
c. Press upgrade (in case a pop up notication
appears, follow it to nish the upgrade).
If no groups exist you will have to
create one. Press “Create Group” and
enter the group name.
Changing the Admin.
AP
in the App
will change the default or current
AP
of the physical keypad.
The
AP
must be 4 or more digits when
changing it from the Lock’s Settings.
Ensure that any device with Auto
Lock enabled is fully and securely
closed to prevent mechanical
damage to the lock
For all the following actions, you
need to: 1) Select the lock you would
like to modify the settings for, then
2) Select the from the top right
corner of the screen.
In order to upgrade you have to
be the
AP
for the lock, and within
Bluetooth range
The App and the lock have been
successfully connected when
the green light on top of the lock
turns on, indicating that the lock is
upgrading.