~ 12 ~
3.1 RECEIVING YOUR POWRTOUCH FREEDOM
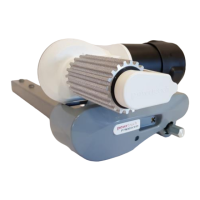
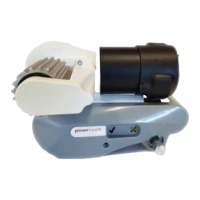
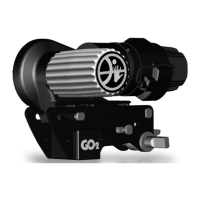
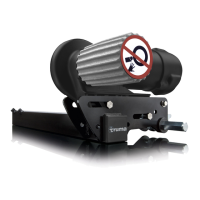
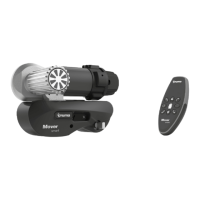
When unpacking the box there is a checklist of the components for the mover. Please check
that all parts have been received before commencing the installation work (See Fig 2 showing
component parts). If in doubt, please contact a qualified Powrtouch Engineer. Contact details
are on the front page of this document.
3.2 TOOLING AND EQUIPMENT REQUIRED
To install the Powrtouch the following tooling and equipment will be required (not supplied):
• 10mm Socket & Ring Spanner
• 13mm Socket & Ring Spanner
• 17mm Socket & Ring Spanner
• Power Drill with 3mm & 10 mm Drill Bits suitable for wood
• 25mm Hole Saw for Plastic (for fitting isolation switch)
• 16mm Hole Saw for Plastic (for self-adhesive seals)
• Various Screwdrivers
• Multi Purpose Silicon Sealant
• Lighting as necessary
• Trolley Jack or Axle Stands (for raising unit into position)
• Support Blocks, Wheel Chocks for Safety (to ensure the caravan cannot move
during the fitting operation)
• 8mm Allen Key
• Torque Wrench
• Safety Goggles
3.3 INSTALLING THE POWRTOUCH FREEDOM
NB. – VERY IMPORTANT: BEFORE COMMENCING, PLEASE ENSURE THAT THE
CARAVAN IS DISCONNECTED FROM IT’S 12 VOLT D.C. LEISURE BATTERY SUPPLY
AND ANY OTHER ELECTRICAL SUPPLIES (INCLUDING 240 VOLT MAINS).
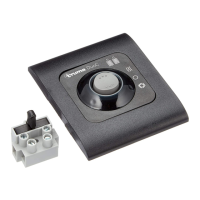
All electronic and electrical controls of the system are carried out by the Electronics Control
Box (ECB) and isolation switch; please note the ECB has an inbuilt safety thermal fuse (set at
90 deg C). Should this fuse operate it will automatically reset itself when the system cools to
an acceptable temperature.
The Isolation Switch must be accessible at all times when parking and moving the
caravan/trailer, please be aware of this when selecting the location for the switch (See Section
3 Paragraph 3.8).
Please check that the tyres are of the same size and design (preferably from the same
manufacturer) and not over worn (fitting to new or nearly new tyres is the best option). It should
be noted that as the caravan tyres wear, the roller to tyre gap will increase, this could allow the
Powrtouch rollers to slip when driving the tyres, should this occur, the Powrtouch will require
adjustment. Also ensure the tyre pressures are correct to the manufacturer’s recommendation
prior to commencing the fitting of a Powrtouch. Also check that the chassis is in good
condition without any damage and free from rust or corrosion etc.
Ensure that the handbrake is in the ON position before the caravan is raised using the front
steadies and Jockey Post/Wheel, the back steadies are then lowered to make sure the
caravan is fully stabilised and no forward or backward movement can occur.
All work MUST be carried out to ensure personal safety