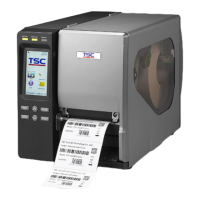
3.5 Loading Media in Cutter Mode (Option)
1. Please refer to section 3.3 to loarding the media.
2. Install the label so that it goes (when using an external label roll mount:
through the label feed slot) in the direction of the LABEL label and under the
ribbon mechanism. Feed the label through the cutter opening.
3. Adjust the label guide to fit the width of the media.
4. Engage the printer carriage.
5. Close the printer cover and front panel.
6. Use “Diagnostic Tool” to set the media sensor type and calibrate the selected
sensor. And set the “post-print action” to “cutter”.
Note:
Please calibrate the gap/black mark sensor when changing the media.
When the printer is out of ribbon or label, the ON-LINE LED will not come on
and the ERROR LED will flash. Reload the ribbon or media without turning off
the printer. Press the FEED button a few times until the ON-LINE LED illuminates,
the printing job will be resumed without data loss.
Cutter module specification:
− Rotary regular cutter
− Paper thickness: Min. 0.12mm, 500,000 cuts
Max. 0.20mm, 250,000 cuts
− Rotary heavy duty cutter
− Paper thickness: Min. 0.12mm, 500,000 cuts
Max. 0.25mm, 250,000 cuts
Except for the linerless cutter, all regular/heavy duty/care label cutters DO NOT
cut on media with glue.