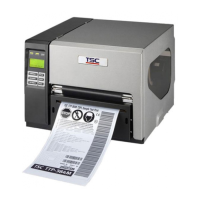
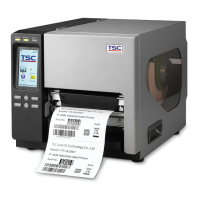
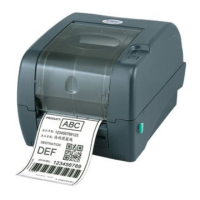
4
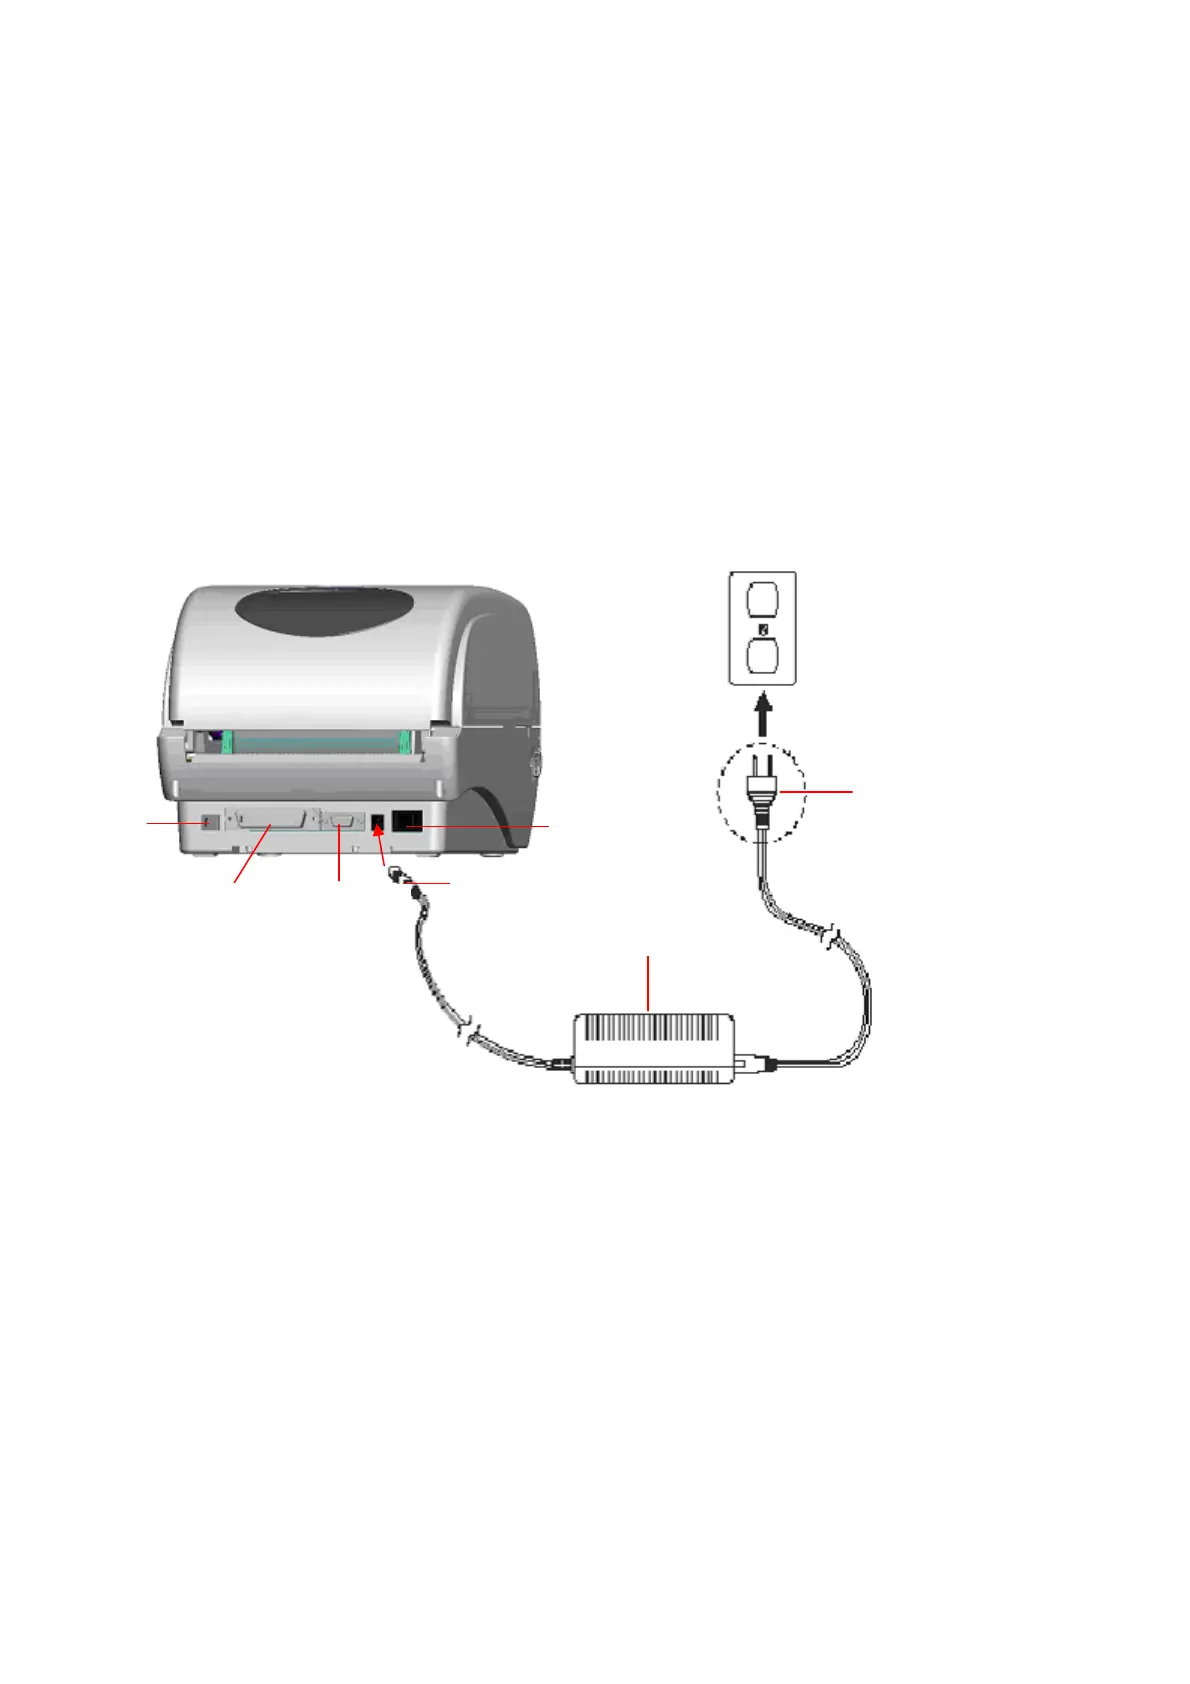
3. Setup
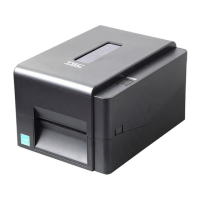
3.1 Setting Up the Printer
1. Place the printer on a flat, secure surface.
2. Make sure the power switch is off.
3. Connect the printer to the computer with the Centronics or USB cable.
4. Plug the power cord into the power supply connector at the rear of the printer,
and then plug the power cord into a properly grounded receptacle.
Fig. 3 Attach power supply to printer
3.2 Loading the Ribbon
The printer will detect if the ribbon is installed after turning on power on and it will
set printing mode to thermal transfer or direct thermal printing mode automatically. If
printer does not detect the ribbon, the ribbon take up motor will be turned off.
Make sure the printer top cover is engaged properly at both sides prior to powering
up the printer.
Power Supply
Plug
Power Cable
Power Switch
USB
RS-232C
Centronics