
M
Mary GibsonSep 3, 2025
Why does my TSC Printer keep pausing?
- AAmber JimenezSep 4, 2025
If your TSC printer is pausing, it is likely because the printer is paused. Press the FEED button to resume printing.
Why does my TSC Printer keep pausing?
If your TSC printer is pausing, it is likely because the printer is paused. Press the FEED button to resume printing.
Why is the RTC time incorrect when I reboot my TSC TA210 Printer?
If the RTC time is incorrect when you reboot your TSC printer, the battery may have run down. Check if there is a battery on the main board.
Why is my TSC TA210 printing irregularly?
If your TSC printer is printing irregularly, it might be in Hex Dump mode. Turn the printer off and on to exit the dump mode. Alternatively, the RS-232 setting could be incorrect; reset the Rs-232 setting.
Why is my TSC Printer producing a gray line on the blank label?
If your TSC printer is producing a gray line on the blank label, it is likely that the print head or platen roller is dirty. Clean the print head and the platen roller to resolve this issue.
Why am I experiencing a wrinkle problem with my TSC TA210 Printer?
If you are experiencing a wrinkle problem with your TSC printer, it could be due to incorrect ribbon or media installation. Ensure the label guide touches the edge of the media guide. Also, the print density might be incorrect; set a suitable density for good print quality.
Why is my TSC TA210 Printer missing printing on the left or right side of the label?
If your TSC printer is missing printing on the left or right side of the label, it is likely due to a wrong label size setup. Set the correct label size in your printer settings or software.
Why is the printing position of small labels incorrect on my TSC TA210 Printer?
If the printing position of small labels on your TSC printer is incorrect, it may be due to several reasons. The media sensor sensitivity might not be set properly; calibrate the sensor sensitivity again. The label size might be incorrect; set the correct label size and gap size.
What to do if the cutter is not working on my TSC TA210 Printer?
If your TSC printer's cutter is not working, check if the connector is loose and plug the connect cable in correctly. If the cutter is jammed, remove the label. If the cutter PCB is damaged, replace the cutter driver IC board.
Why is my microSD card unable to use in TSC Printer?
If your TSC printer's microSD card is not working, it may be due to several reasons. First, the microSD card might be damaged. Try using a supported capacity microSD card and reinsert it. Second, the microSD card might not be inserted correctly. Ensure it is properly inserted. Lastly, you might be using a non-approved microSD card manufacturer. Use only supported capacity microSD cards.
What to do if my TSC TA210 Printer is not printing?
If your TSC Printer is not printing, first check if the interface cable is securely connected. If it is, try reconnecting the cable or using a new one. Also, ensure that if you are using a serial port cable, it is pin-to-pin connected, and the serial port settings on your host device and printer are consistent (default is 9600,n,8,1). Verify that the correct printer port is selected in the Windows driver. For Ethernet connections, check the LEDs on the RJ-45 connector, ensure the printer obtains an IP address (especially in DHCP mode), and confirm the IP address is correct if using a static IP.
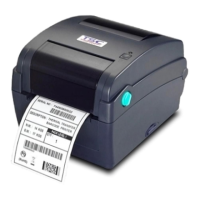
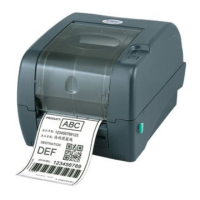
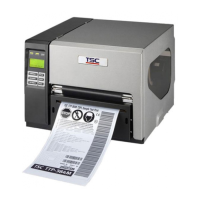
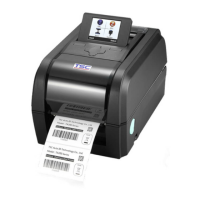
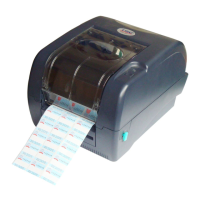
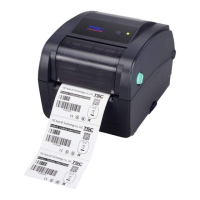
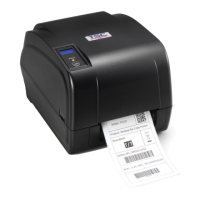
Identifies components visible on the front of the printer, including indicators and controls.
Details the internal parts and assemblies found inside the printer, such as spindles and print heads.
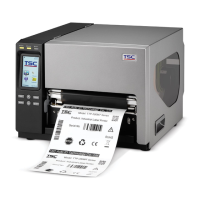
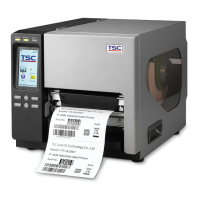
Describes the various ports and interfaces located on the rear of the printer.
Lists and details the function and pin configuration of connectors on the main electronic board.
Step-by-step instructions for removing and replacing the printer's core print engine mechanism.
Procedure for safely removing and installing the main electronic control board.
Guide for the removal and installation of the gap sensor module.
Instructions on how to replace the black-mark sensor module.
Detailed steps for removing and replacing the stepping motor assembly.
Procedure for disengaging and replacing the platen roller assembly.
Instructions for removing and installing the print head module.
Guide for replacing the printer's key module or optional LCD module.
Steps to remove and replace the DC motor component.
Instructions for installing the optional peel-off media handling module.
Procedure for installing the optional media cutter module.
Explains printer LED status lights, their meanings, and corresponding solutions.
Addresses common issues affecting print quality and provides corrective actions.
| Print Method | Thermal Transfer / Direct Thermal |
|---|---|
| Resolution | 203 DPI (8 dots/mm) |
| Processor | 32-bit RISC CPU |
| Max Print Speed | 5 inches per second |
| Memory | 8 MB Flash |
| Connectivity | USB 2.0 |
| Media Handling | Fanfold |
| Power Supply | 100-240V AC, 50/60Hz |