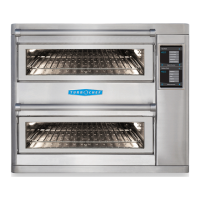
28 TROUBLESHOOTING
Blo
wer Motor Troubleshooting
NOTE: Continued from page 27.
1.
V
erify motor spins freely.
-
M
otor seized: Unplug oven and correct obstruction or replace motor.
- Motor spins freely: Verify motor windings (see Figure 36, page 27).
2. Verify motor windings are OK. Measure the resistance between windings and chassis.
Unplug oven and replace motor if resistances do not agree with the values in the table on
page 27. I
f motor is OK, proceed to step 3, below.
3.
S
tatus indicators TBTB should be visible when motors are on in TEST MODE. If any of these
indicators ar
e not pr
esent (for example, TB_B):
a. Disconnect control wiring.
b
. G
r
ound the “S
tatus OK” wire of the motor controller that is being tested (pin 5 on the J2
connector) to chassis (r
efer
ence wiring schematic of the blo
w
er motor controllers on
pages 37-40).
c. K
eeping the wir
e grounded, check terminals on the control wiring plug for 0-10 VDC
contr
ol v
oltage (reference drawing of Control Pinouts, page 39) while incrementing
blo
w
er speed in
TEST MODE (see
M
anipulating
T
op and Bottom Blowers
, page 18, and page
17 for an illustration of
TEST
MODE
).
d. If DC voltage is present throughout all speed settings in TEST MODE (see Manipulating
T
op and Bottom Blowers
, page 18, and page 17 for an illustration of
TEST MODE), replace
motor contr
oller
. If not, check harness and/or replace I/O board.

 Loading...