Items italicized below apply only to ChefComm Pro® and are not available in ChefComm Limited
TM
.
Setup
Installation 1
Detailed Step 1: Expand the Installation Files 1
Detailed Step 2: Install ChefComm Pro 1
Detailed Step 3: Install the USB Smart Card Reader Drivers 1
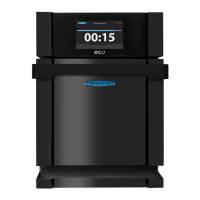
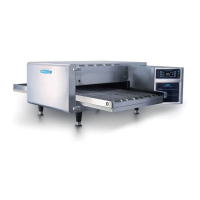
Setting up a Black Box 2
Building/Modifying a Menu
Splash Screen Options 3
Specifying “New Menu Configuration” (or Oven Type) 3
Creating a New Oven Type 3
Creating a New Menu 4
Opening an Existing Menu 4
Opening a TCM (Legacy) File 5
Editing the Cook Temperature 5
Renaming a Food Group 5
Menu Preview 5
Renaming a Recipe 6
Editing Recipe Settings 6
Moving/Copying Recipes 7
Deleting a Recipe from a Menu 7
Undo/Redo Features 7
Comparing Two Menus 8
Saving a Menu 8
Printing a Menu 9
Saving a Menu as a PDF File 9
Importing/Exporting a Menu
Importing a Menu from a Smart Card 10
Exporting a Menu to a Smart Card 10
Exporting Oven Firmware Updates 10
Importing a Menu via RS-232 11
Exporting a Menu via RS-232 11
Importing a Menu from a Mapped Drive (i5 Only) 12
Exporting a Menu to a Mapped Drive (i5 Only) 12
Table of Contents