30
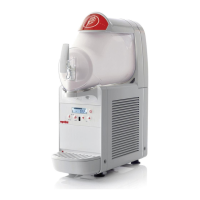
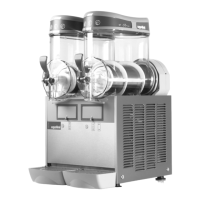
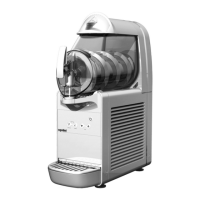
10 DISASSEMBLING THE DISPENSER
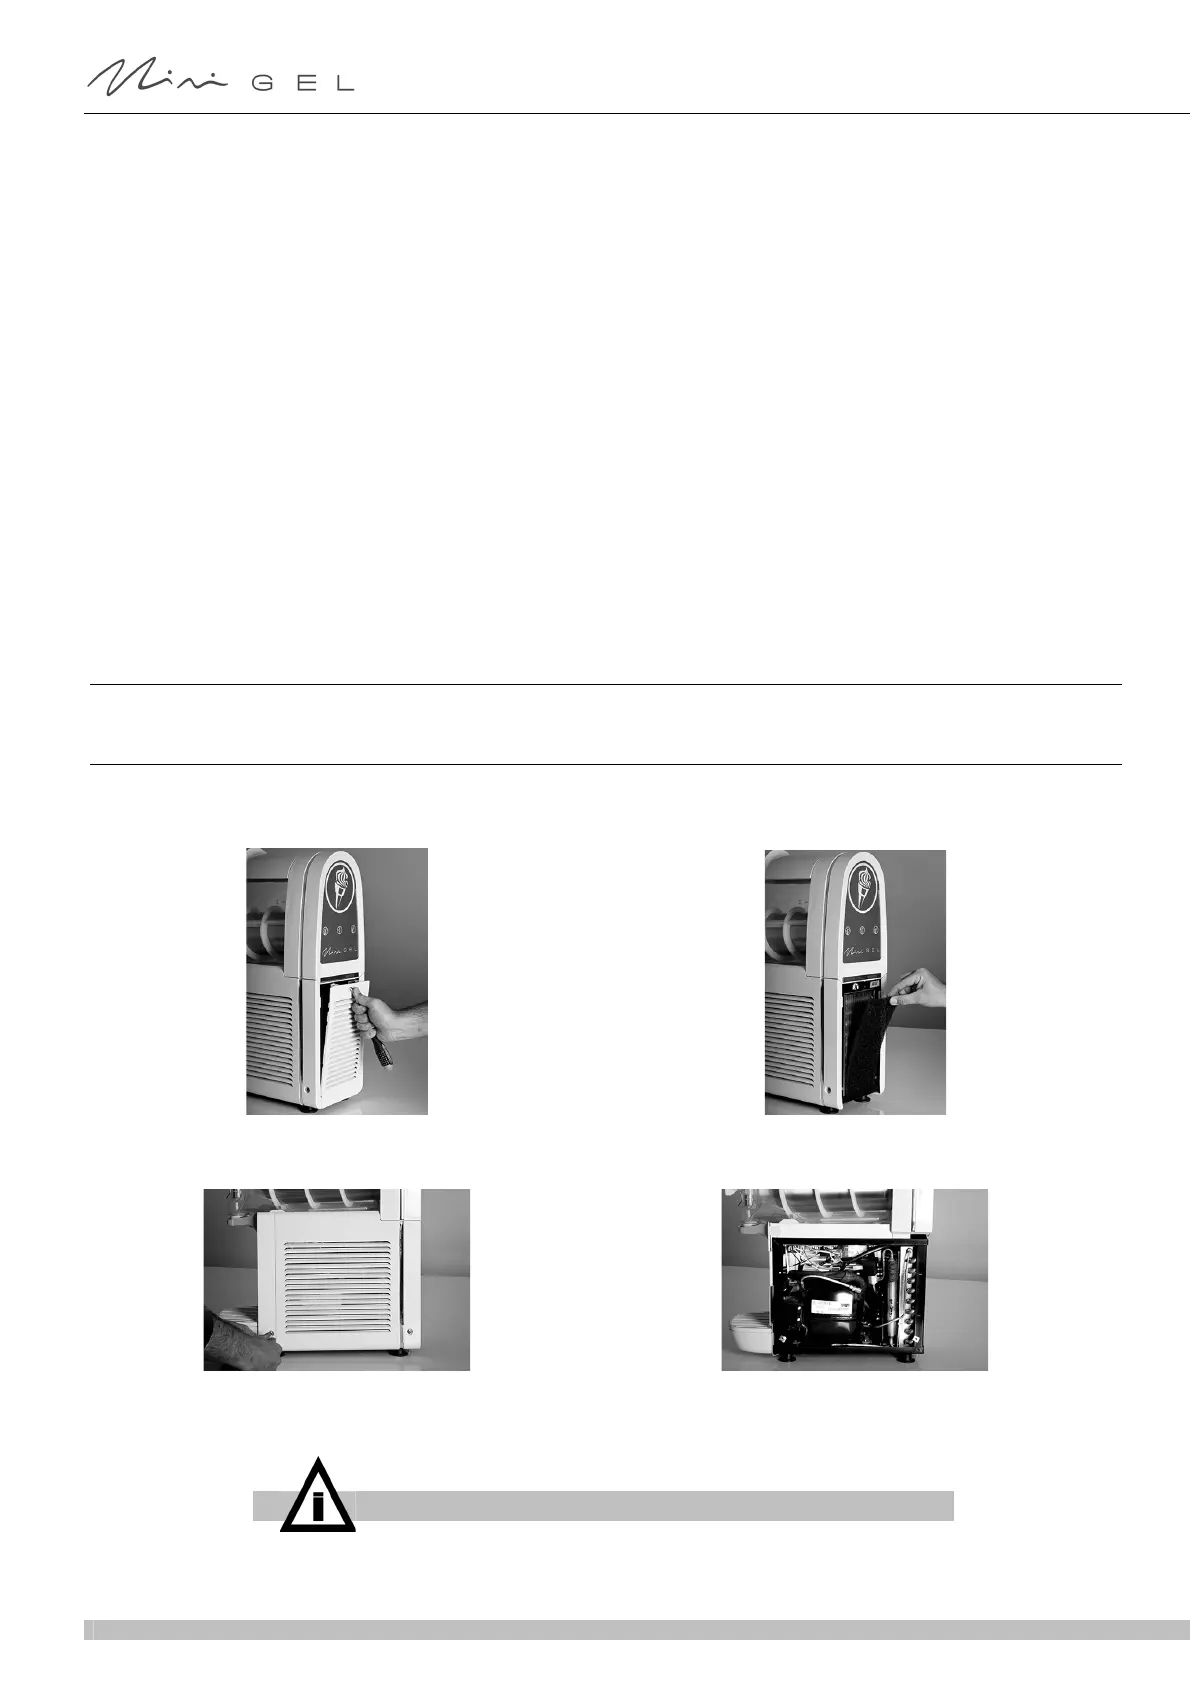
10. 1 OPENING THE DISPENSER
1 Remove the rear panel, prising it open with a screwdriver inserted in the purpose-designed slot, then remove the condenser
filter.
2 Loosen the fastening screws and remove the side panels.
010 - If the machine is switched off when cleaning, the cleaning mode is force closed.
- Density parameters saved even when they are modified by a motor block.
- Density hysteresis recalculated.
- Recalculation of minimum temperature according to set density removed.
- Possibility of accessing parameter programming when machine does not have a cover is eli-
minated.
- Motor power supply low voltage alarm (AL13) and no voltage alarm (AL07) differentiated.
- Motor block control improved.
- Alternative keyboard block mode introduced.
- Last three alarms stored with display also possible in normal operating mode.
- New default operating parameter values.
- Hardware protection software management (AL08) eliminated.
19/10/2012
011 Default parameters modified.
DG density calculation to improve operation at low values has been modified.
05/11/2012
012 Default parameters modified. 09/11/2012
013 Default parameters modified. 09/11/2012
014 Parameter storage optimised. 14/11/2012
015 DG density calculation to improve operation at low values has been modified.
020 DG density calculation to improve operation at low values has been modified. 04/12/2012
021 Error whereby the message “----“ continued to be displayed when the double and triple machi-
ne tank was switched off in cleaning mode has been corrected.
12/12/2012
022 A density auto-adjust function has been introduced.
IMPORTANT
The side panels cannot be removed if the rear panel has not previously been
disassembled.
 Loading...