17
Now the build plate has been leveled and filament loaded you’re ready to start your first print!
The SD card that came with your Ultimaker 2 Extended (it is in the SD card slot at the front side) already contains a
couple of print files, which can be used directly. When going through the “configuration wizard” you will automatically
be guided to these files. You can simply select one of the files and press the button to start the print.
After a print file has been chosen the Ultimaker 2 Extended will prepare itself by homing the print head and build plate
and heating up the build plate and nozzle. Please note that this can take up to 5 minutes.
While printing, the display will show the progress of the print and the remaining time for completion. When the print has
finished the display will indicate that the Ultimaker 2 Extended is cooling down. The progress bar also indicates when it
is safe to remove the print from the build plate.
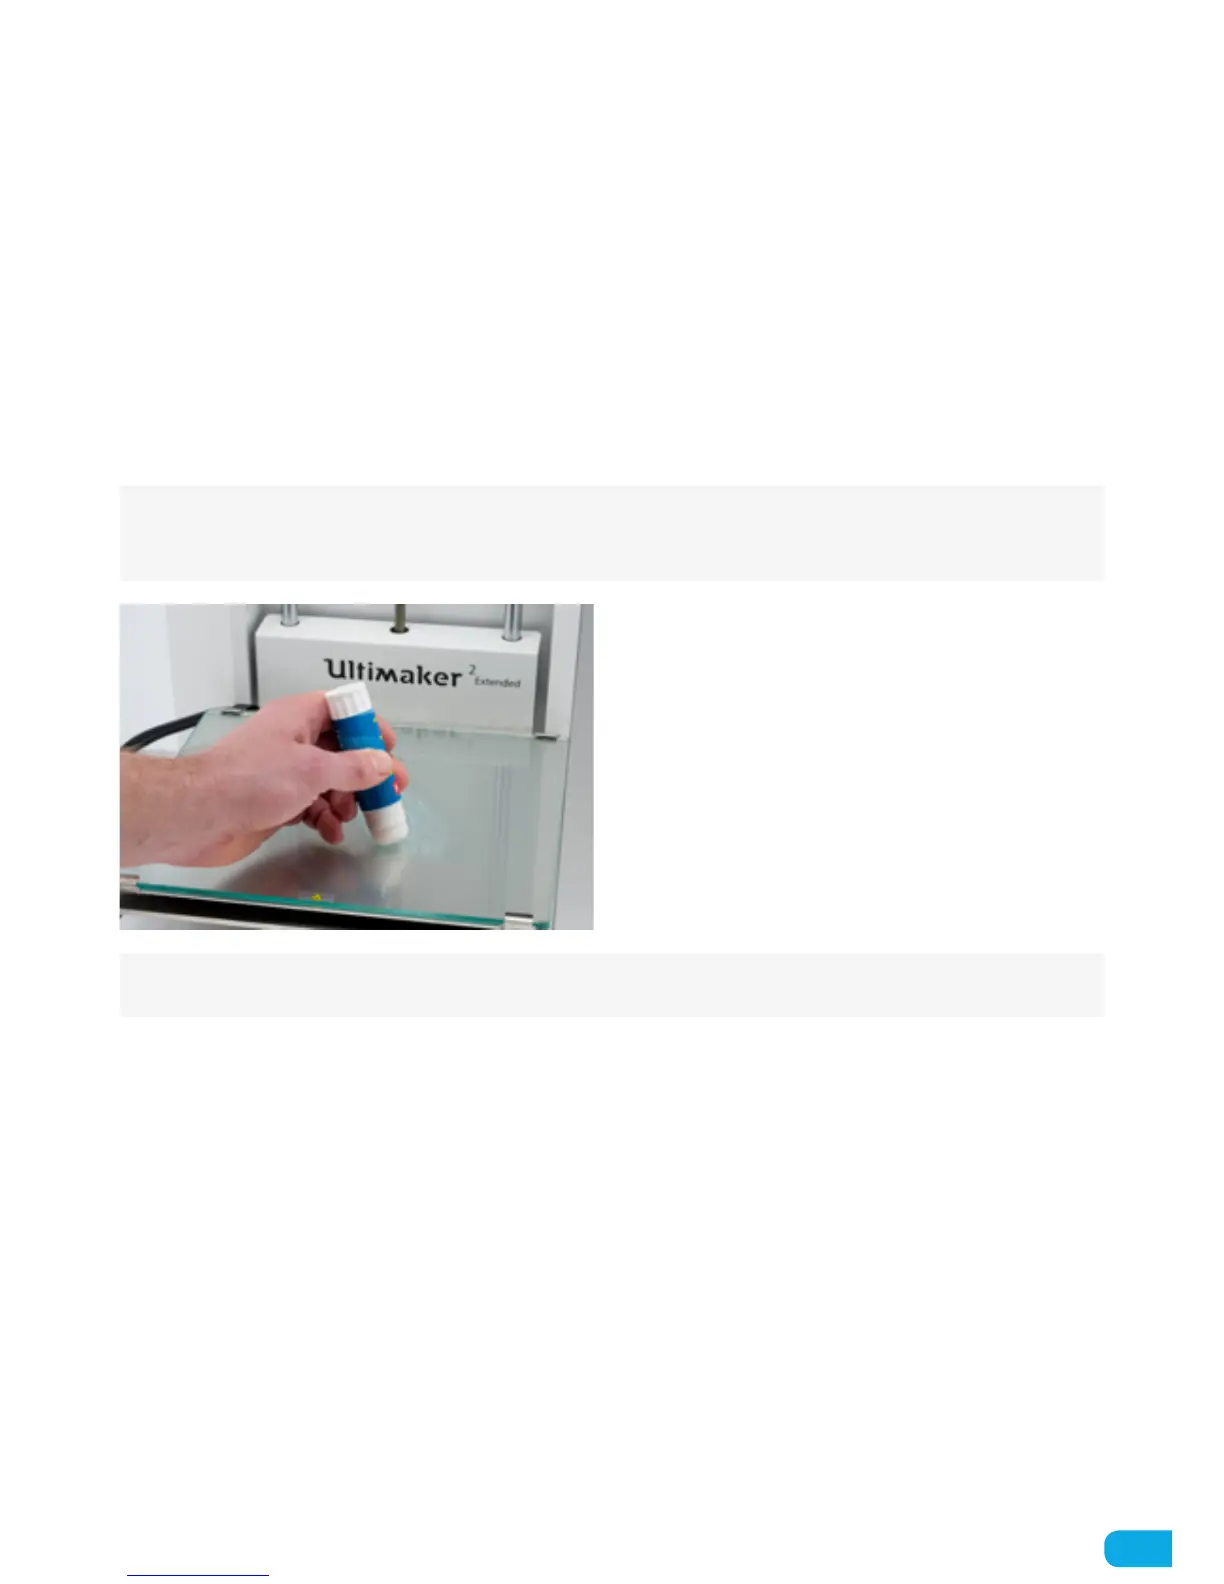
NOTE: For good platform adhesion it is recommended to apply a thin layer of glue to the glass plate. Therefore you
can use the glue stick that was provided with the Ultimaker 2 Extended. You only need to apply glue to the area
where the model will be printed.
CAUTION: Don’t touch the print head/nozzle while it is heating, printing or cooling down. Temperatures can reach
up to 260°C.
START A PRINT