19
For the Ultimaker 2 Extended we recommend to use our software Cura to prepare your 3D print files. Cura will help you
converting 3D models into 3D print files within a couple of seconds and shows you a preview of the print in order to
ensure everything is as you would like it to be.
Cura can be downloaded from our website: ultimaker.com/software
After downloading, open the installer and run the installation wizard to complete the installation. When you open up
Cura for the first time, you will be asked to select the 3D printer that you have; select the Ultimaker 2 Extended. No
other configuration is required and you can directly start using Cura.
The basic process of converting a 3D model to a print file in Cura is described below.
1. Load a 3D model (STL or OBJ file) into Cura via the “Load” button.
2. Position the slider in the Print Setup screen to the desired position and wait for Cura to slice the model.
3. After you have done the settings and Cura has converted the file, you can save the print file (G-code file) via the
“Save” button in the bottom right corner.
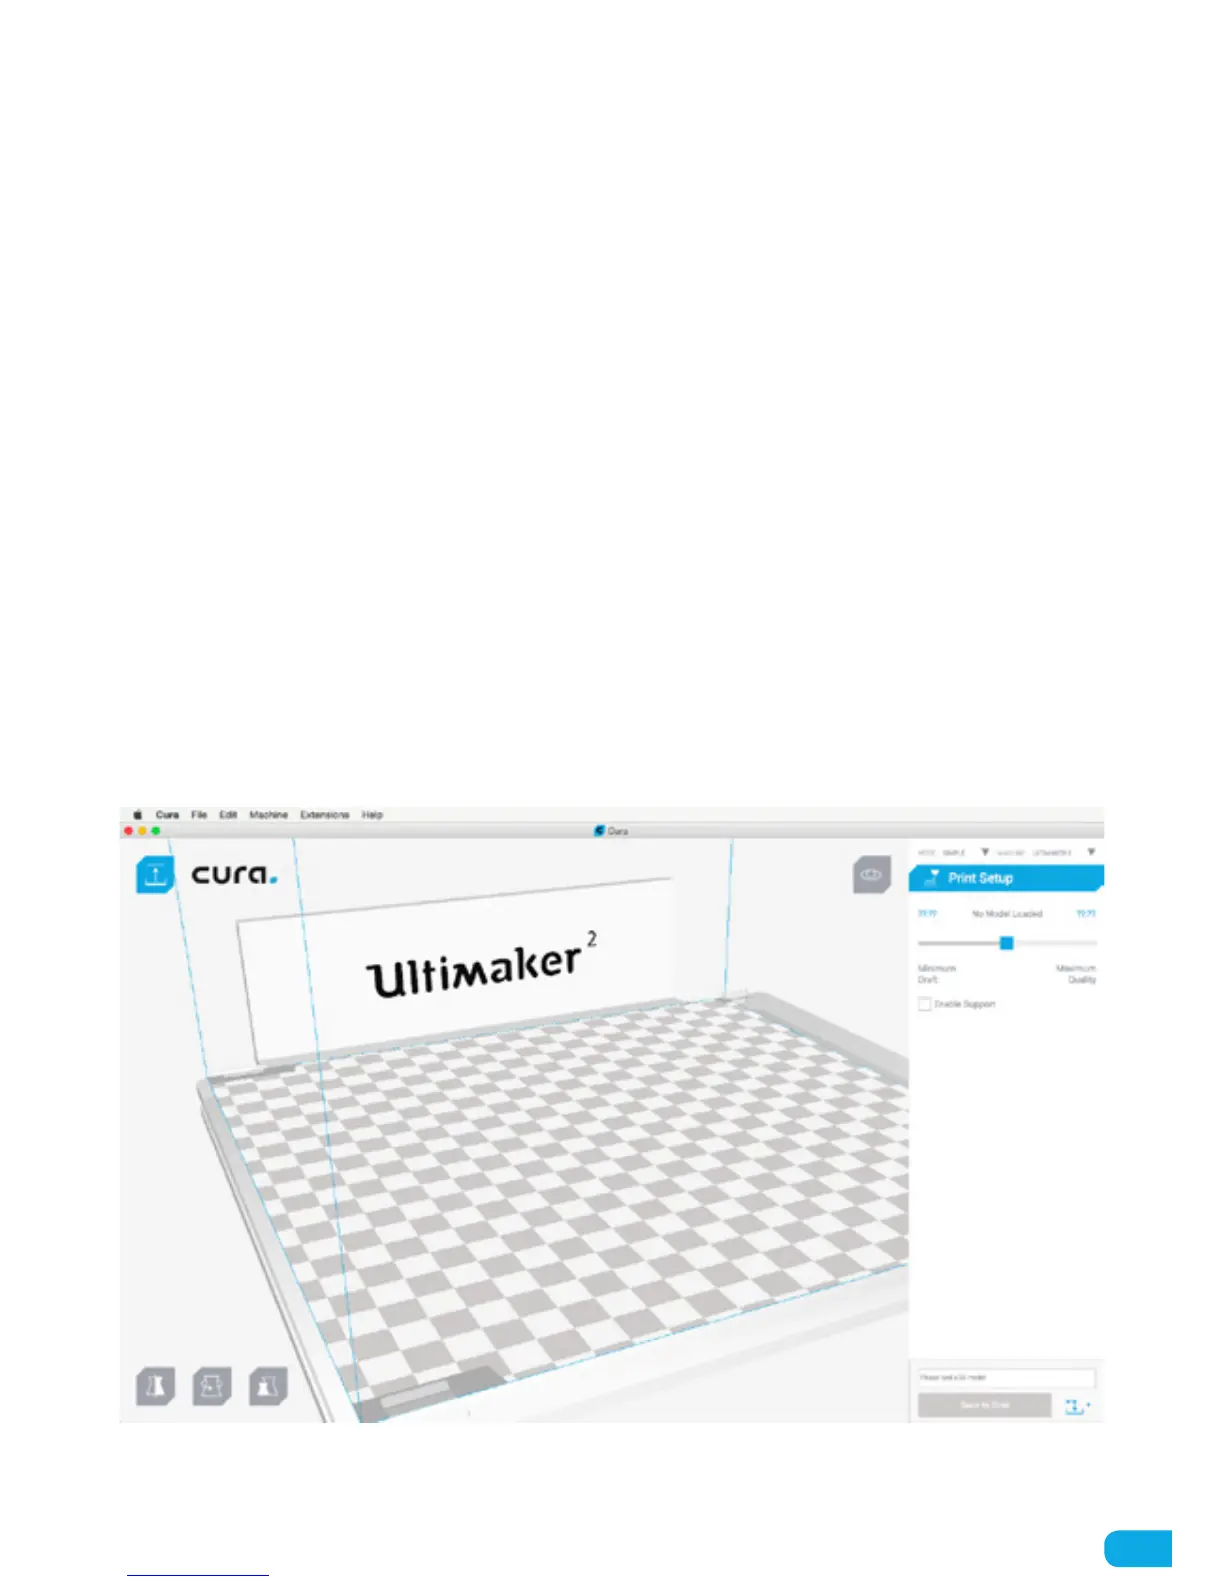
When using Cura for the first time you will see the “Simple” mode in the Print Setup screen. This is perfect for
beginners, but when you’re a more experienced user and want to have more control over the print settings you can
also switch to the “Advanced” mode.
For more information on using Cura you can visit the Cura support pages: ultimaker.com/support/software
CURA