27
Printing with two colors
To create a dual color print, two model files (exported to fit together) are required. This is necessary to assign the two
colors to the objects. Follow the below steps to create a dual color print with Cura.
1. Load both model files into Cura by clicking the “Open File” folder icon (top left corner).
2. In the Sidebar, check if the print cores and materials are correct. Both print cores should be AA.
3. Select the object that you want to print with print core two, go to “Per model settings” (left side of the screen) and
select “Print model with print core 2”.
All loaded objects are printed with print core 1 by default. Therefore it is only necessary to manually set the print
core for the object that you want to print with print core 2.
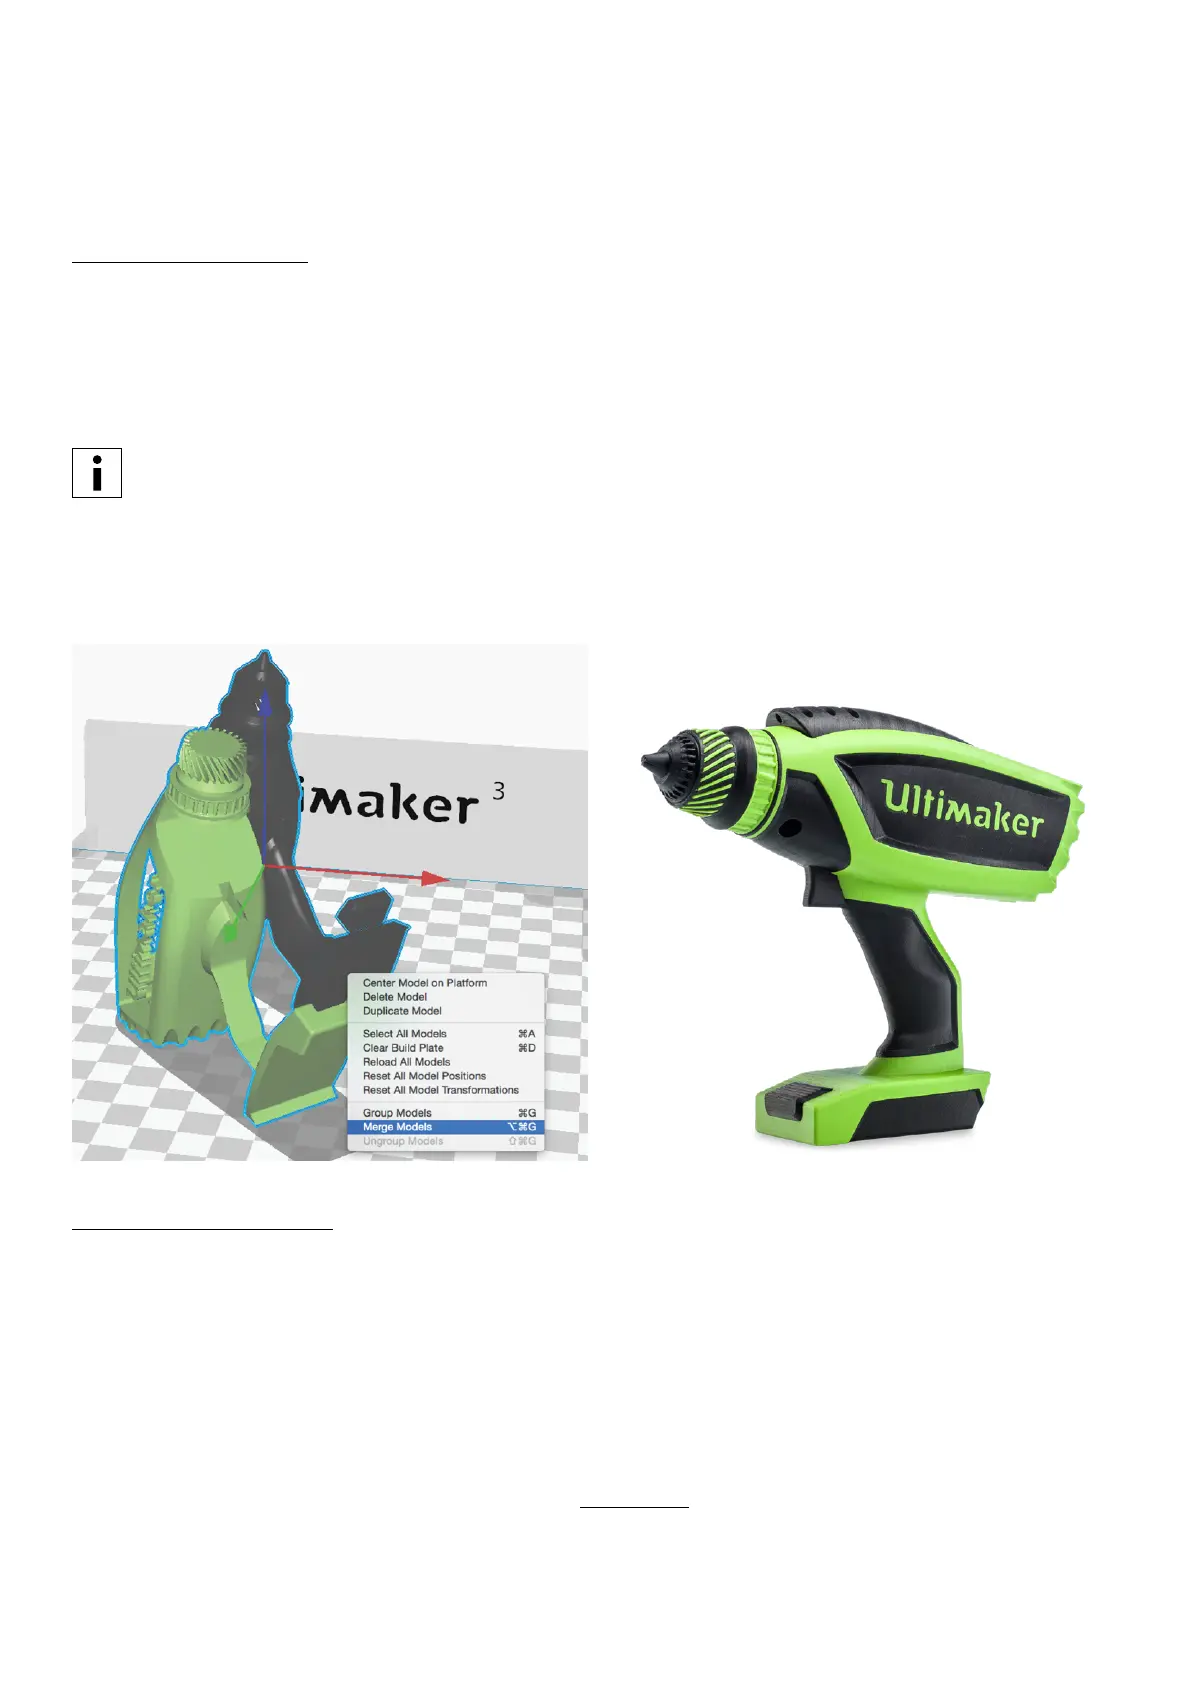
4. Select all models (shift + left click) and merge them by a right click on one of the models and select “Merge models”.
5. Use the Adjustment Tools to position, scale and rotate the object if desired.
6. Select a profile quality (Draft Print, Fast Print, Normal Quality or High Quality) on the Sidebar.
7. To view the result of the selected profile settings, go to the “View mode” and select “Layers”.
8. In the bottom right corner, select “Save file”, “Save to USB” or “Print over network” depending on the printing method.
Printing with one material
Although the Ultimaker 3 allows printing with two materials at the same time, it is also possible to make single extrusion
prints. The workflow for this is described below.
1. Load the model into Cura by clicking the “Open File” folder icon (top left corner).
2. Use the Adjustment Tools to position, scale and rotate the object if desired.
3. In the Sidebar, check if the print core and material are correct. Print core 1 should be set to AA.
4. Select a profile quality (Draft Print, Fast Print, Normal Quality or High Quality) on the Sidebar.
5. Select “Helper Parts” on the Sidebar and set the desired strength.
6. To view the result of the selected profile, go to the “View mode” and select “Layers”.
7. In the bottom right corner, select “Save file”, “Save to USB” or “Print over network” depending on the printing method.
For more instructions on how to use Cura take a look at the Cura manual on our website.