18
Fitting the probes and connecting them
The probes (sensors) must be installed and aligned very carefully in order to obtain good flow rate measurement accu-
racy.
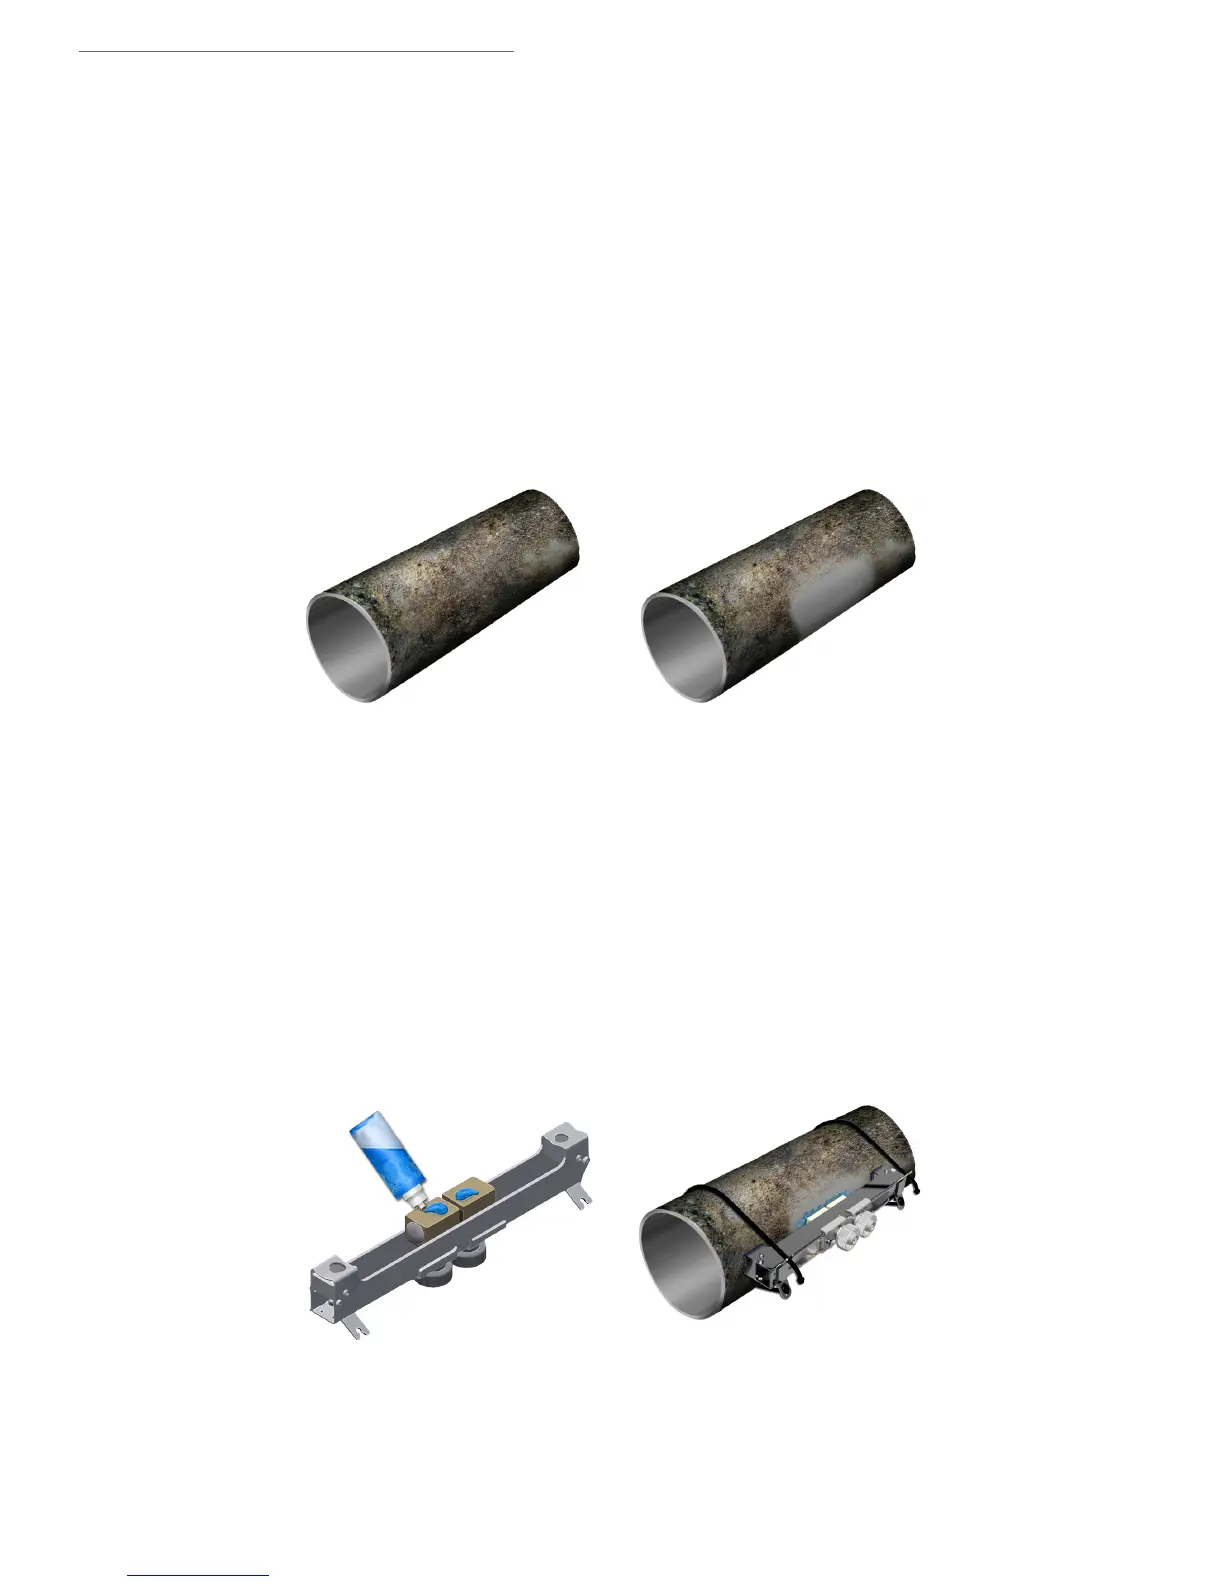
Preparing the pipe
To install external (clamp-on) probes, thoroughly clean the pipe where the probes will be installed. (See distance
between probes ‘here’.) The pipe must be cleaned with absorbent paper or a piece of cloth. If the pipe is very dirty or
corroded, use a wire brush or a scraper. There is no need to remove sound paint. It is even recommended that you leave
it in place to prevent any corrosion. The same applies for most plastic coatings. However, if the paint is blistered and
comes away easily (test it by scraping with your nail or a pointed tool), remove it from the local area. Porosity impairs
the propagation of ultrasound waves.
Fitting the probe
First move the probes apart to the distance calculated by the device.
Then apply coupling gel on the probe/pipe contact surface.
Attach the probes to the pipe using straps or a dedicated support. Check the presence and continuity of the coupling
(the formation of a layer of air between the pipe wall and the probe must be avoided at all costs). To avoid this problem,
do not slide the probes too much (which could aect the coupling film).
Figure 14a - Preparing the pipe
Figure 14b - Fitting the probes
 Loading...