Vision120 OPLC™ User Guide
16
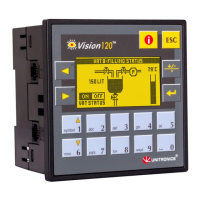
I/O Connections
1. Strip the wire to a length of 7±0.5mm (0.250–0.300 inches).
2. Unscrew the terminal to its widest position before inserting a wire.
3. Insert the wire completely into the terminal to ensure a proper connection.
4. Tighten enough to keep the wire from pulling free.
Wire Size and Specifications
• Wire the inputs and outputs using 26-14 AWG wire.
• To avoid damaging the wire, do not exceed a maximum torque of
0.5 N·m (5 kgf·m).
• Do not use tin, solder, or any other substance on the stripped wire
that might cause the wire strand to break.
• We recommend that you use crimp terminals for wiring.
I/O Options: According to Model
Technical specifications regarding specific I/O configurations are supplied with your model
controller.
Digital Inputs
Depending on your controller model, inputs may:
• function at 12 or 24 VDC in accordance with wiring and jumper settings,
• be set to pnp (source) or npn (sink) via a single jumper and appropriate wiring.
Input values are placed in operands represented by the letter “I” when you write your
program. They are numbered from 0.
High-Speed Counter/Shaft-encoder
According to your controller model, certain inputs can function as either a high-speed
counters, shaft encoders, or as normal digital inputs.
Analog I/Os
Specific controller models contain analog I/Os. These may also comprise PT100 or
thermocouple inputs.