Running Your First Job
This example will walk through the process of engraving an image on a 2 x 3.5 inch (50.8 x 89 mm), 0.0195 inch
(0.49 mm) thick anodized aluminum test cards supplied with your laser system. For additional test card please
contact Universal Laser Systems’ Customer Service Team at 480-609-0297 (USA), +43 1 402 22 50 (Austria),
+81 (45) 224-2270 (Japan) or e-mail us at support@ulsinc.com.
Note: For this example, we will be using CorelDRAW and the CorelDRAW sample file provided on the installation
CD. The file is also provided in .eps or .dxf for use in other applications if CorelDRAW is not available..
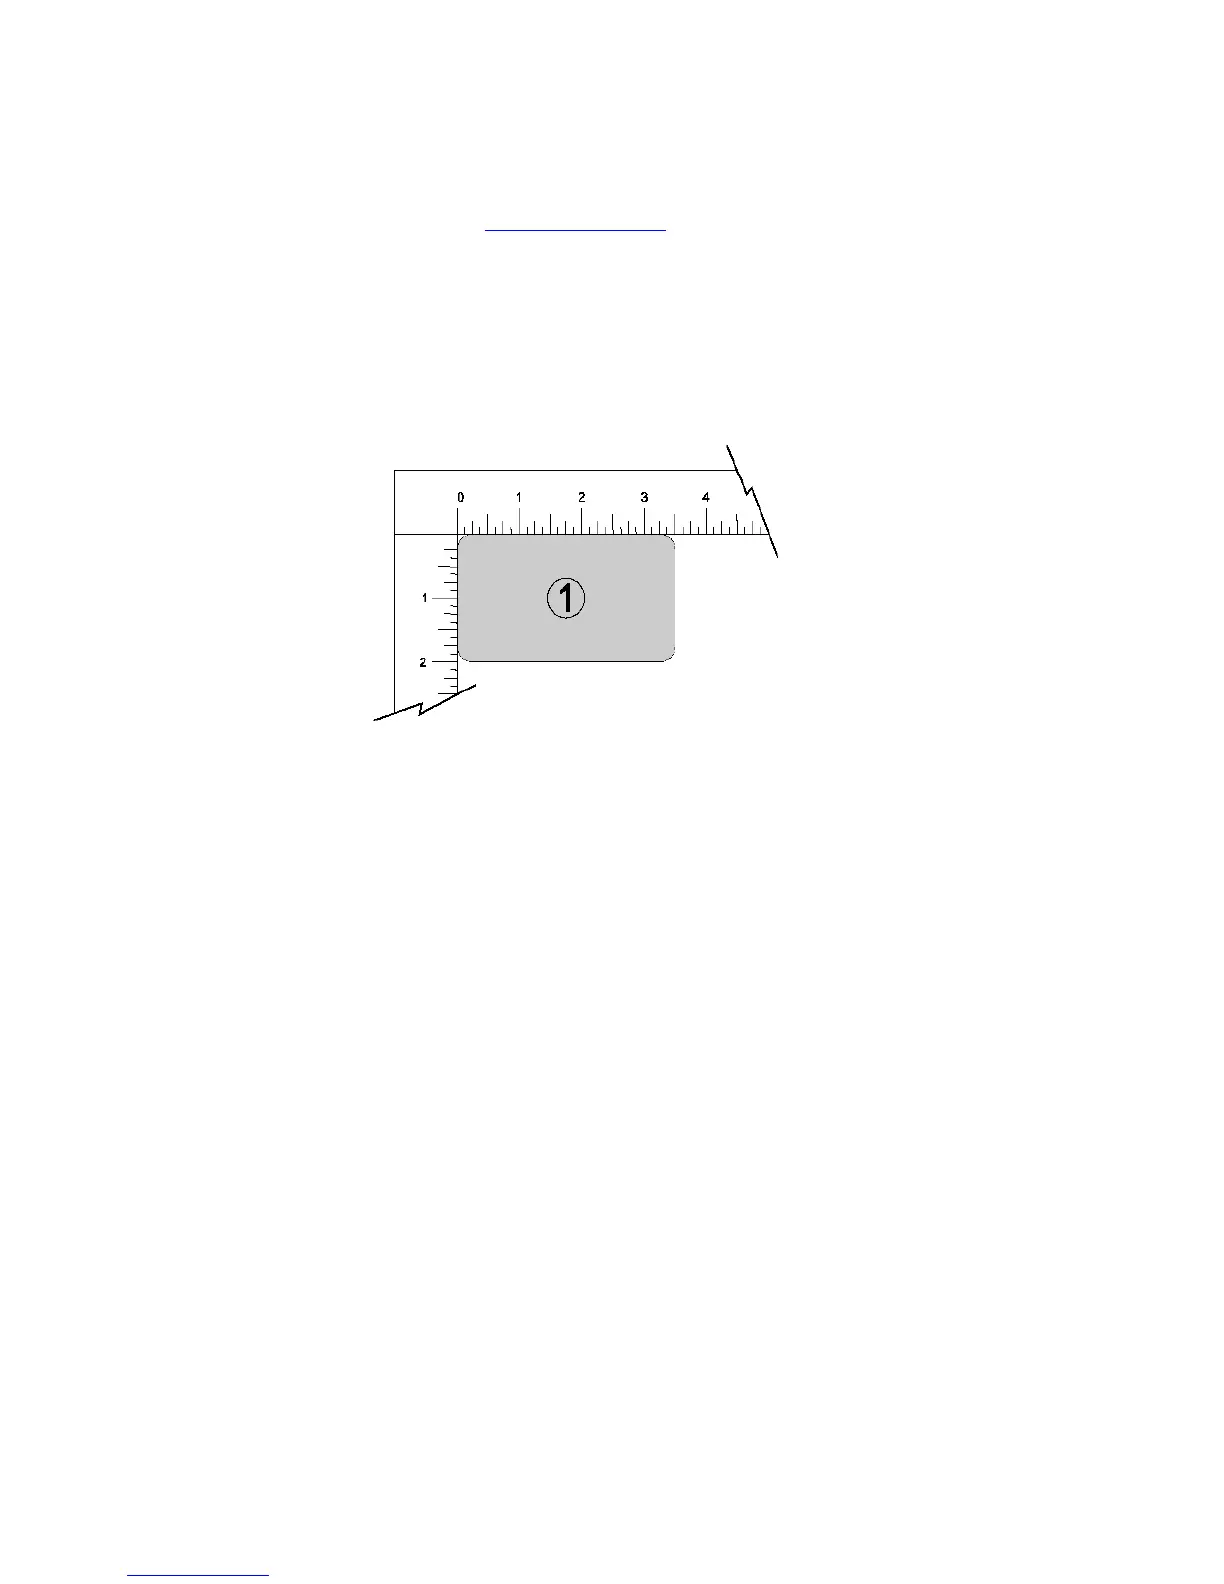
Step 1 – Loading and Positioning the Material
Position the piece of anodized aluminum (1) in the upper left corner of the table, against the rulers.
Step 2 – Creating the Graphic
Using CorelDRAW, open the sample graphic file found on the software installation CD. The file is named
ULSTest.cdr. The Software Installation CD contains test files in .cdr, .eps, and .dxf.
45