Lens Kits
There are four Focus Lens Kits available for CO2-only laser systems: 2.0, 1.5, 2.5,
4.0, along with the High Power Density Focusing Optics (HPDFO). For the
PLS6MW, special multi-wavelength 2.0,4.0, and HPDFO Focus Lens Kits are
available in place of the standard CO
2
only Focus Lens Kits. One calibrated focus
tool is included with each CO2-only kit, and two focus tools (one for CO2
wavelengths, one for fiber wavelengths) are included with each multi-wave kit.
Different lenses produce different spot sizes and have different focal ranges. For
example, the 1.5 lens produces a spot size of 0.003” (0.076 mm) and has an
effective focal range of +/- 0.075” (1.91 mm). This lens can engrave very fine detail,
but can only be used on very flat materials. On the opposite end of the spectrum, the 4.0 lens has a spot size of
0.013” (0.330 mm), but has an effective focal range of +/- 0.2” (5.08 mm) making it much less sensitive to flatness
of material and accuracy of focus but with the trade off of a larger spot size. Contact Universal Laser Systems
customer support for help in choosing the right lens for your application.
Automation Kit
The Automation Kit provides six inputs to initiate various laser system functions using signals from external
devices, such as PLCs and provides two outputs for polling laser system status. The automation kit is
automatically detected upon power-up, and is configured from the System Tab in the UCP. If the automation kit is
not present, the controls for the automation kit on the systems tab of the UCP will not be visible.
CAUTION: ULS does not authorize or support third party safety devices via the Automation Kit. Outputs are
intended to be used for informational purposes such as to indicate error conditions; they are not intended to
drive external devices.
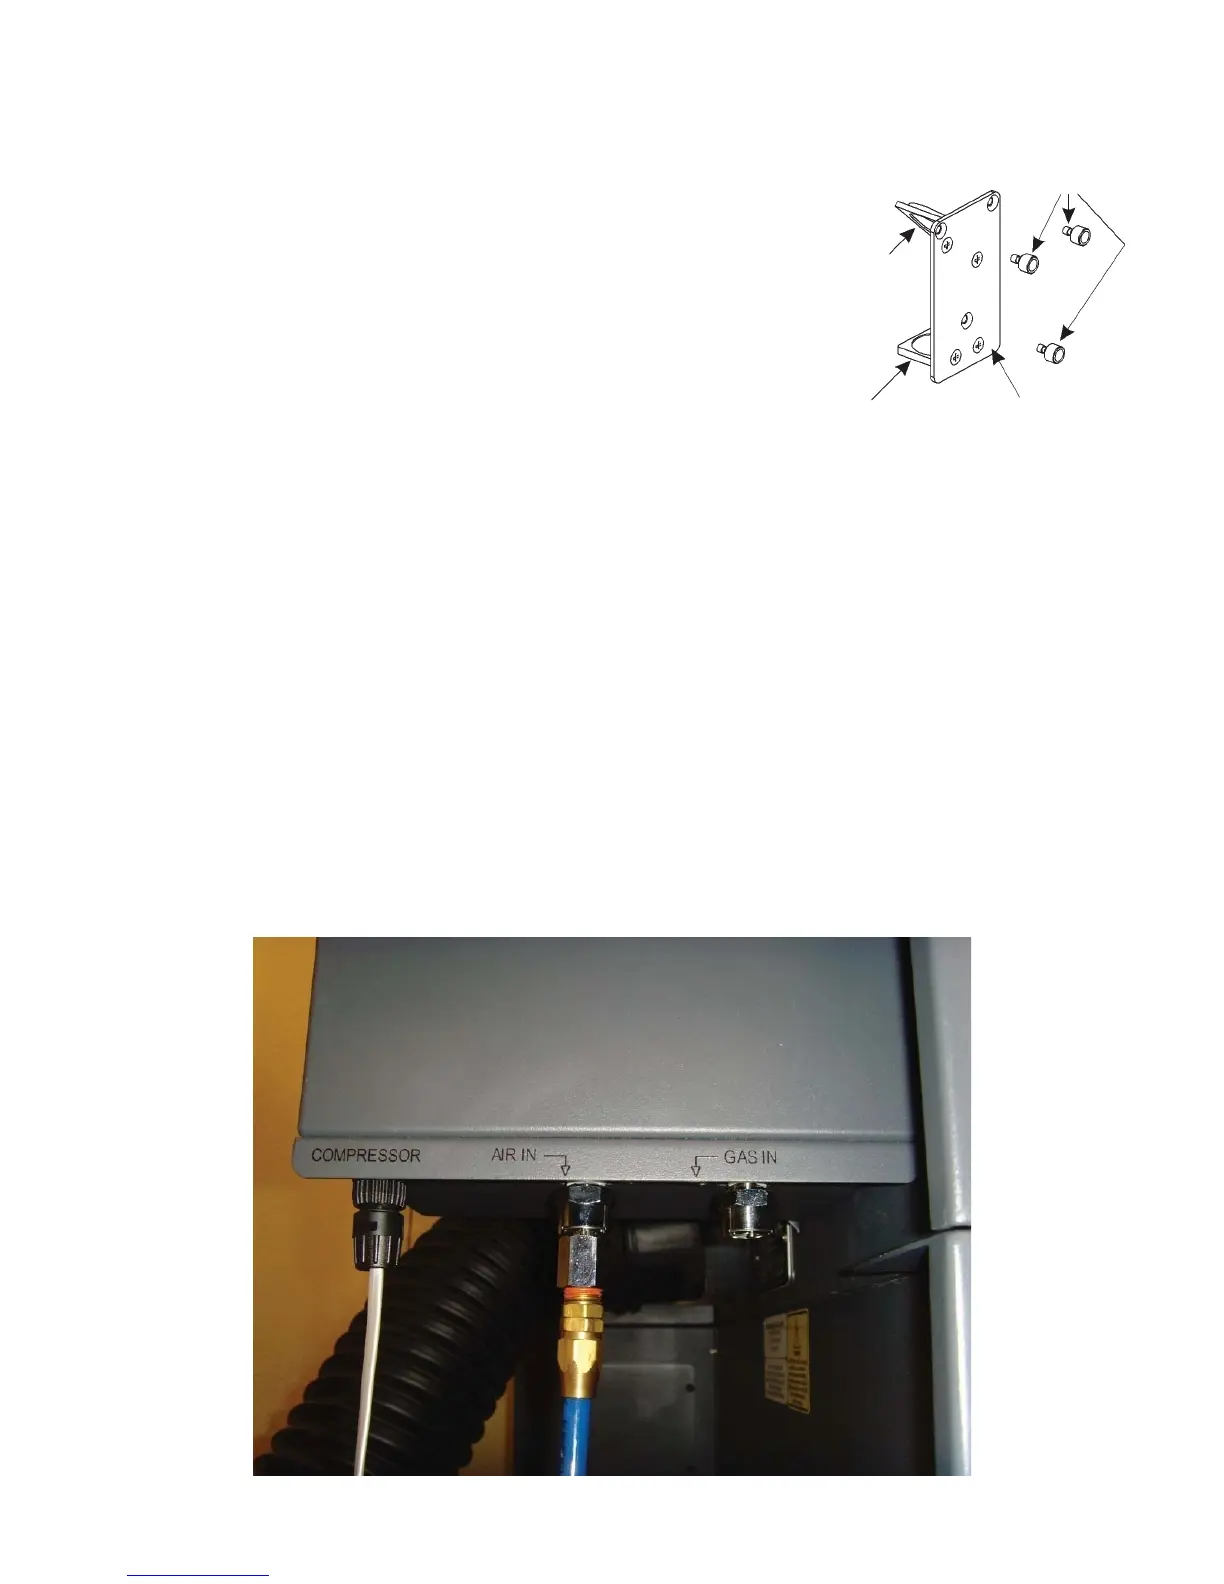
Installation
1. Insure power is off to the engraver and any accessories such as the compressor.
2. Using the supplied patch cable, plug the round end into the laser system Computer Controlled Air Assist,
“COMPRESSOR” jack.
96