Installation Guide for Uplogix Local Managers 23
Connecting a workstation
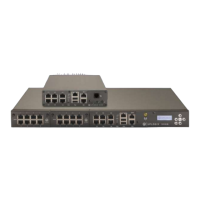
To complete initial setup, connect your workstation to the Local Manager's RJ-45 console port.
If you wish to utilize the keypad to configure network settings on the Local Manager, skip this
step.
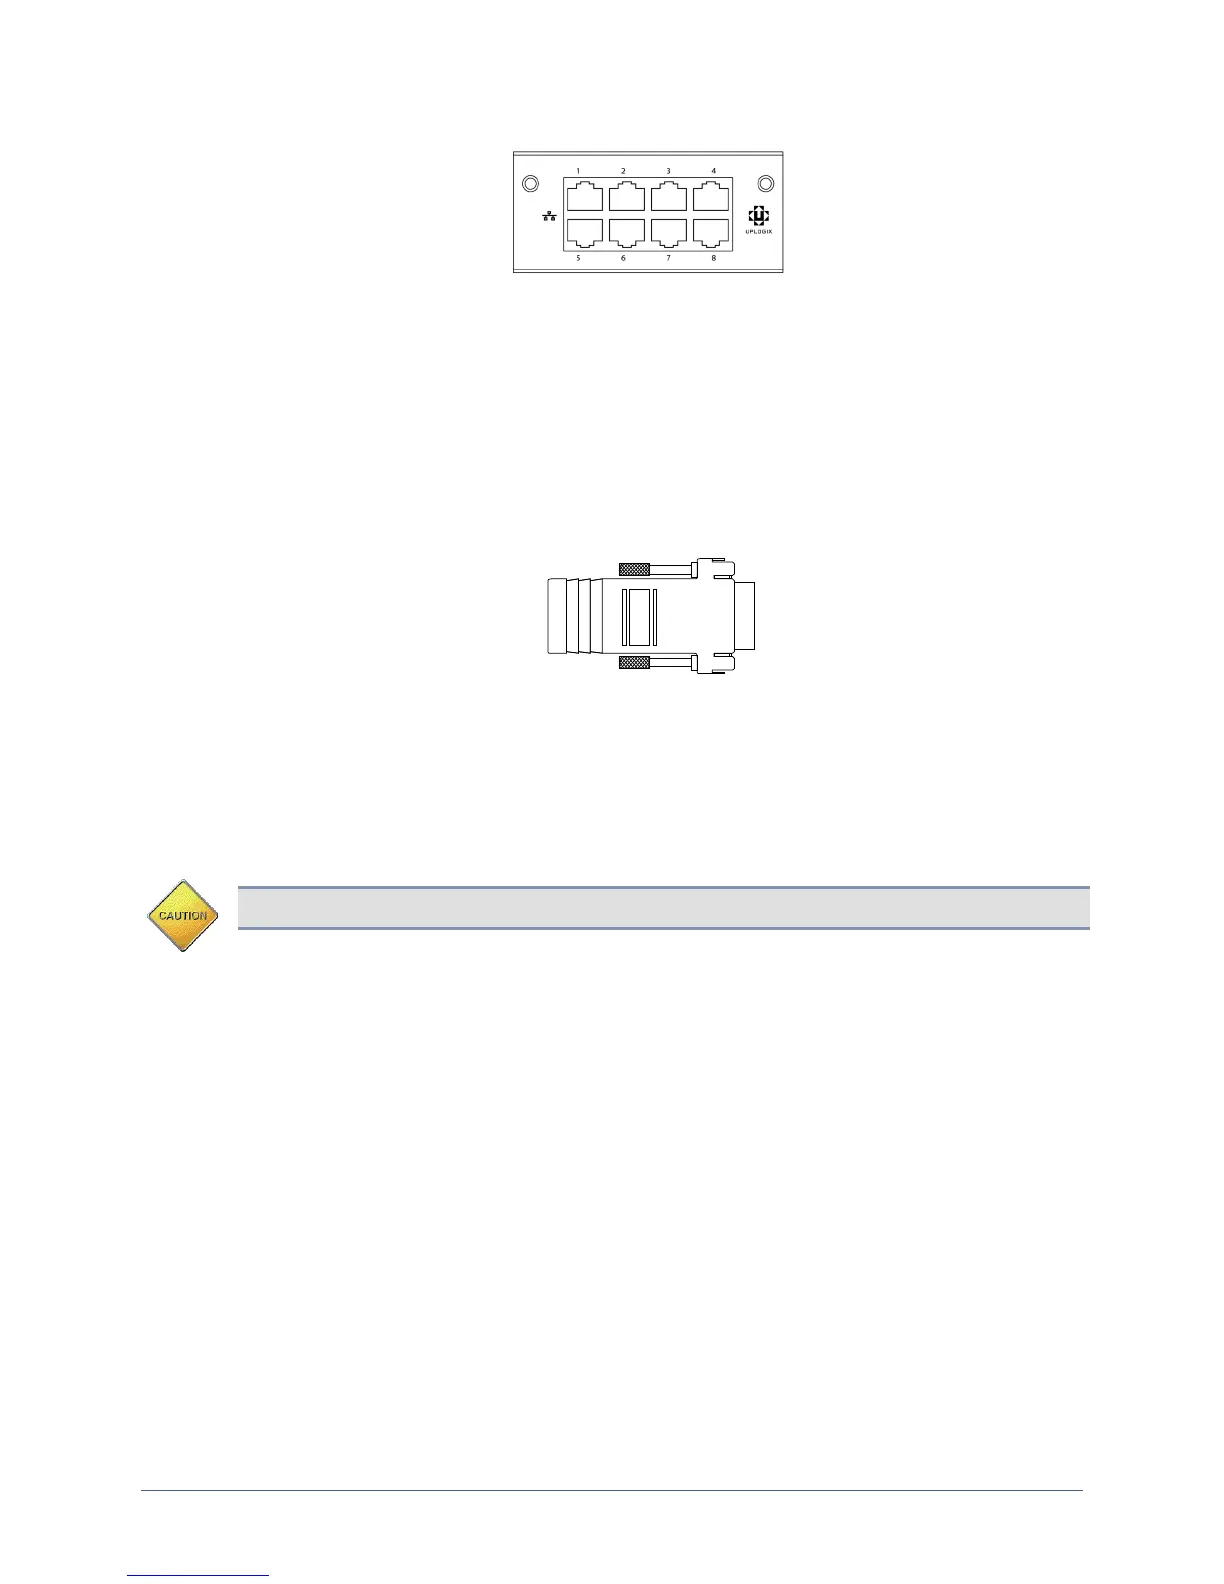
If your workstation has a DB-9 serial port, use the DB-9 to RJ-45 adaptor provided by
Uplogix (see diagram below) and a straight Ethernet cable to connect to the console port.
If your workstation does not have a DB-9 serial port, you will need to use a USB to DB-9
serial adaptor together with a straight Ethernet cable and the DB-9 adaptor provided by
Uplogix to connect to the console port.
The default settings for the console port are 9600, 8, N, 1.
Following initial setup, you may choose to disconnect the console cable and manage the Local
Manager via Ethernet.
Removing an expansion card that will not be replaced
Caution: Always power off the Local Manager before installing or removing expansion cards.
To remove an expansion card permanently:
1. Power off the Local Manager.
2. Loosen the module retention screws and slide the card out of the Local Manager.
3. Position the blank faceplate over the opening and tighten the module retention screws
to secure.
4. Power on the Local Manager.
5. The Local Manager generates an alarm indicating that the card is missing. To clear this
alarm, along with all the database information about the expansion card itself, use the
config system clear slot command after completing the Local Manager
configuration.
6. To clear all data associated with the ports on the removed expansion card, use the
config system clear port command. You can specify all ports using the * wildcard
character—for example, config system clear port 2/* removes all port data
associated with slot 2 ports.