Part II – Wiring the System5
Page 5
Wiring the System5
Connecting Power to the System5
There are two options to connect power to the
unit. You may hard wire it to a junction box or
wire directly.
WARNING: MAKE SURE POWER IS
DISCONNECTED WHILE YOU WIRE THE
UNIT.
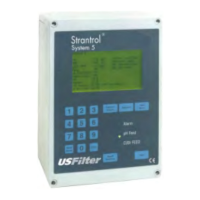
Step 1: Opening the Cover
To connect power to the unit the cover must be
removed by loosening the four screws at the
corners with a screwdriver as shown. NOTE: The
capture screws do not need to be totally removed,
but only loosened. Once the screws are loosened,
carefully lift the top cover off of the unit. The
cover will still be connected to the base by a
cable. Set aside the moisture absorbent packet
found inside for now.
Note: You may want to reattach the cover in the
"temporarily open" position by attaching the
right side of the cover to the left side of the unit
as shown.
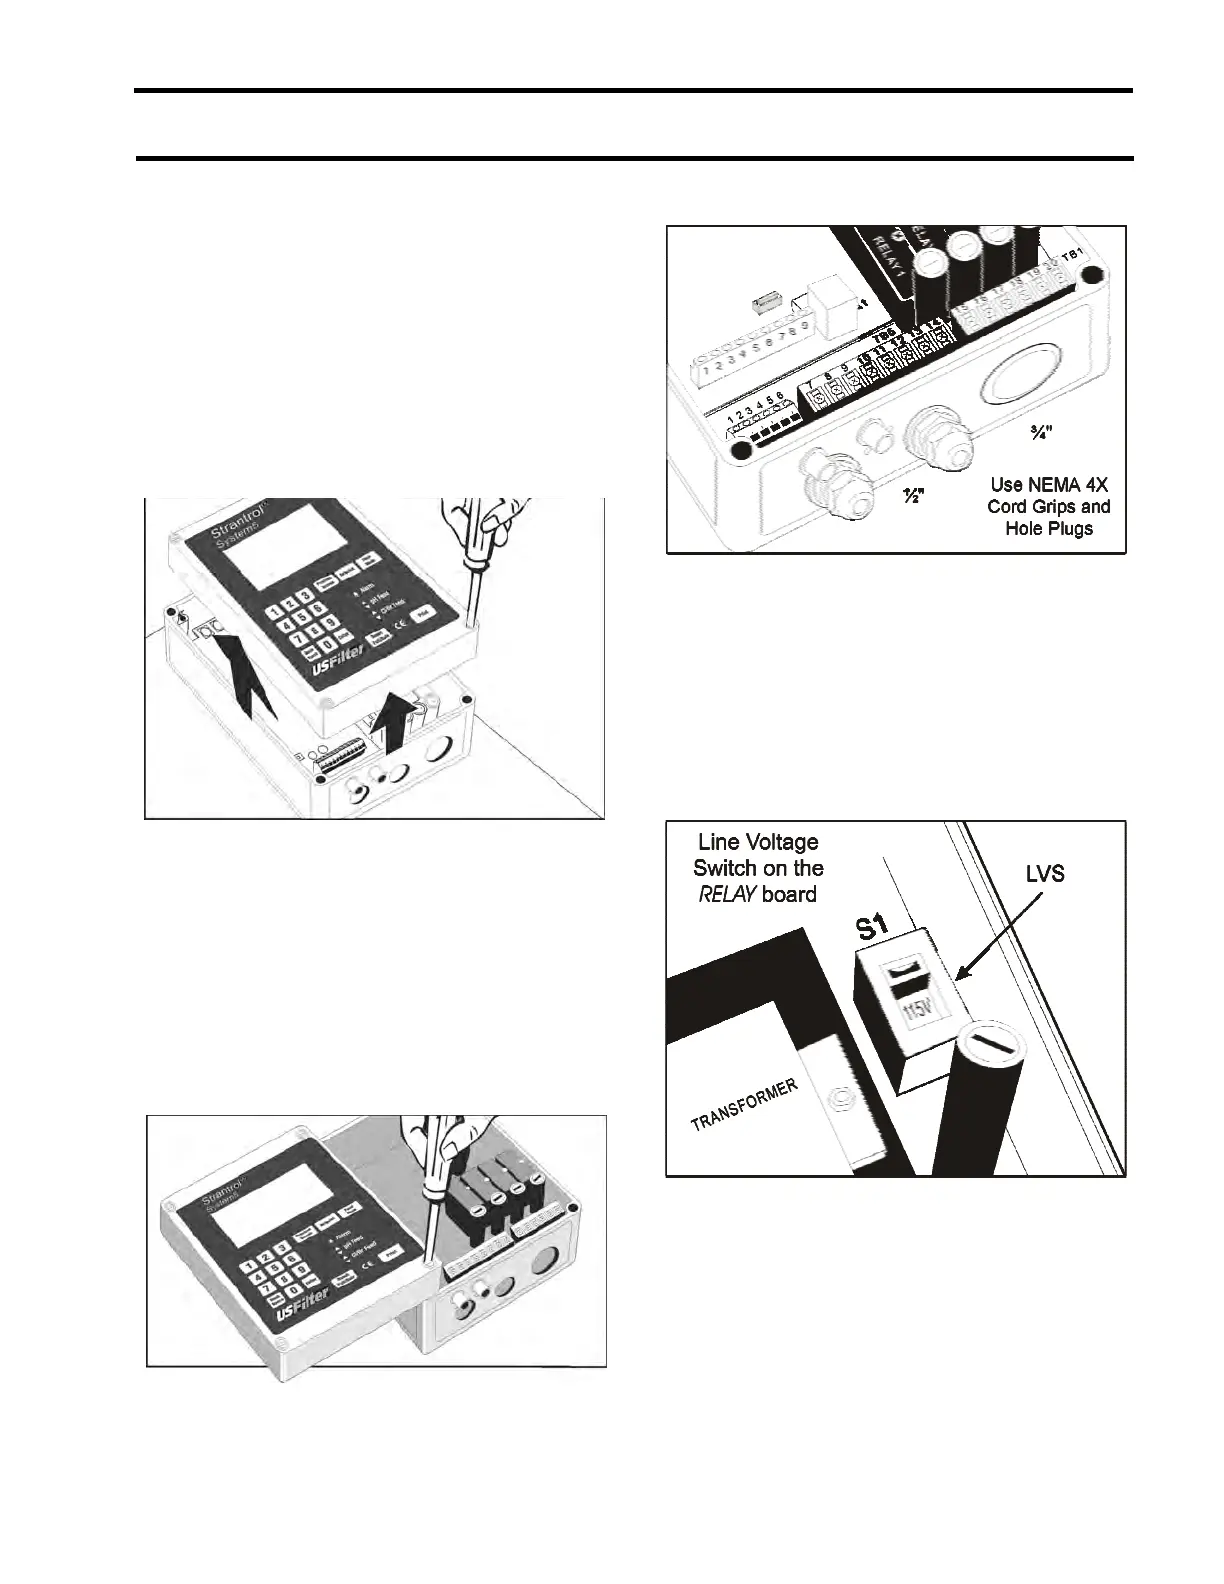
Step 2: Wiring Directly to the Unit
If you choose to wire direct to the unit, you may
use the two ½-inch holes or the one ¾-inch hole
in the casing to enable you to easily run wires into
the unit. When you are all finished wiring the
unit, be sure to plug any unused holes with the
½-inch or ¾-inch NEMA 4x plugs.
Step 3: Setting the Line Voltage Switch
Before powering up the unit, set the Line Voltage
(LVS in the illustration) to either 115 or 230.