Chapter 4: Setting up the Monitor
Veterinary Vital Signs Monitor Operation Manual 4-3
4.5 Systems Setup
Press the menu key to pop up the main menu and turn the rotary knob on the
monitor to move the cursor to the “System” option. Then press the rotary
knob to enter its submenu. The setup window will be shown as below,
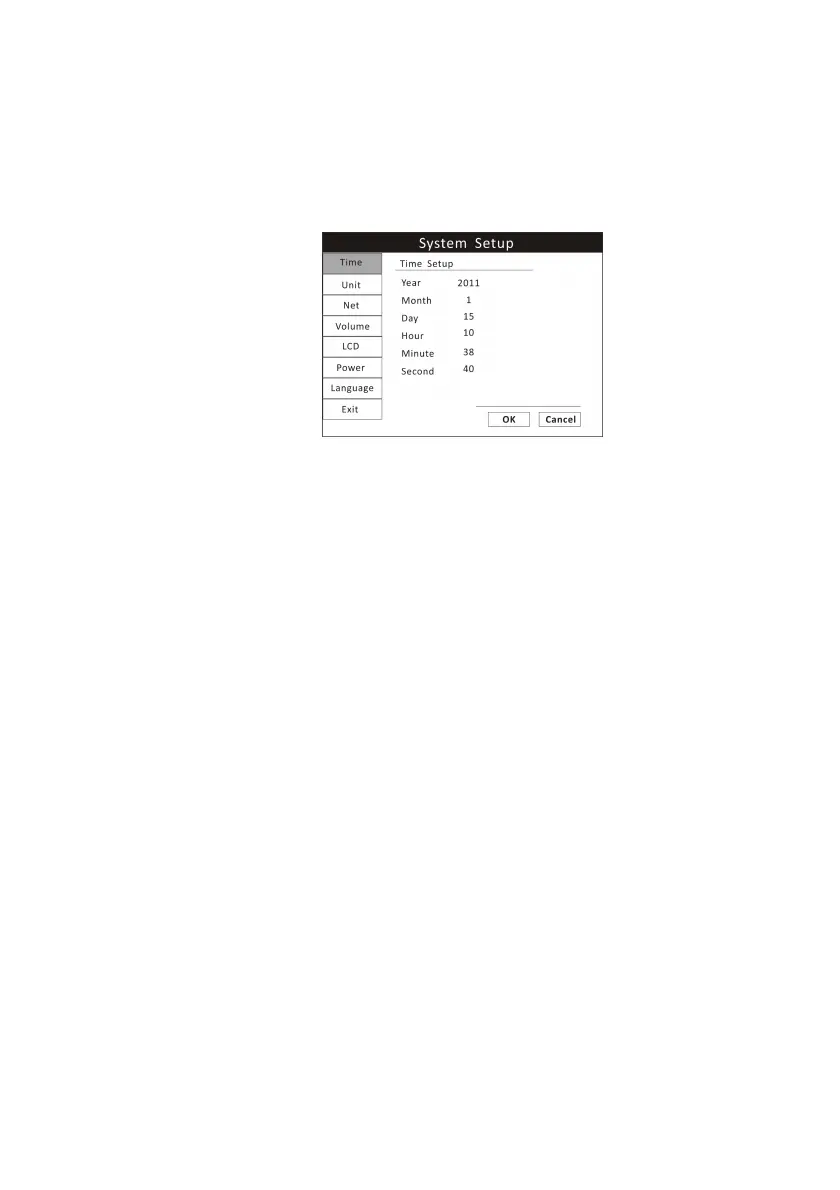
Figure 4.2: System Setup
4.5.1 Time Setup
If necessary, set the time and date on the display. The time and date indicator
is located in the lower right corner of the display. The monitor's real-time
clock and calendar keep track of the time and date, even when the monitor is
turned off or is not connected to AC power. The time and date stamp is used
for the NIBP tabular trends, the displayed and printed trends, and all other
printouts. The time display format is based on the 24-hour clock. For example,
5:00 a.m. is displayed as 5:00 and 5:00 p.m. is displayed as 17:00.
1. Press the menu key to pop up the main menu and turn the rotary knob to
move the cursor to the “System” option.
2. Push the rotary knob to access the “System” submenu. Turn the knob to
highlight the “Time” option.
3. Push the rotary knob to access the time setup submenu and turn the knob
to highlight the desired option.
4. Push the rotary knob to select the option. Turn the rotary knob to increase
or decrease the value. Press it again to move out.
5. Turn the rotary knob to “OK” or “Cancel” to save or delete your settings.