WWW.UTOPIAGROUP.COM
page 40
INSTALLATION INSTRUCTIONS
Worktops
g 1
FITTING A SOLID SURFACE APRON STANDARD
AND SHORT PROJECTION
Position the fascia into the slot ensuring that the fascia is tight against the front edge of the
slot.
Ensure that the apron remains central on the fascia, (see g 1), and the distance that the
top edge of the apron sits above the top edge of the fascia (a) is equal on both sides
(see g 2).
Apply a bead of good quality silicone to the top edge of the apron.
Align the fixings on the fascia with the fixings on the cabinet and push the fascia onto the
cabinet until it locks into place.
Apply a small amount of upwards pressure to the apron until it fits flat against the underside
of the worktop and temporarily stick it in place using several pieces of masking tape
(see g 3).
Wipe off any excess silicone with a clean cloth.
We recommend that you leave the silicone a minimum of 12 hours to set before removing
the masking tape.
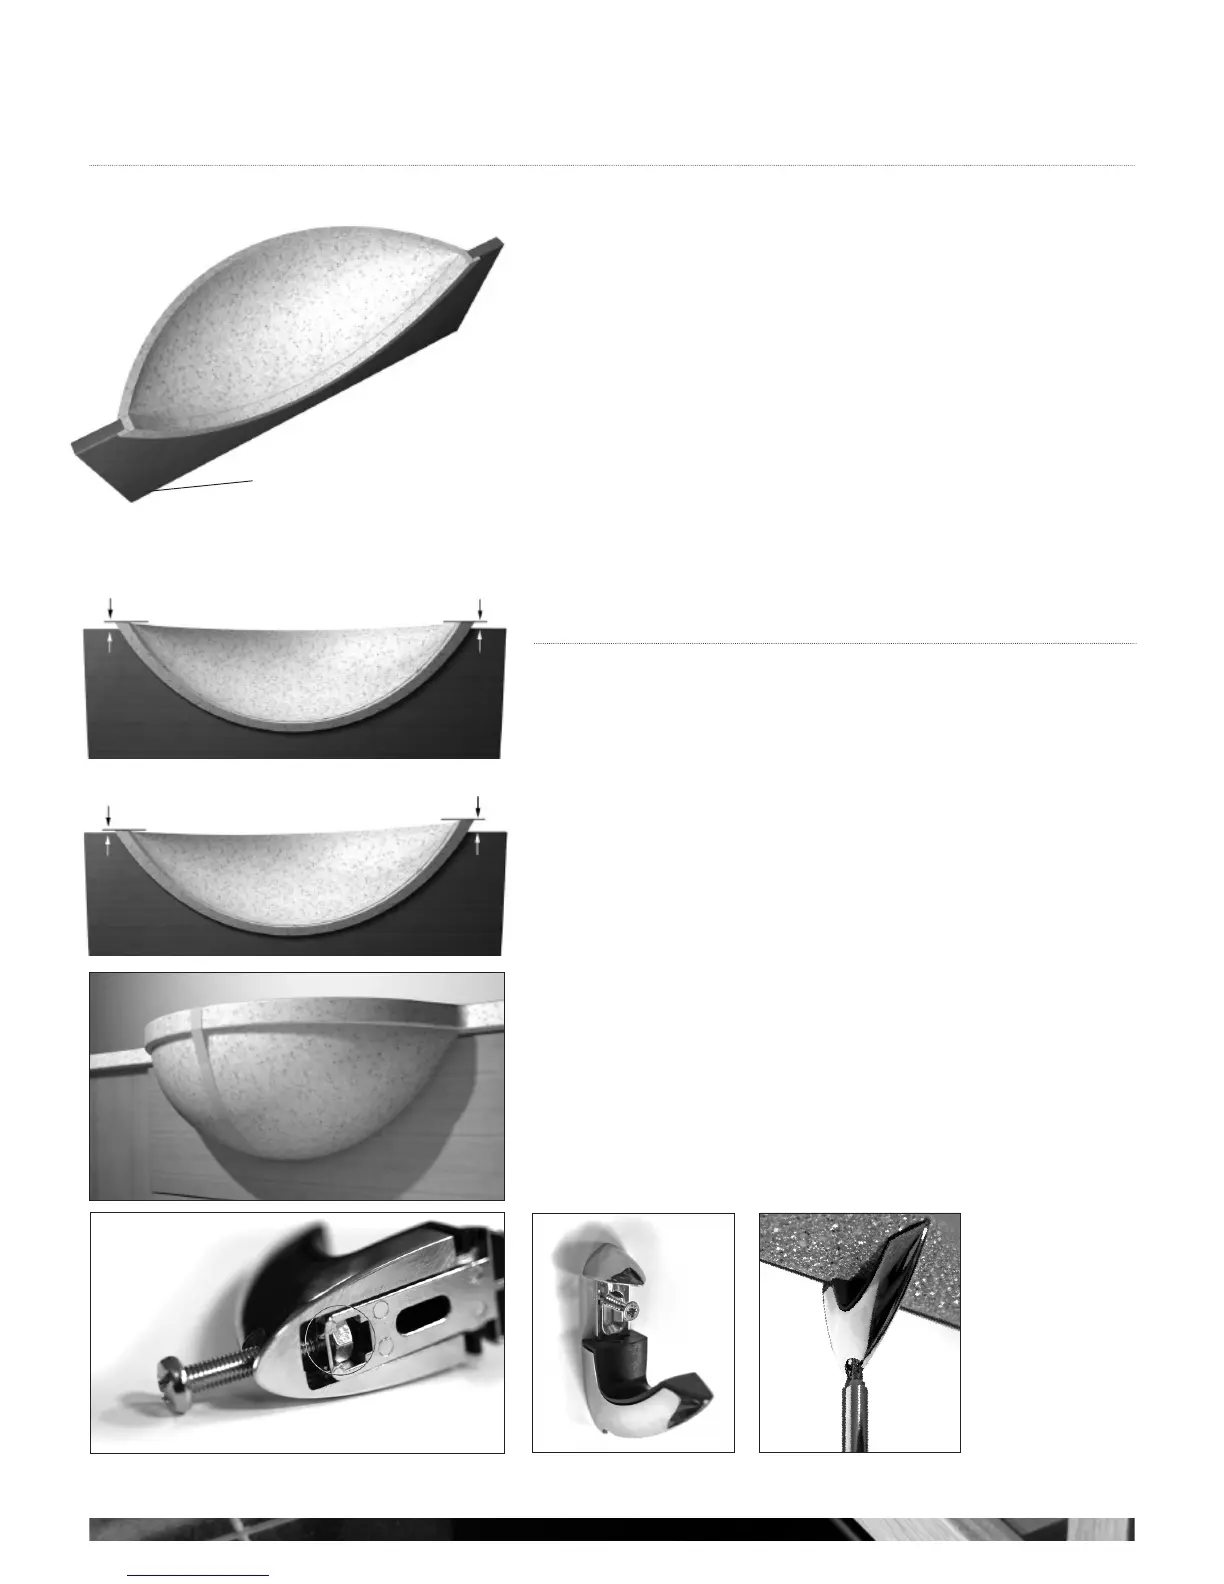
SOLID SURFACE SHELVES AND SHELF SUPPORTS
1 Firstly, ensure that the small adjustment bolt remains seated in the back of the bracket
before fixing (see g 4).
2 Mark the positions of the bracket holes on the wall, relative to the size of the shelf.
Take care to ensure the holes are level with each other using a spirit level. Drill into
the wall at the marked points. Insert the rawlplugs or other appropriate fixing.
3 Check that the nut and bolt are loosely in position in the back of the bracket
(see g 4), and screw the brackets to the wall (see g 5).
4 When both brackets are securely fixed place the shelf centrally between the clasps
and turn the adjustment screws on the underneath of the brackets until the shelf is
securely held in place (see g 6).
Fascia
Correct position - Cowl is seated centrally
a a
a
a
Incorrect position - Cowl is not seated centrally
g 2
g 3
g 4
g 5
g 6