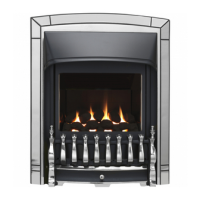
12.2 Assembling the slider control to the ‘Heritage’
fascia.
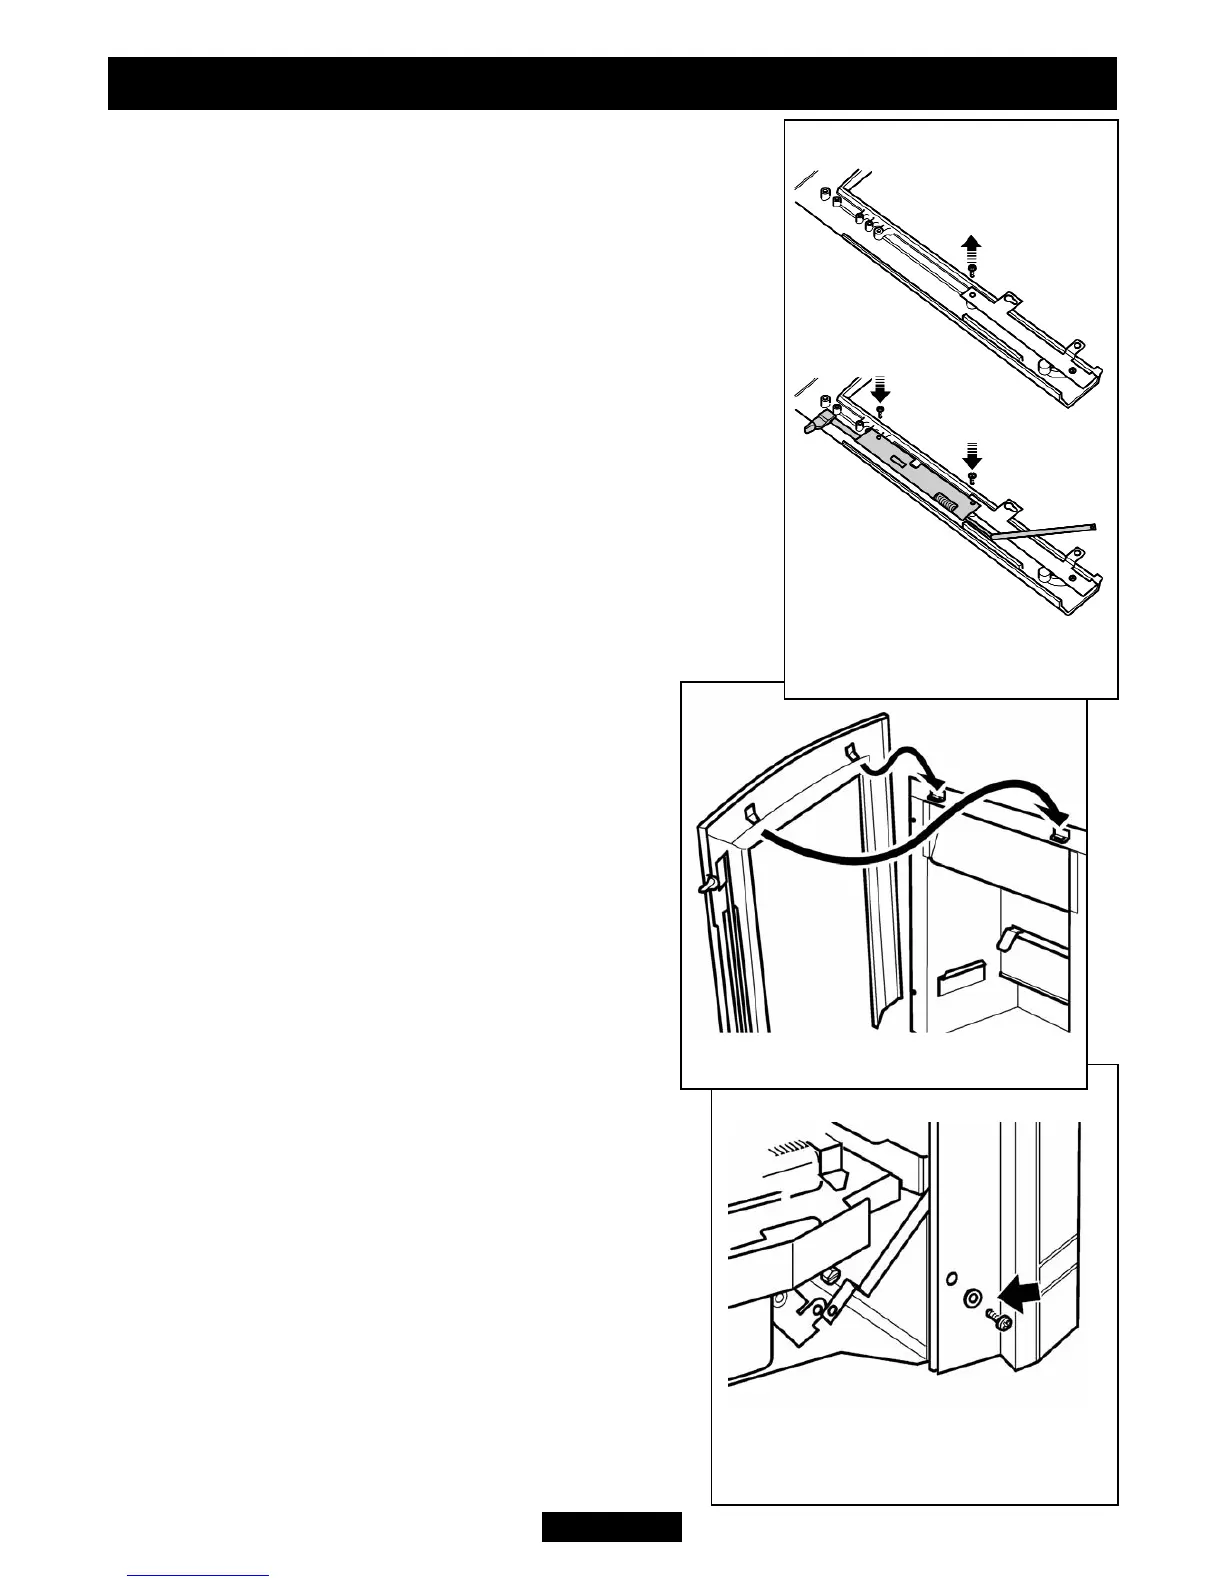
1. The fascia is supplied with two brackets secured at the
bottom. Lie the fascia face down and remove the upper
screw from the left hand bracket (See figure 30).
2. Attach the slider control to the rear of the fascia using
two M4 x 10mm countersunk screws (See figure 30).
3. Supplied with the fire is a self adhesive control
position label. Peel the backing from the label and
position as in figure 29.
12.3 Fitting the fascia to the hotbox.
1. Slide the control button upward as far as it will go.
Make sure that the bottom of the linking bar is higher
than the bottom of the fascia base.
2. Carefully lift the fascia. Do not lift it by the control
button (where fitted to the fascia). Place the fascia
against the fireplace front surface so that the two
retaining plates at the back of the fascia are
directly above the two upper retaining brackets
at the top of the hotbox. Lower the fascia
making sure that the retaining plates locate fully
into the brackets on the hotbox (See figure 31).
If the inlet pipe runs along the front of the
fireplace, the bottom of the fascia will have to be
swung forwards to clear the pipe while lowering
the fascia.
‘Heritage’ and ‘Opulent’ models only.
3. Swing the bottom control linking bar towards
the centre of the fire to clear the right side of
the fascia. Slide the fascia sideways, if
necessary, to align the bottom fixing holes with
those in the hotbox. Fix the bottom of the fascia
to the hotbox with the two washers (Not
required on Heritage model) and black screws
supplied (See figure 32).
Page 33
© Baxi Heating U.K. Limited 2009.
INSTALLER GUIDE
Figure 32. Fascia securing
(Fascia may differ from that
shown)
Figure 31. Fascia location
Figure 30. Attaching slider
control to Heritage fascia