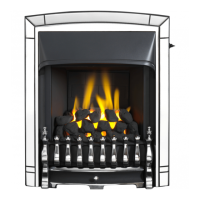
position marked on ‘Dream’ models or on ‘Opulent’ and ‘Heritage’ models.
Retain in this position to ignite the pilot. The burner should ignite at its lowest setting
within 4 seconds of the pilot igniting. If for any reason the slider control does not
spring up, raise the slider to the topmost (Off) position and investigate why the slider
is not operating correctly. Keep at this position for a further 10 seconds to allow the
pilot flame to stabilise.
4. Release the button. The button should automatically spring up to the low heat
position. If the flames go out at this stage or when checking the rest of the setting
positions, try the full lighting sequence again. If the flames fail after two attempts,
investigate the pilot unit.
5. Gradually slide the button up to increase the burner setting. The burner should be
at its maximum setting at the high heat position shown in figure 36. You should feel a
check to the button movement at this position.
6. Slide the control button up past the high heat position to the off (“O”) position at the
top of the slide slot. Both pilot and main burner should go out. While cooling the
ceramic fuel effect may make some crackling noises. This is quite normal.
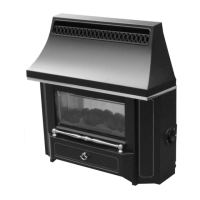
15.2 Check for spillage.
1. Close all doors and windows in the room
containing the appliance.
2. Light the appliance and set the slide control
to the maximum burning position.
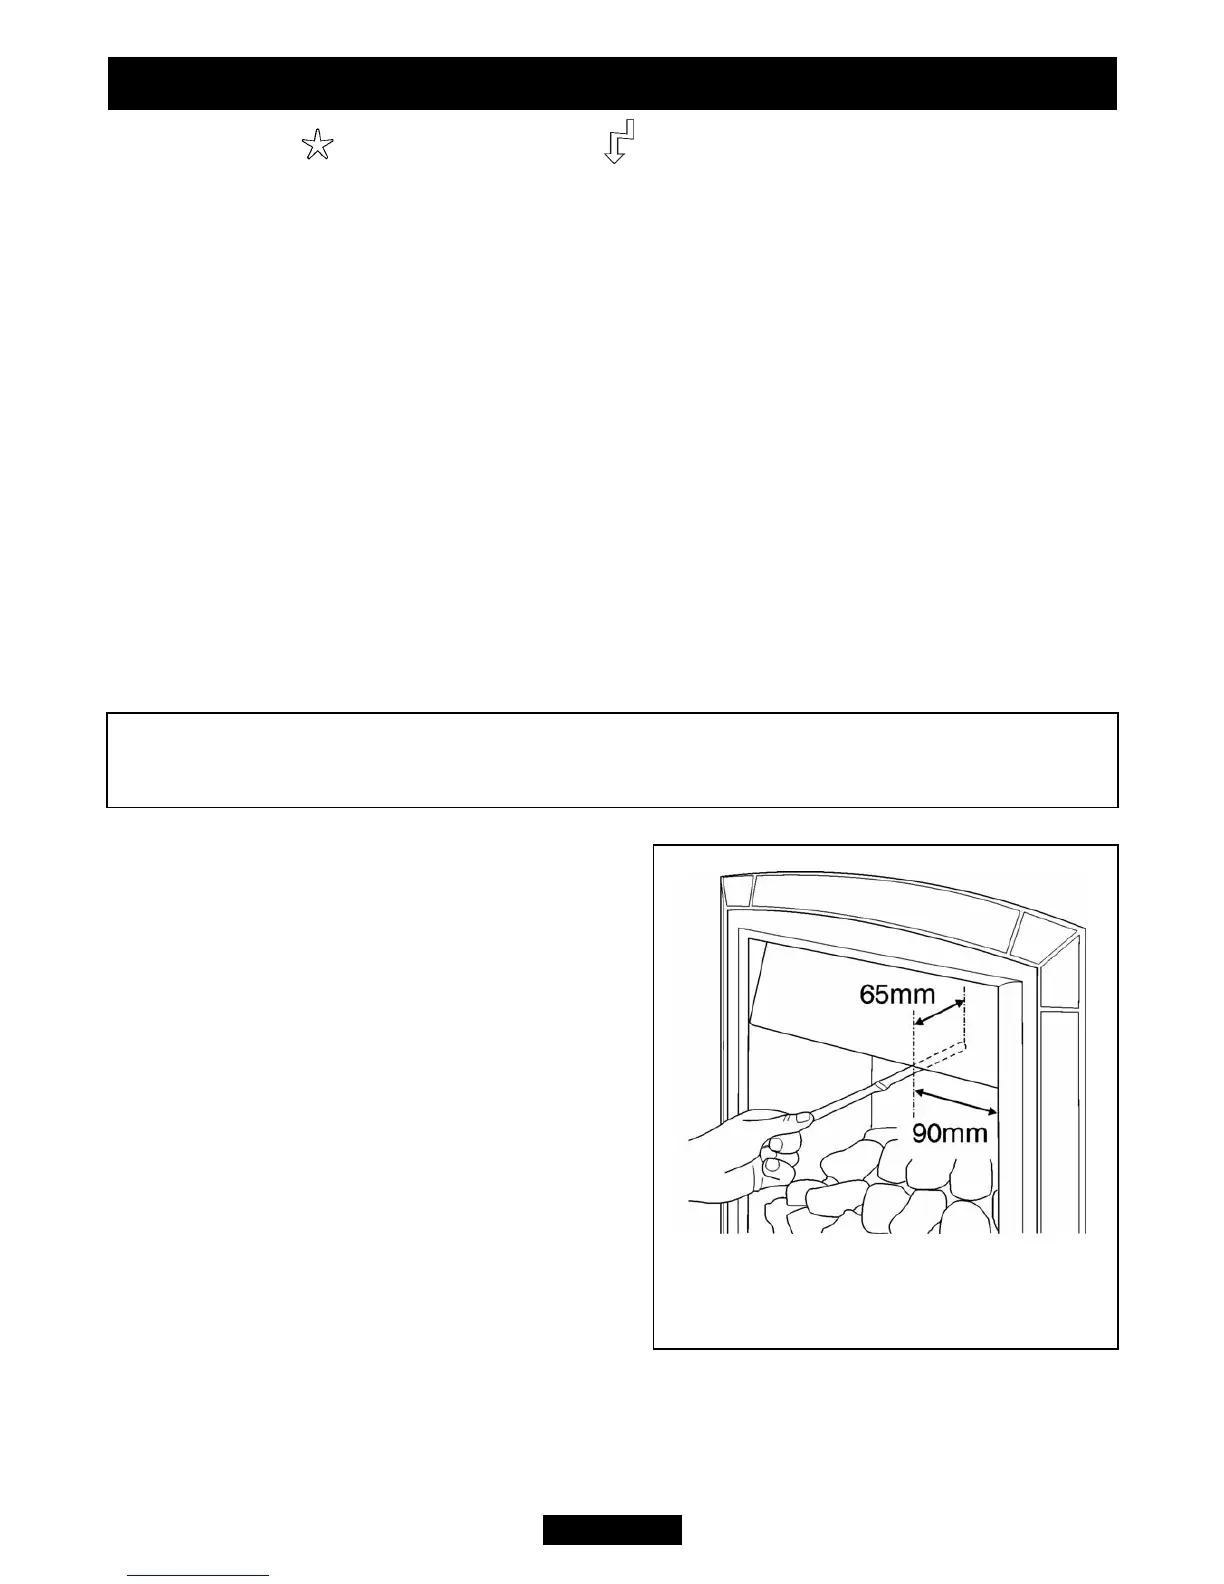
3. Leave the appliance on for five minutes.
4. The smoke match should be placed
horizontally into the hotbox at the right hand
side (See figure 37). The installation is
satisfactory if the smoke is drawn into the
appliance.
If the smoke is not drawn into the appliance
leave the appliance alight at the maximum
setting for a further ten minutes and then
repeat the test. If the smoke is still not drawn
into the appliance inspect the sealing to the
fireplace surround. If the sealing is
satisfactory but the appliance is installed with
the flue restrictor (See section 8 point 5) remove the restrictor, reseal the appliance
and retest. If smoke is still not drawn into the appliance disconnect the appliance
and seek expert advice.
5. If the above test is satisfactory open all internal connecting doors, hatches, etc. in
Page 36
© Baxi Heating U.K. Limited 2009.
INSTALLER GUIDE
Figure 37. Smoke match tube
position (Shown with ‘Dream’ fascia)
A spillage check must be made before leaving the installed appliance with the
customer. Make this with all the ceramic fuel effect pieces in position.