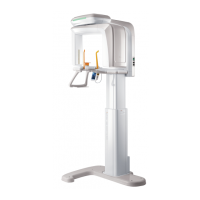
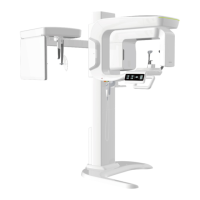
Vatech A9 (PHT-30CSS)
Technical manual
VDH-TeM-098
106 / 214
COPYRIGHT© 2020 VATECH.
5.3. Test Method
1. Put the Phantom jig on the unit and make the phantom jig level by using bubble level and three
align pins.
2. Put the CT Number Phantom on the phantom jig.
3. Run the Console Software and click the CBCT button to go into CBCT mode.
4. Choose the FOV 8x8/Adult/Normal/High Resolution/Standard as the image option and click the
Confirm button.
5. Press the Ready button and acquire an image.
6. When the reconstruction is completed, save the CT folder name in the
C:\VCaptureSW\ImageOutput folder as CT_CTnum Phantom.
7. Open the saved image through 3D Viewer.
8. Go to the Axial view in full-screen mode and click Measurement > ROI (for Ez3D i)
9. Make the boxes(20±2 mm2) on the WATER, BONE(TEFLON), and AIR area to measure the CT
Number value and check if it does meet the standard.
5.4. Test Result
Parameter LSL Measurement value USL Pass/Fail
Air -1030 -900
Water -20 20
Teflon 900 1100
Measurement points
(Air and Water)