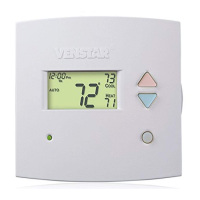
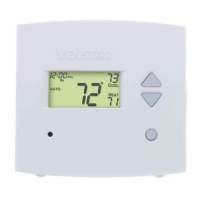
How to Change Settings in the Setup Screens
To enter the setup screens, press the MODE button, and
simultaneously press FAN button for 5 seconds. Release the buttons
when you see “Setup” on the display. Use the WARMER or COOLER
buttons to adjust the value of your selection. Press MODE to advance
to the next setup step. Press MODE and FAN together again to leave
the setup screens.
User Setup
17
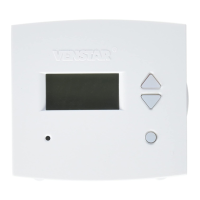
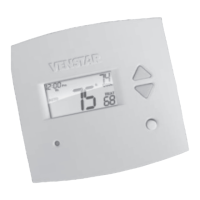
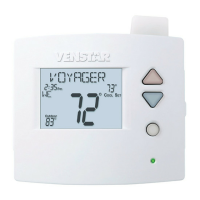
FANMODE
press together for
5 seconds
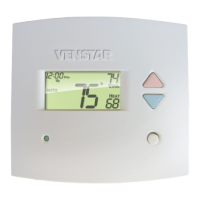
TO ENTER MENUS BUTTON PRESS
SetupSteps ....................... MODE&FANfor5seconds
TimeSchedule .................. MODE&Upfor2seconds
EmergencyHeat ............... Up&FANfor2seconds
LockoutButtons ................ MODE,Up&Downfor2seconds
Calibration .......................... MODE&Downfor2seconds
WirelessSetup ................. FANfor5Seconds
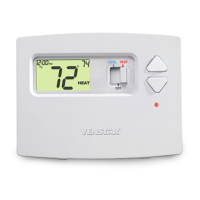
Setting the Clock and Day (setup step 1 & 2)
WhenyourthermostatisconnectedtoSkyportCloudServices,thetimeandday
oftheweekarecontrolledbySkyport.Thereisnolocaladjustment,Skyportalso
adjuststhetimeforDaylightSavingsTimeaswell.
TosetthetimeanddaywhennotconnectedtoSkyport;enterthesetupscreens
bypressingtheModebuttonandsimultaneouslypressingtheFanbuttonfor
5seconds.
(Continued)
Table for button
presses that are
required for
enteringvarious
menus