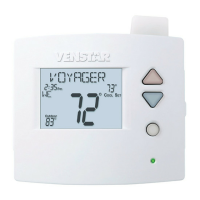
Installation Instructions
1
Remove and Replace the old thermostat
To install the thermostat properly, please follow these step by step
instructions. If you are unsure about any of these steps, call a qualified
technician for assistance.
• Installationtools:Smallatbladescrewdriver,Phillipsscrewdriver,
wire cutters and wire strippers.
• MakesureyourHeater/AirConditionerisworkingproperlybefore
beginninginstallationofthethermostat.
• Carefullyunpackthethermostat.Savethescrews,anybrackets,
and instructions.
• TurnoffthepowertotheHeating/AirConditioningsystematthemain
fusepanel.Mostresidentialsystemshaveaseparatebreakeror
switchfordisconnectingpowertothefurnace.
• Removethecoveroftheoldthermostat.Ifitdoesnotcomeoffeasily,
checkforscrews.
• Loosenthescrewsholdingthethermostatbaseorsubbasetothewall
and lift away.
• Ifyouhaveasmartphonehandy,takeaphotoofthewiringforfuture
reference.
• Disconnectthewiresfromtheoldthermostat.Tapetheendsofthe
wiresasyoudisconnectthem,andmarkthemwiththeletterofthe
terminal for easy reconnection to the new thermostat.
• Keeptheoldthermostatforreferencepurposes,untilyournew
thermostatisfunctioningproperly.