LabQuest
®
2 – User Manual
13
Data-Collection Summary
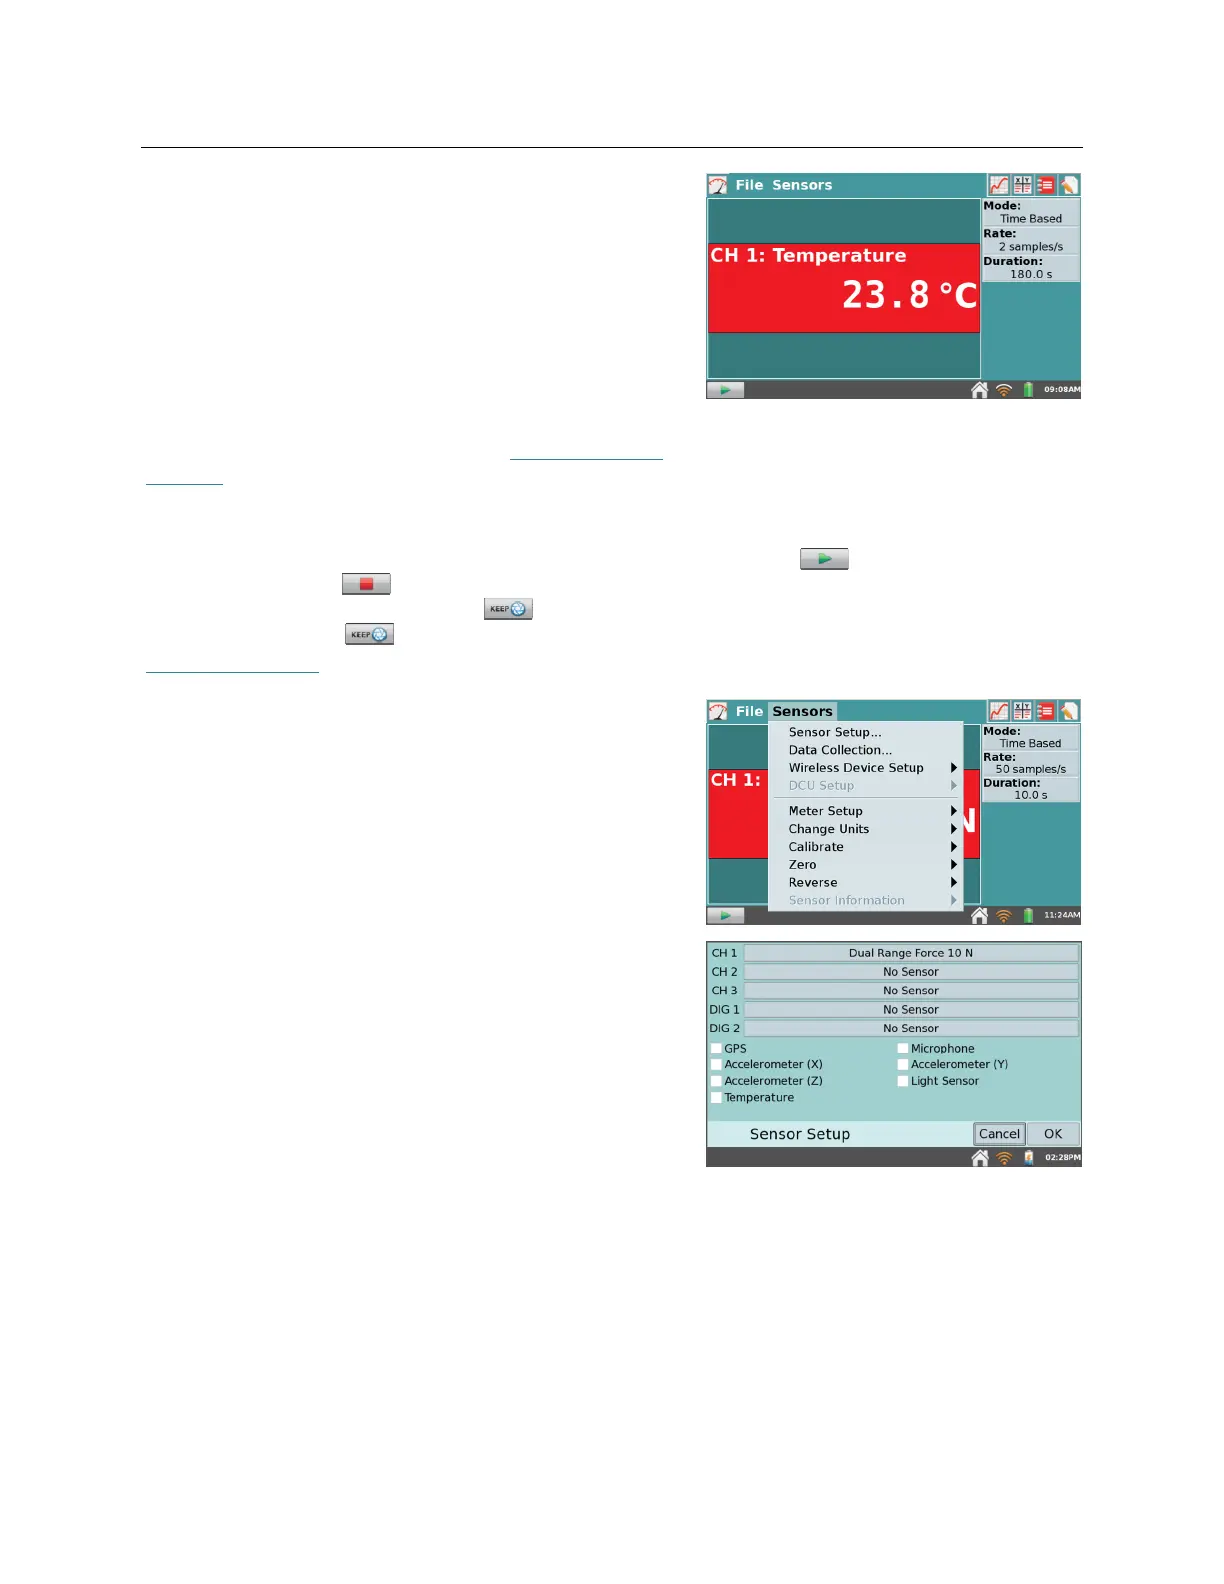
A summary of the data-collection settings (Mode, Rate,
Duration) is shown in the panel to the right of the
Meter screen. For most sensors, the default data-
collection mode is Time Based. The default collection
rate for the connected sensor is automatically set up
when LabQuest identifies the sensor. To modify the
data-collection settings, tap the summary box.
Alternatively, you can choose Data Collection from the
Sensors menu. For detailed descriptions of data-
collection modes and parameters, see Data-Collection
Settings.
Data-Collection Controls
To start data collection from any LabQuest App screen, tap Collect . During data
collection, tap Stop to end data collection early. In selected data-collection modes (e.g.,
Events with Entry), a Keep button will appear to the right of the Stop button. In this
mode, you must tap to record the data point in the data table. For more information, see
Events with Entry.
Data-Collection Settings
The Sensors menu provides access to detailed setup
controls. Use this menu to set up internal sensors, non-
auto-ID sensors, and wireless sensors. You can also use
this menu to change the data-collection parameters and
adjust sensor-specific settings.
Sensor Setup
– Choose Sensor Setup from the
Sensors menu to view connected sensors. To
manually set up non-auto-ID sensors, tap the field
displaying “No Sensor” for the channel to which
your sensor is connected. Then choose the
appropriate sensor from the list and tap OK.
You can also activate (or deactivate) the internal
sensors from the Sensor Setup dialog box. Select
the check box next to the desired sensor to make
that sensor available for data collection.